Overview
This guide outlines how sites can manage functional outcome forms and how patients can fill them out. The initial rollout of forms includes:- ODI
- NDI
- Modified Oswestry
- UEFS
- LEFS
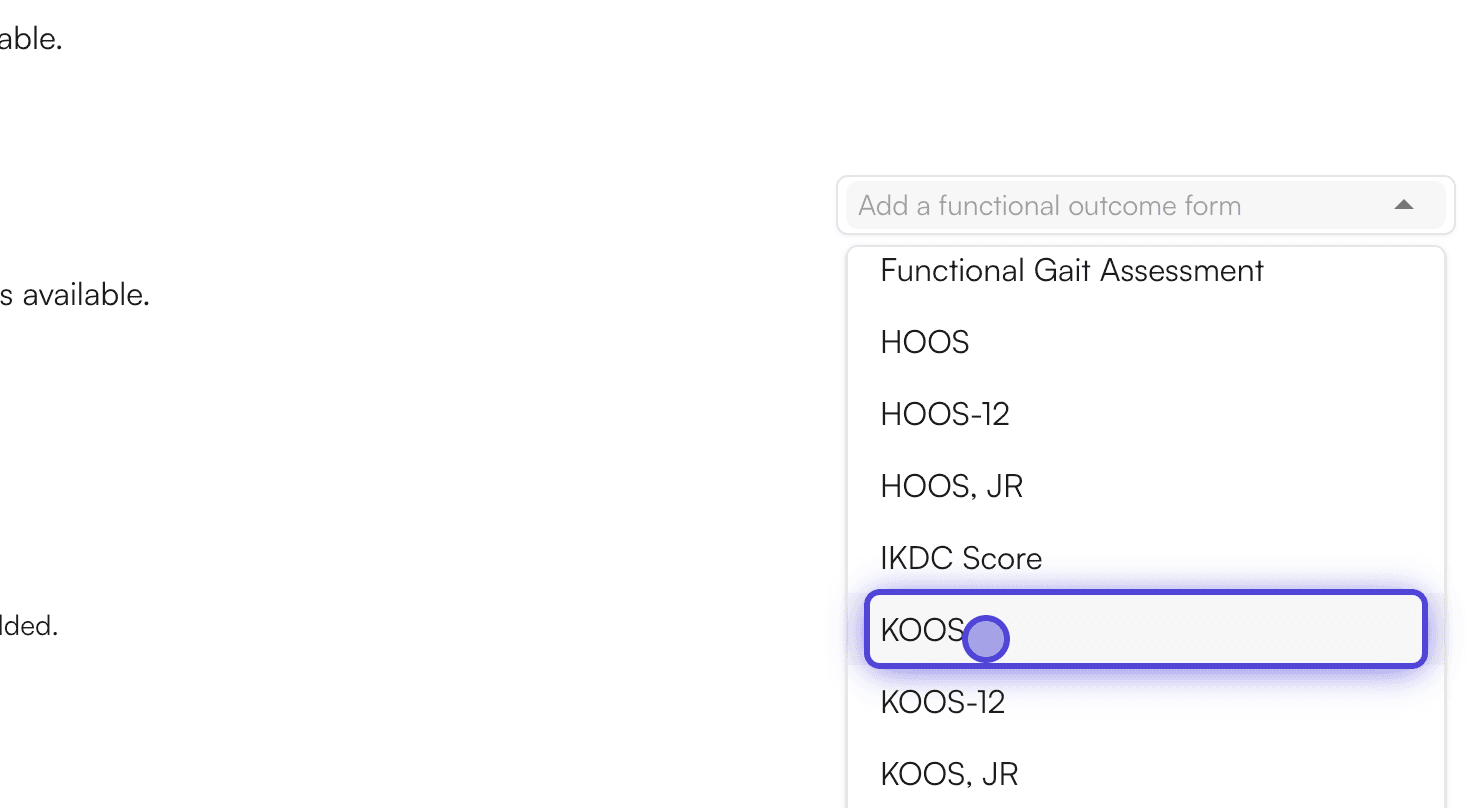
- KOOS
- HOOS
- DASH
- QuickDASH
Front Desk Workflow
Sending FOTM to Patients
To send a form to a patient, follow these steps:- Navigate to the Calendar → Click on the patient’s appointment to open the details drawer.
- Next to Reminders/Forms, click Send.

- Select the Functional Outcome Forms you wish to send from the list.
- Choose your preferred send option (e.g., text message or email) and edit the text/email details as needed. You will be able to customize the message and subject line before you click Send.
Provider Workflow
Viewing FOTM in Chart Notes
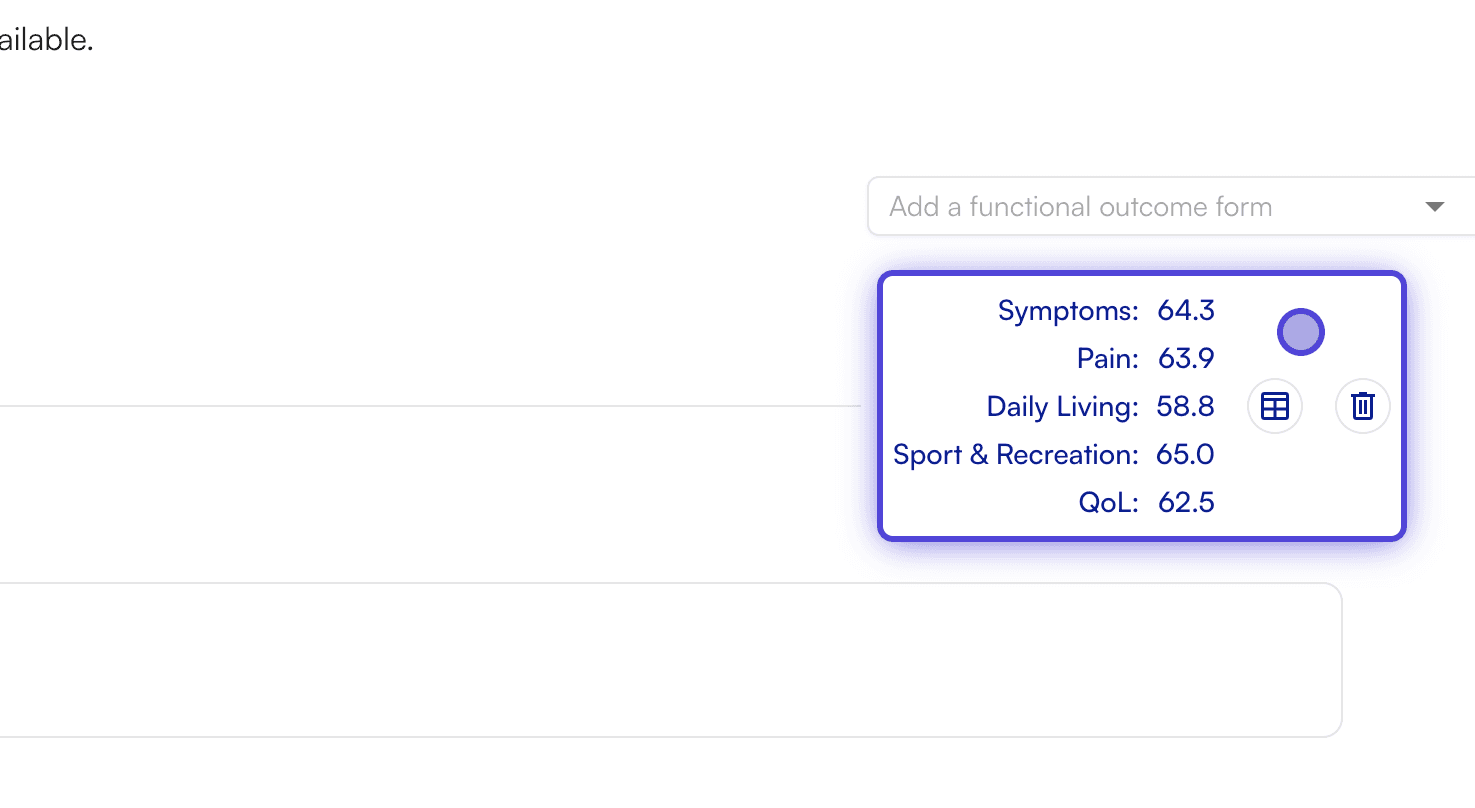
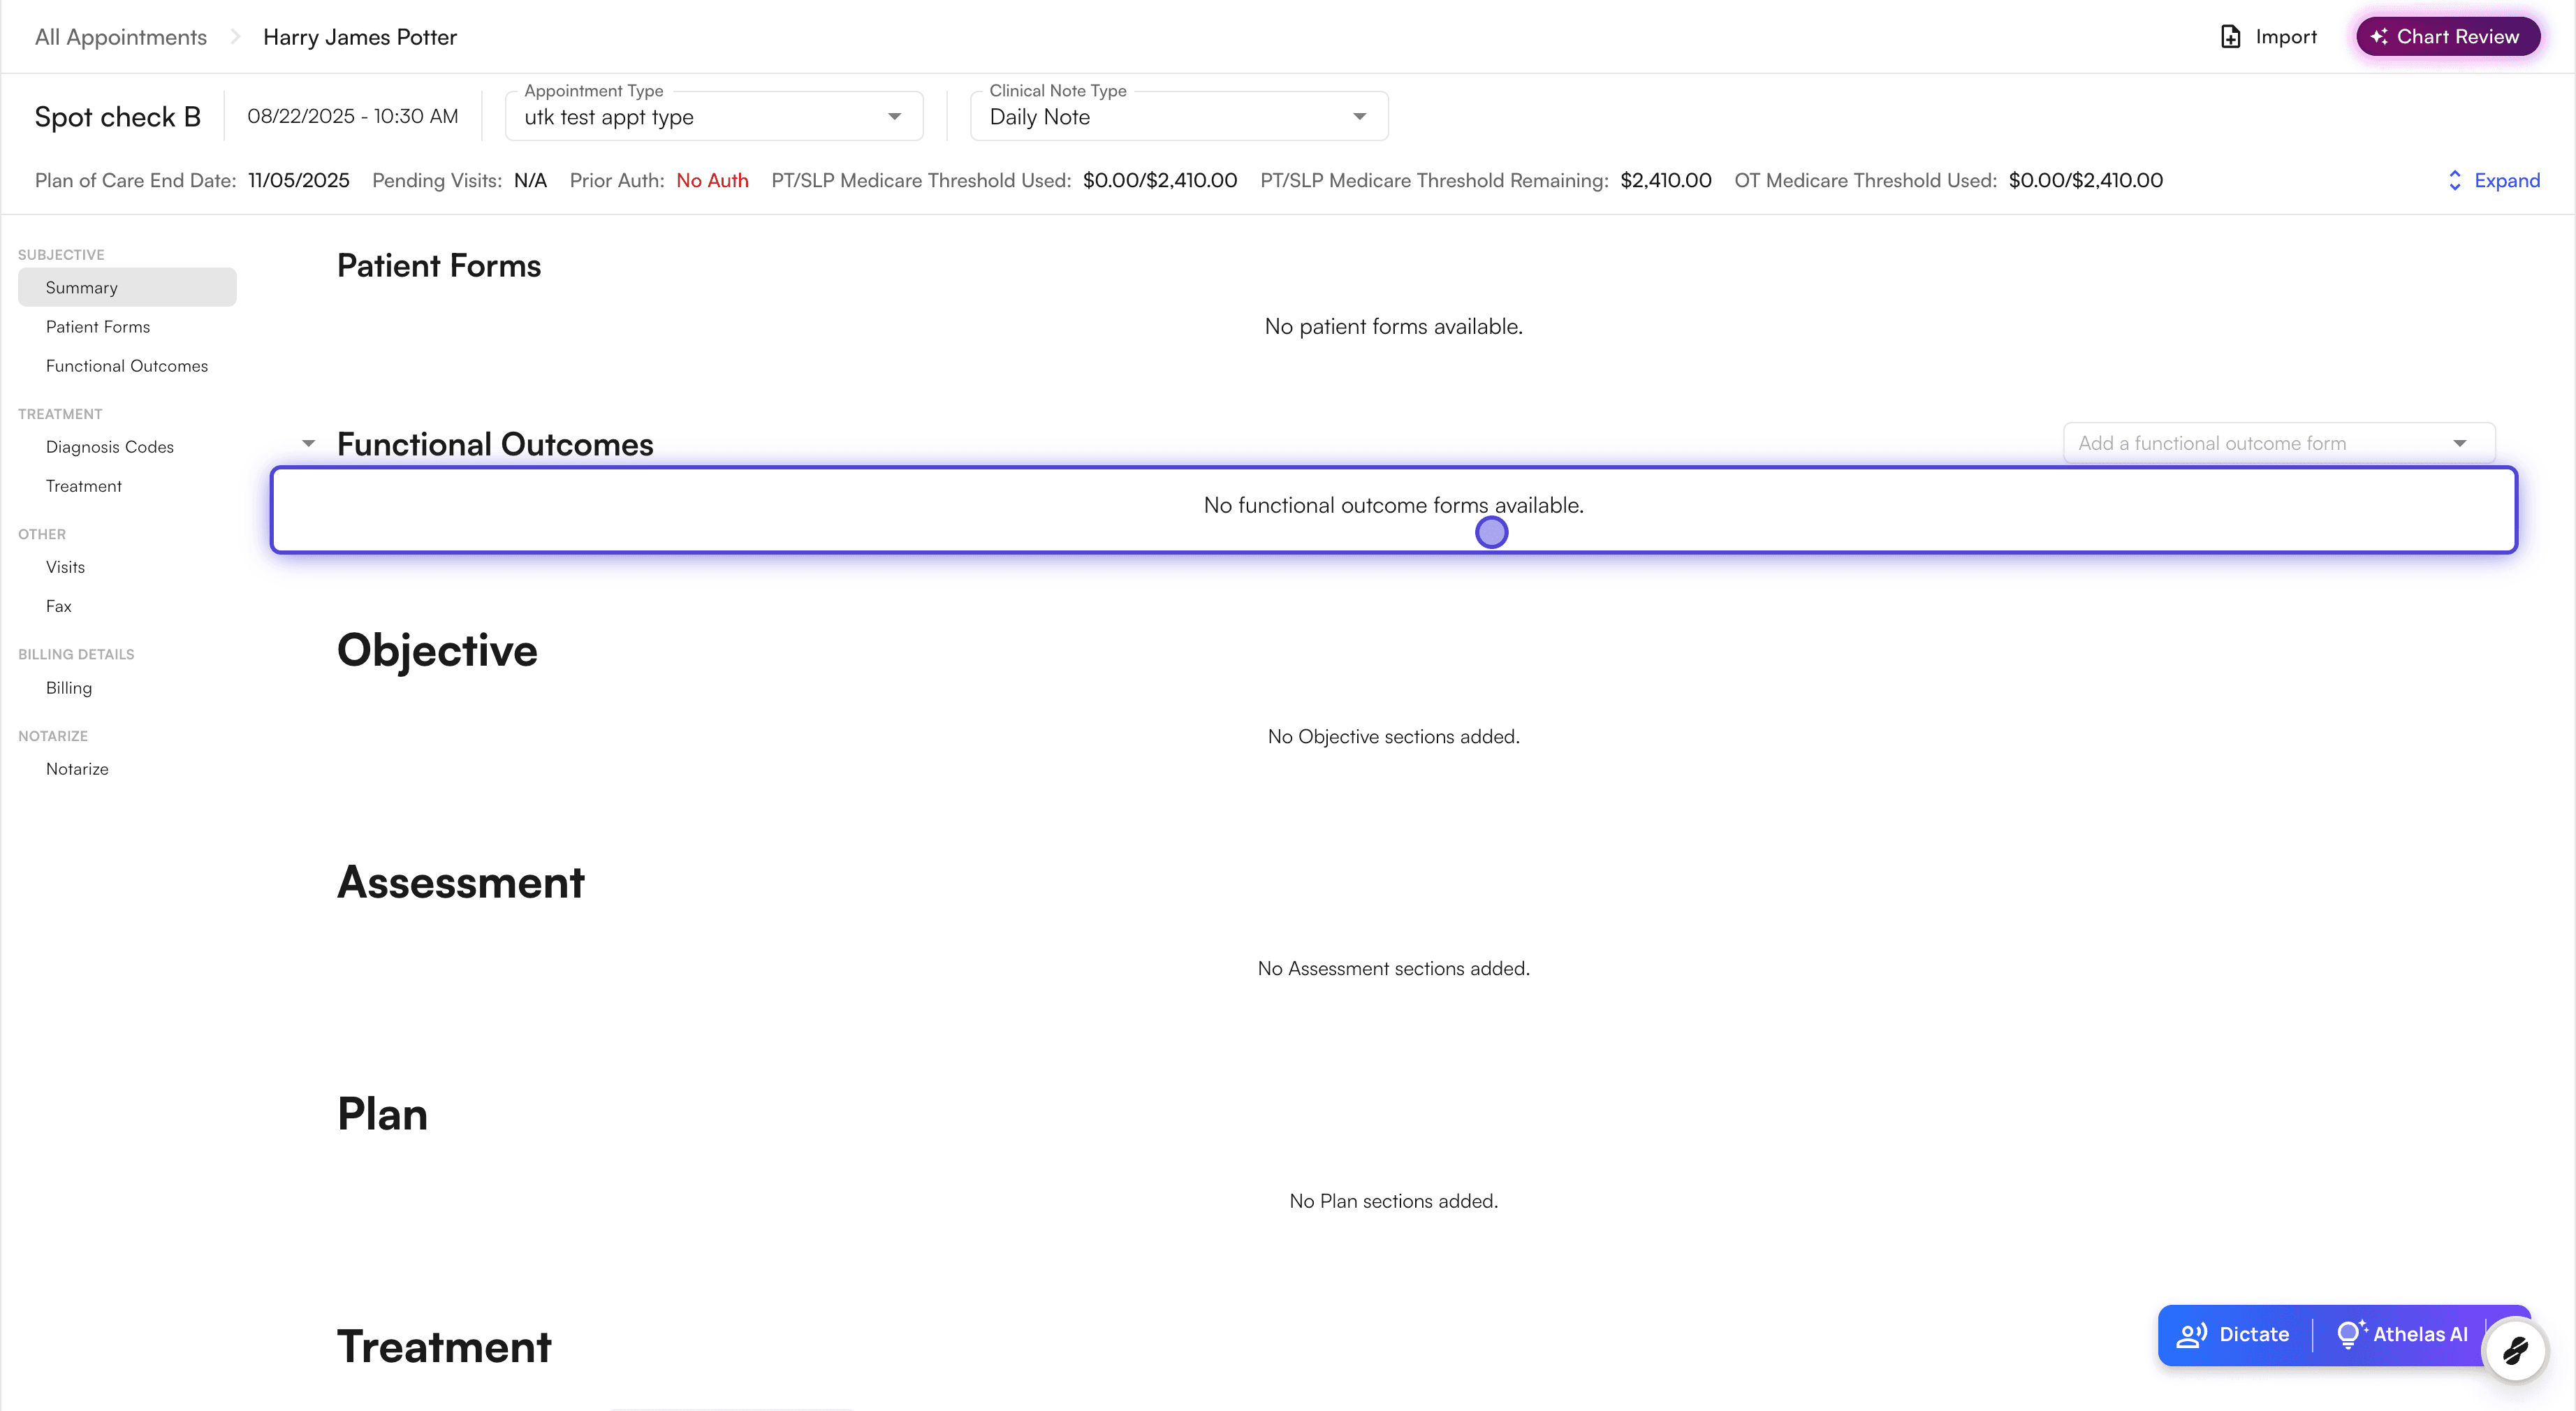
- Open the patient’s chart note. Functional Outcomes will be available as a section at the top.
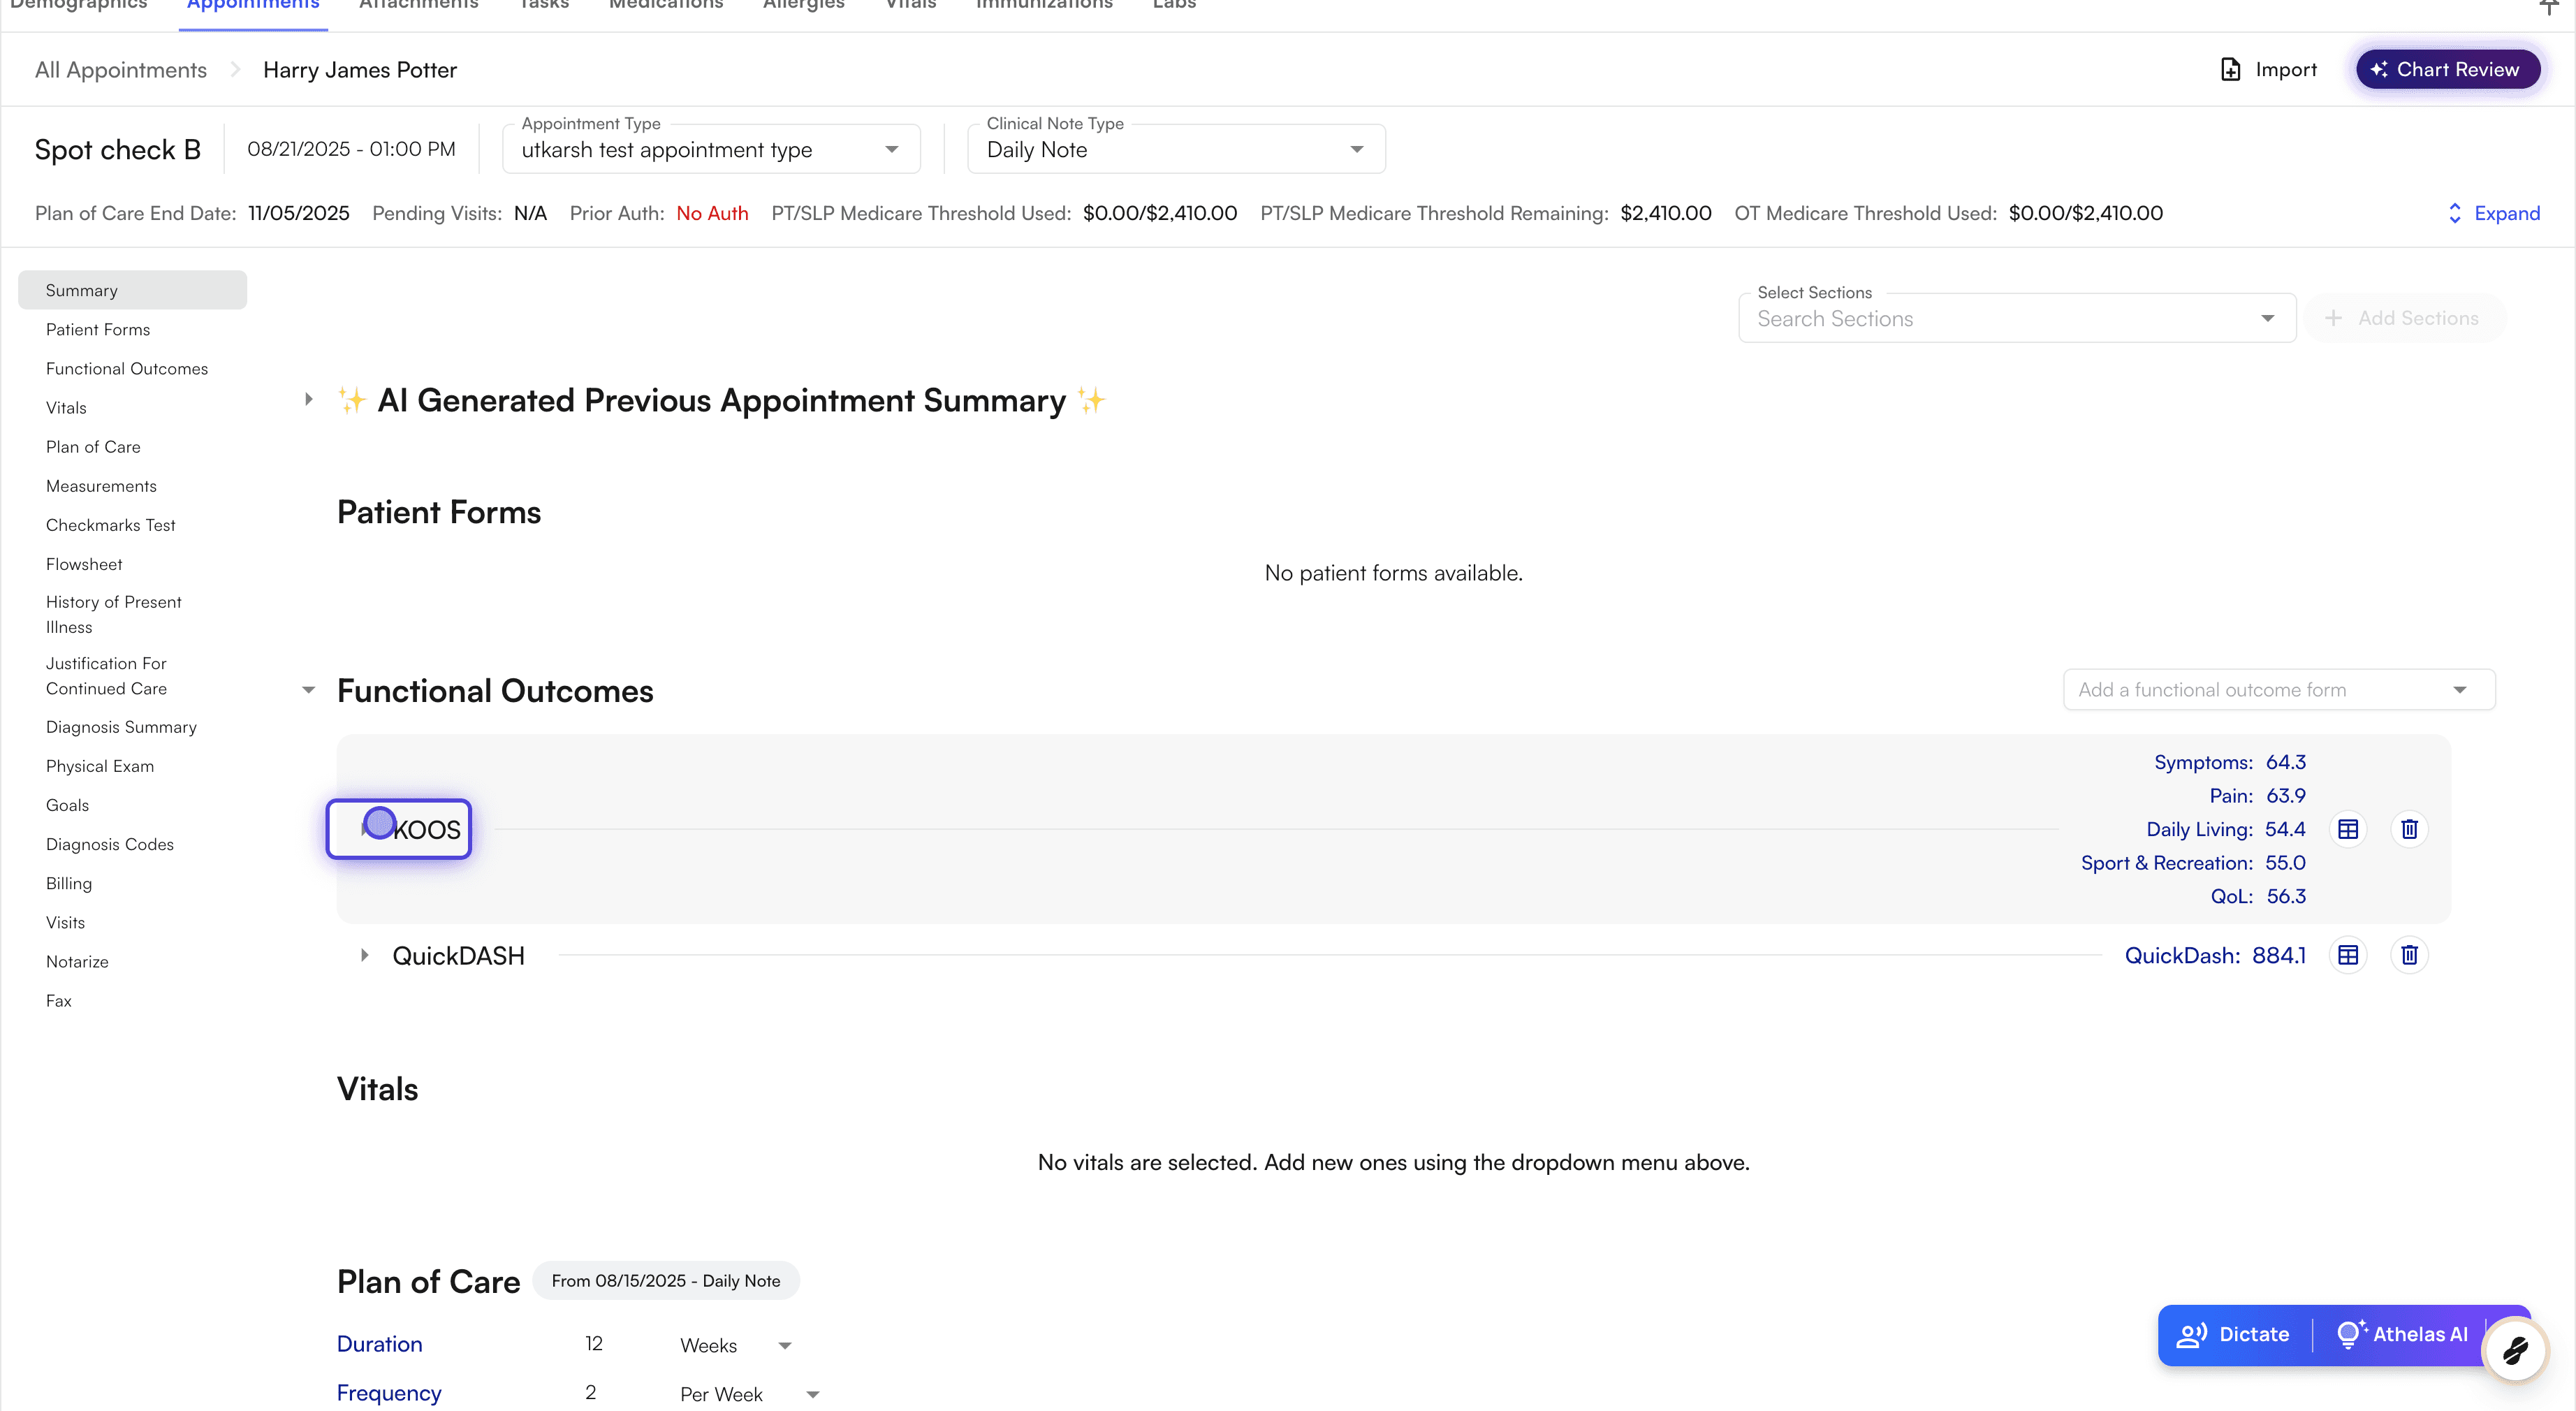
- You will be able to view the scores here.

- Click on a form/dropdown to see the values inputted by the patient.
- As a provider, you will have access to change any values inputted by the patient as required.
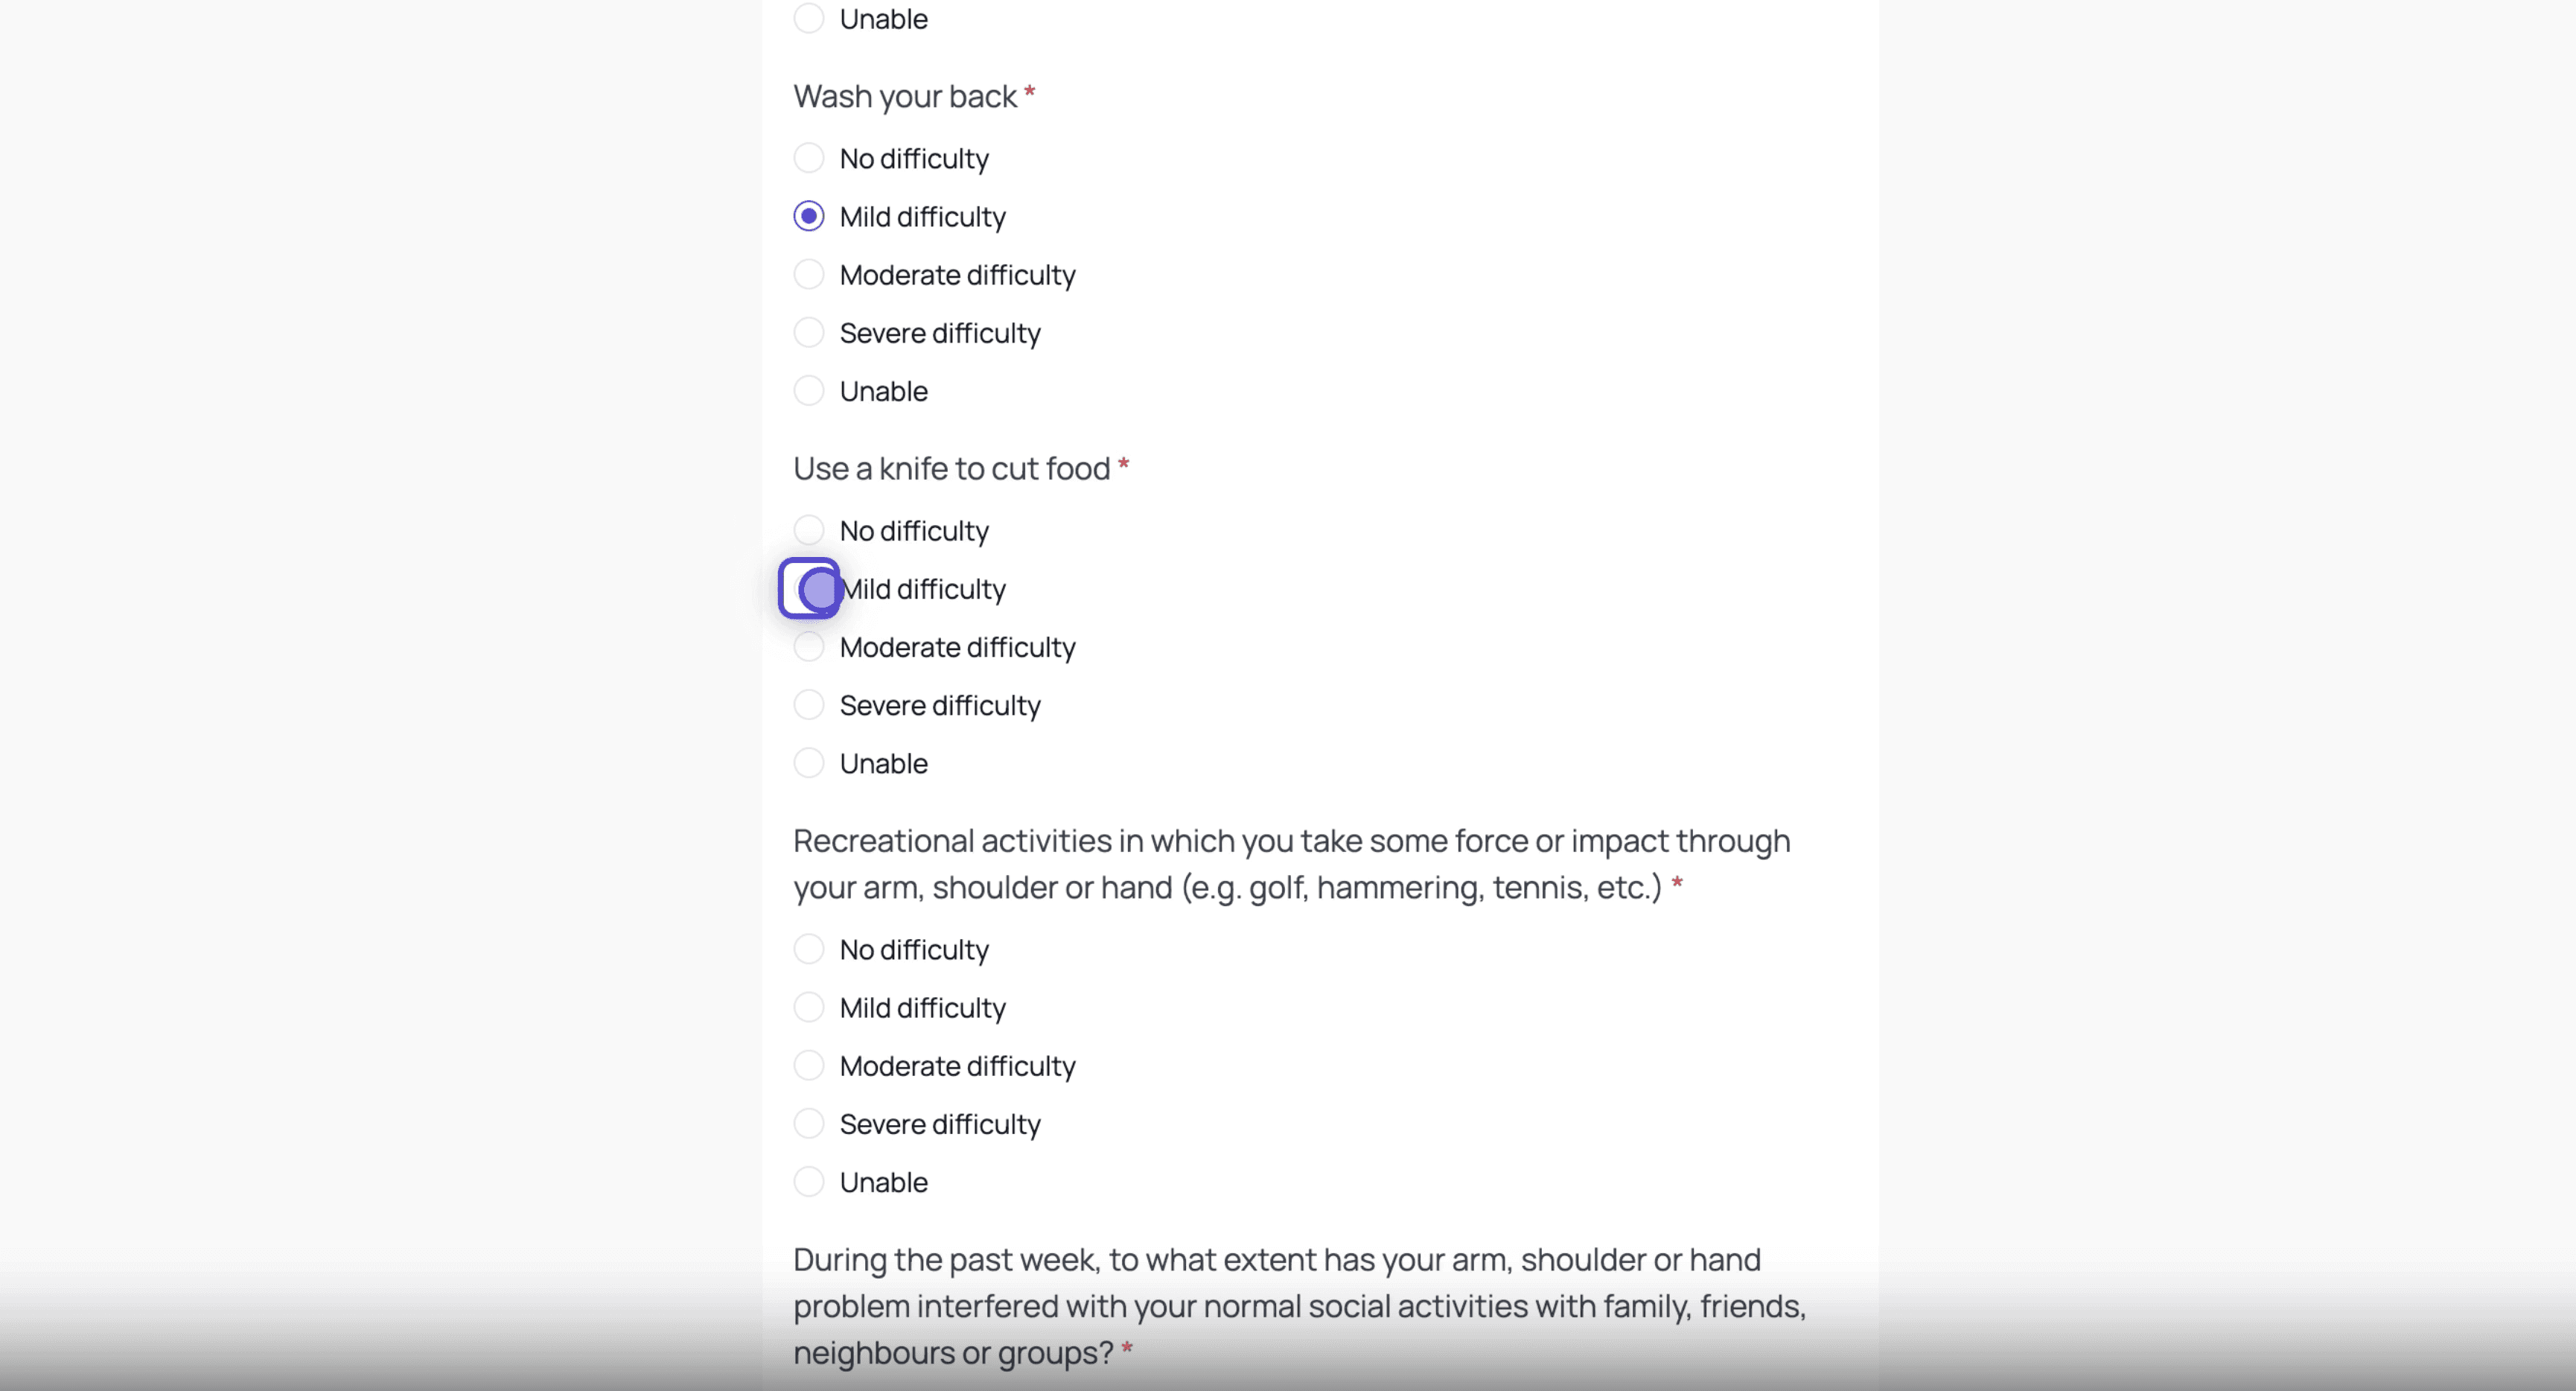
Adding and Completing a Form During an Appointment
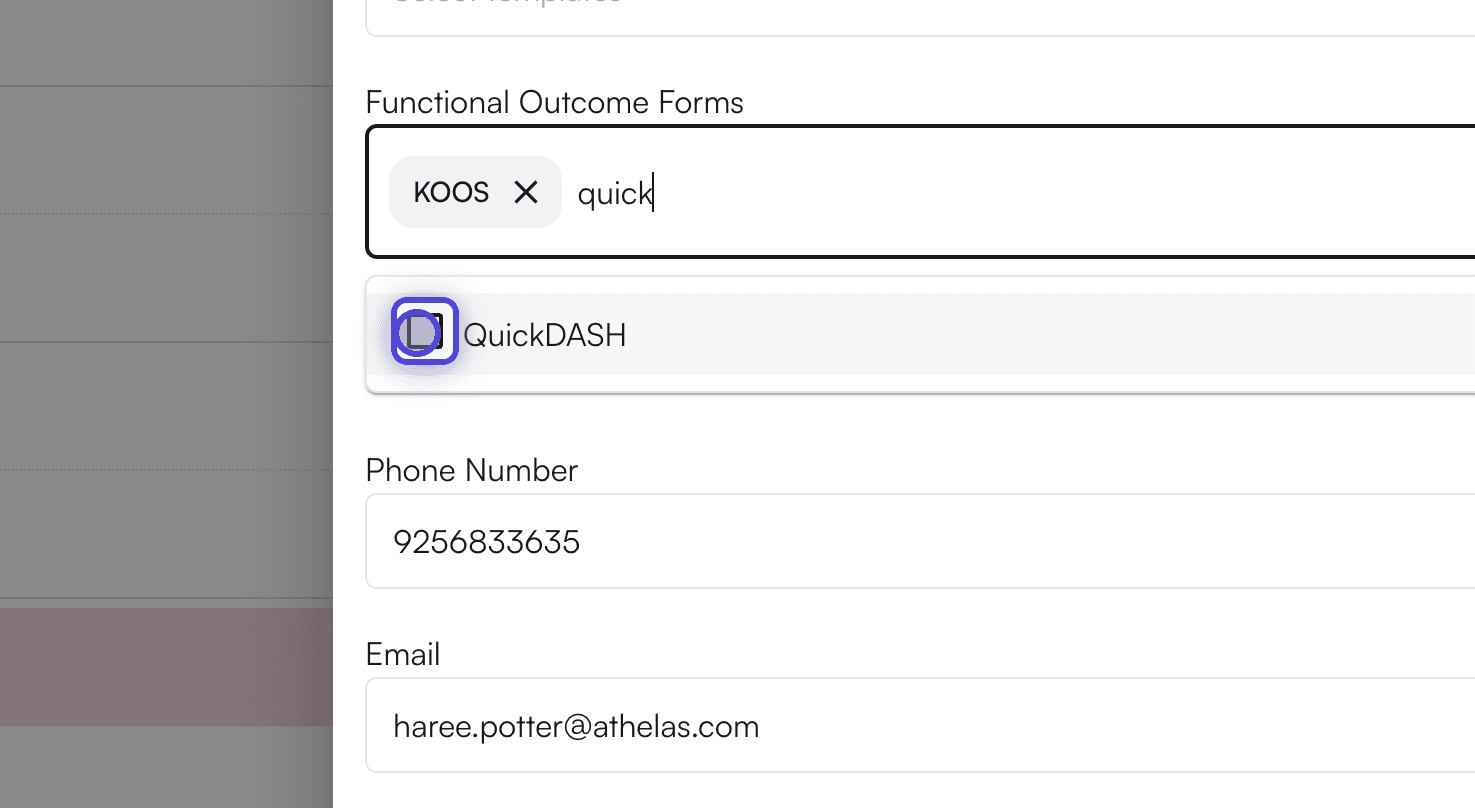
- In Functional Outcomes section, you can click the “Add a functional outcome form” dropdown → Select the desired form template (e.g., KOOS, QuickDASH, or Berg Balance Scale).
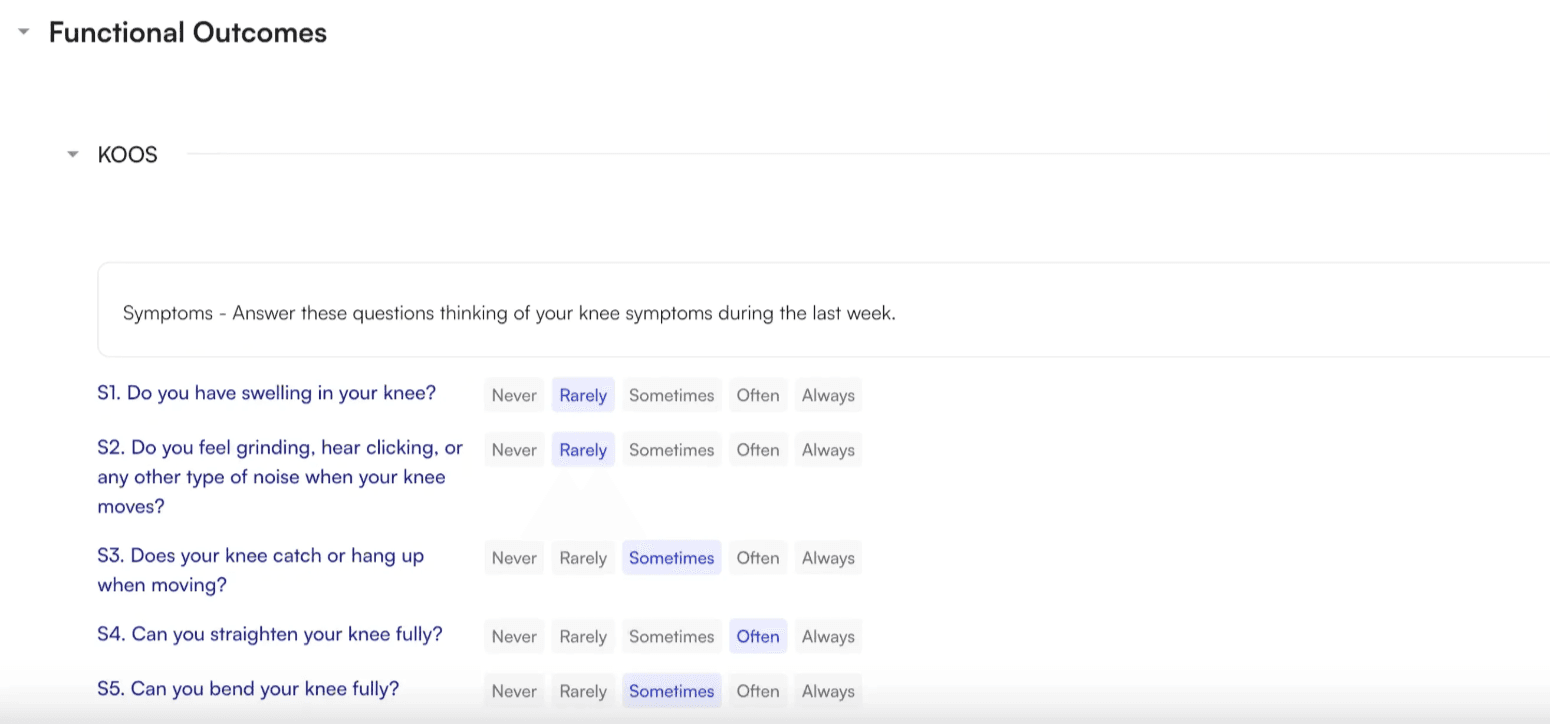
- Fill out the form with the patient, selecting the appropriate values for each question.
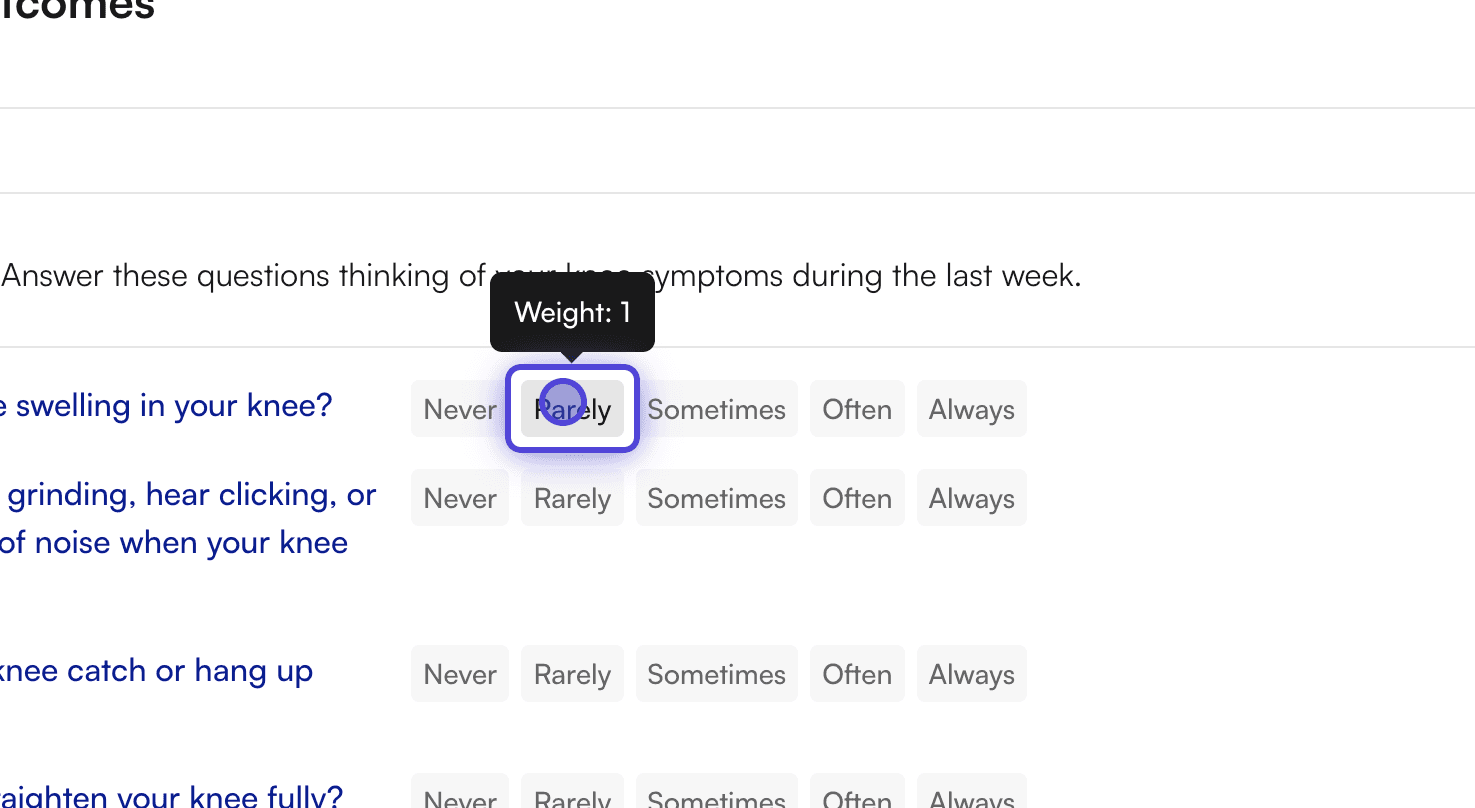
- After all questions are answered, the system will automatically display the computed score.
Viewing FOTM History
You can view the history of a patient’s functional outcome measurements over time.- In the chart note, find the specific functional outcome measurement you want to view → Click the history icon (a table-like symbol) next to the form.
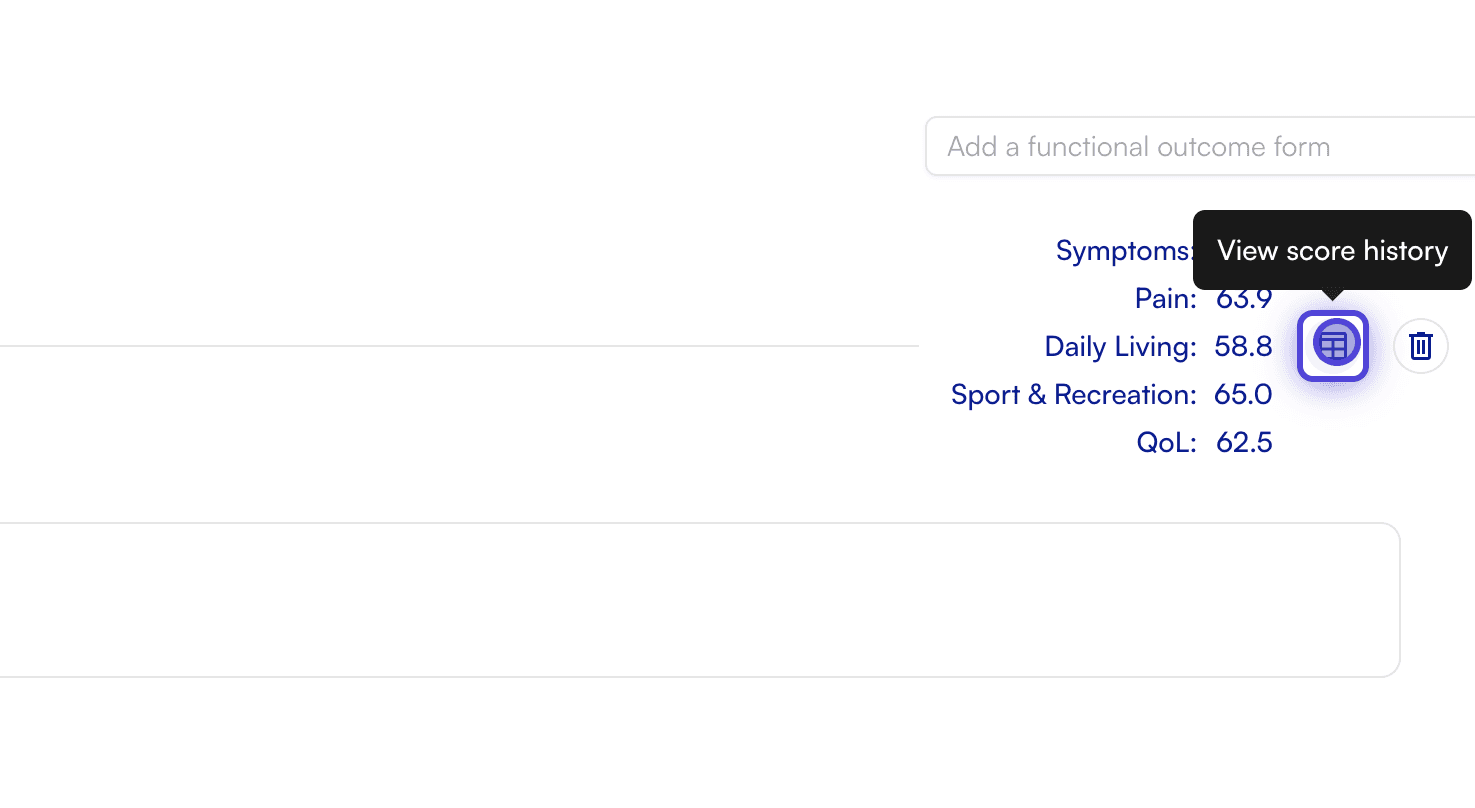
- A table showing the history of scores for that form will appear.

Deleting FOTM Measurements
You can delete a functional outcome measurement from a patient’s chart note if needed.- Find the form you want to delete → Click the delete icon (a trash can symbol) next to the form.

- In the confirmation dialog, click Delete.
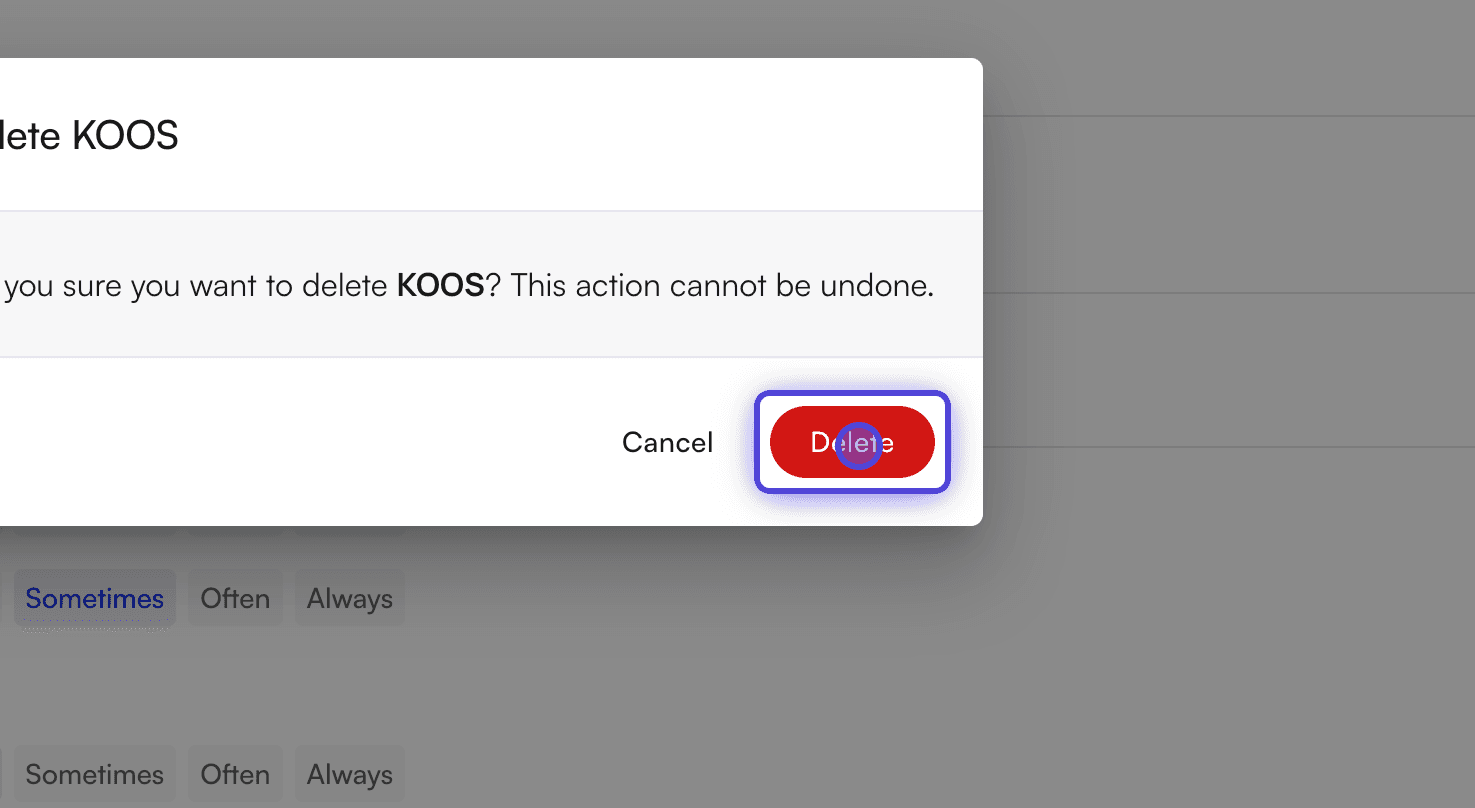
- The form will be removed from the patient’s chart.
Patient Workflow
Opening and Completing a Survey
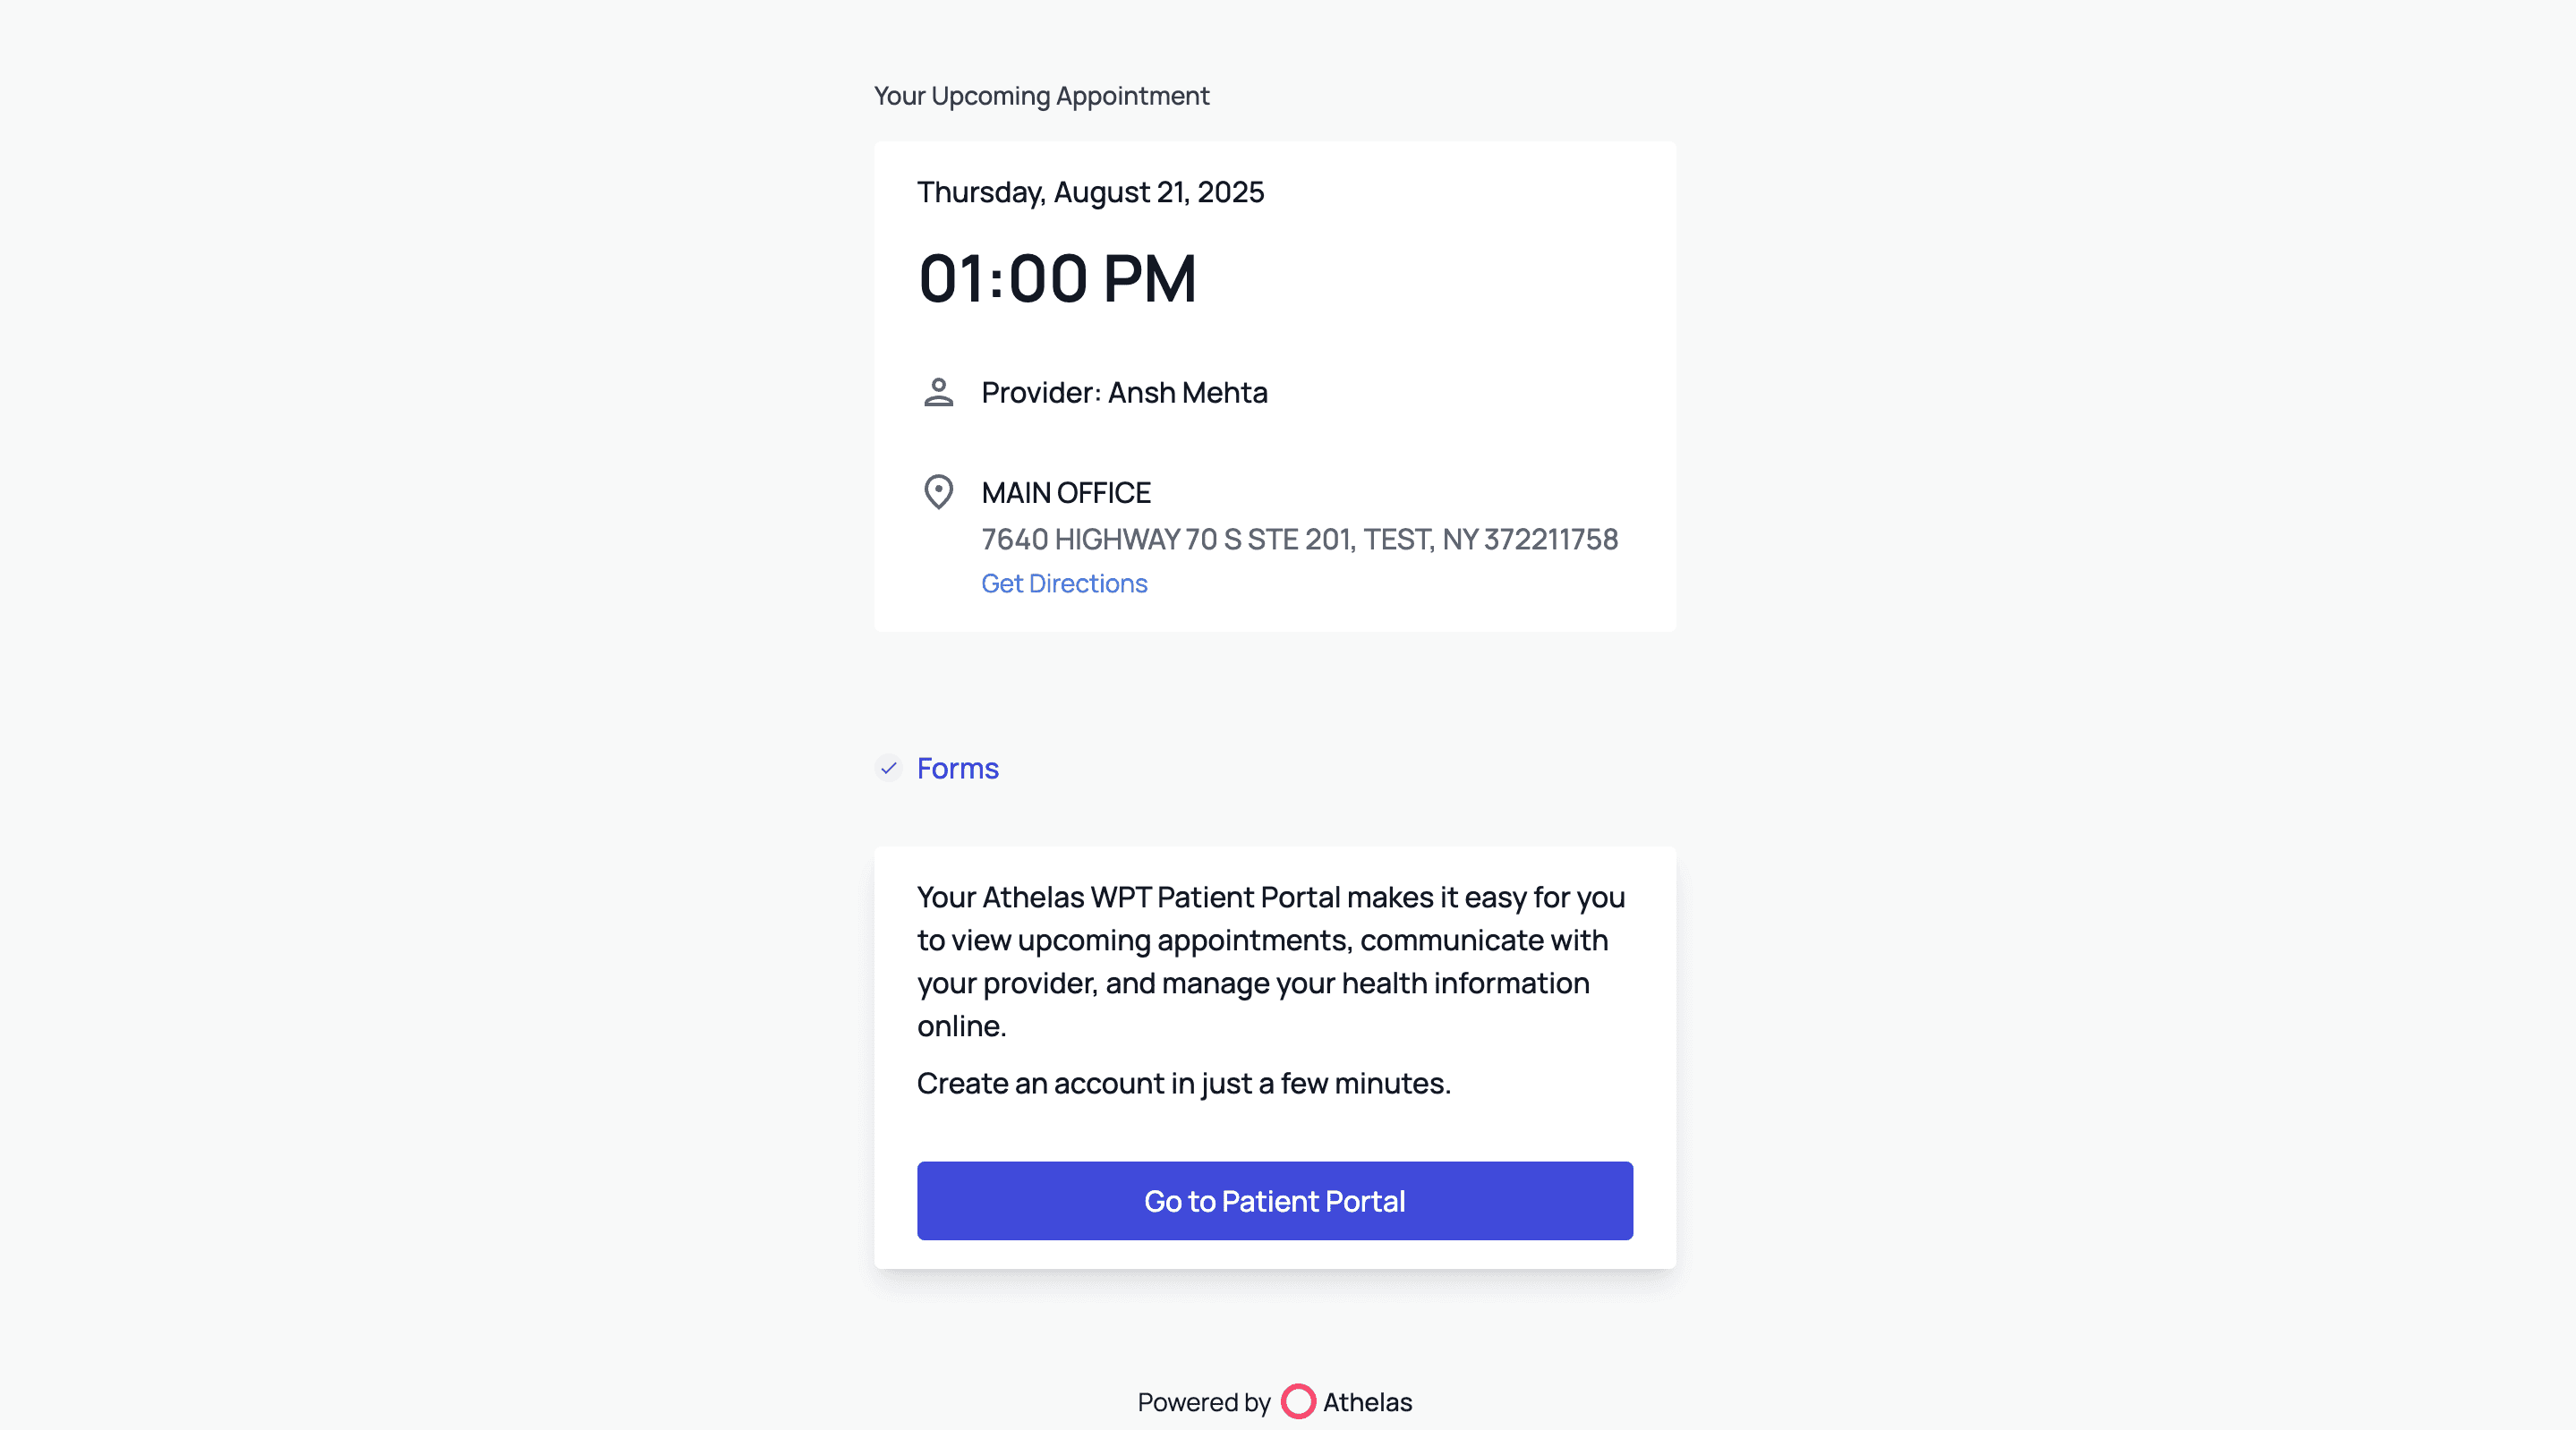
Patients receive a link to the survey via text or email and can complete it in a few simple steps.- The patient will receive a link to fill out the forms. They will be able to log in to start answering the questions.
- Once completed, a confirmation message will display, indicating the survey has been submitted.