
Smart fill your Chart Note using AI Scribe
Patient Consent for Scribe
Re-confirm patient consent before recording. Patient consent will be taken as part of the Patient Intake Form
Record using Scribe
- Click the blue button in the bottom-right corner to open the AI Widget
- Select Scribe
- Click Start Recording. You can minimize the widget and continue working within the EHR
- End or cancel the recording when finished
✨ Smart Tip: While uploading, you can start a new chat on the script to ask questions about the current consultation recording.
Apply scribe
- Review the generated content in the Scribe Application Page. Scroll through the Tabs to review all sections
- Each section includes a checkbox to apply or exclude the scribe output into the Chart Note.
- Click Apply Scribe
- **Note: **Scribe can auto-populate all sections, however, we recommend filling the flowsheet interventions manually.
✨ Smart Tip: Use Reapply Scribe to restore the most recent recording if you need to revert back. This is helpful if you’ve edited fields after scribing.
Quickly access scribes
The Visits tab provides a quick view of today’s appointments. It displays only the appointments assigned to your provider.
- If a scribe already exists for an appointment, clicking the appointment opens the Scribe Application Page, where you can review and apply the scribe to the patient’s Chart Note.
- If no scribe exists, clicking the appointment opens the New Recording Page, where you can start a new audio recording for the visit.
Update your text using Athelas AI
Select the text and click on Cmd / Ctrl + K. Select the update type to the text.You can choose to select or reject the change which will automatically update in the Chart Note.
Review Section Updates
Click the “Last updated” button in the heading of a section to view updates made.
Other ways to fill your Chart Note
Dictate into a section
More details: EHR Dictation v1 User GuideOnce a note is generated, you have the option to add more content through a direct dictation. Dictation allows you to use your voice to enter text directly into a Chart Note.
- Open Athelas AI and click Dictate.
- Speak normally and watch text appear in real time.
- Smart punctuation automatically inserts commas, periods, and question marks based on sentence structure.
- Click Stop to end dictation.
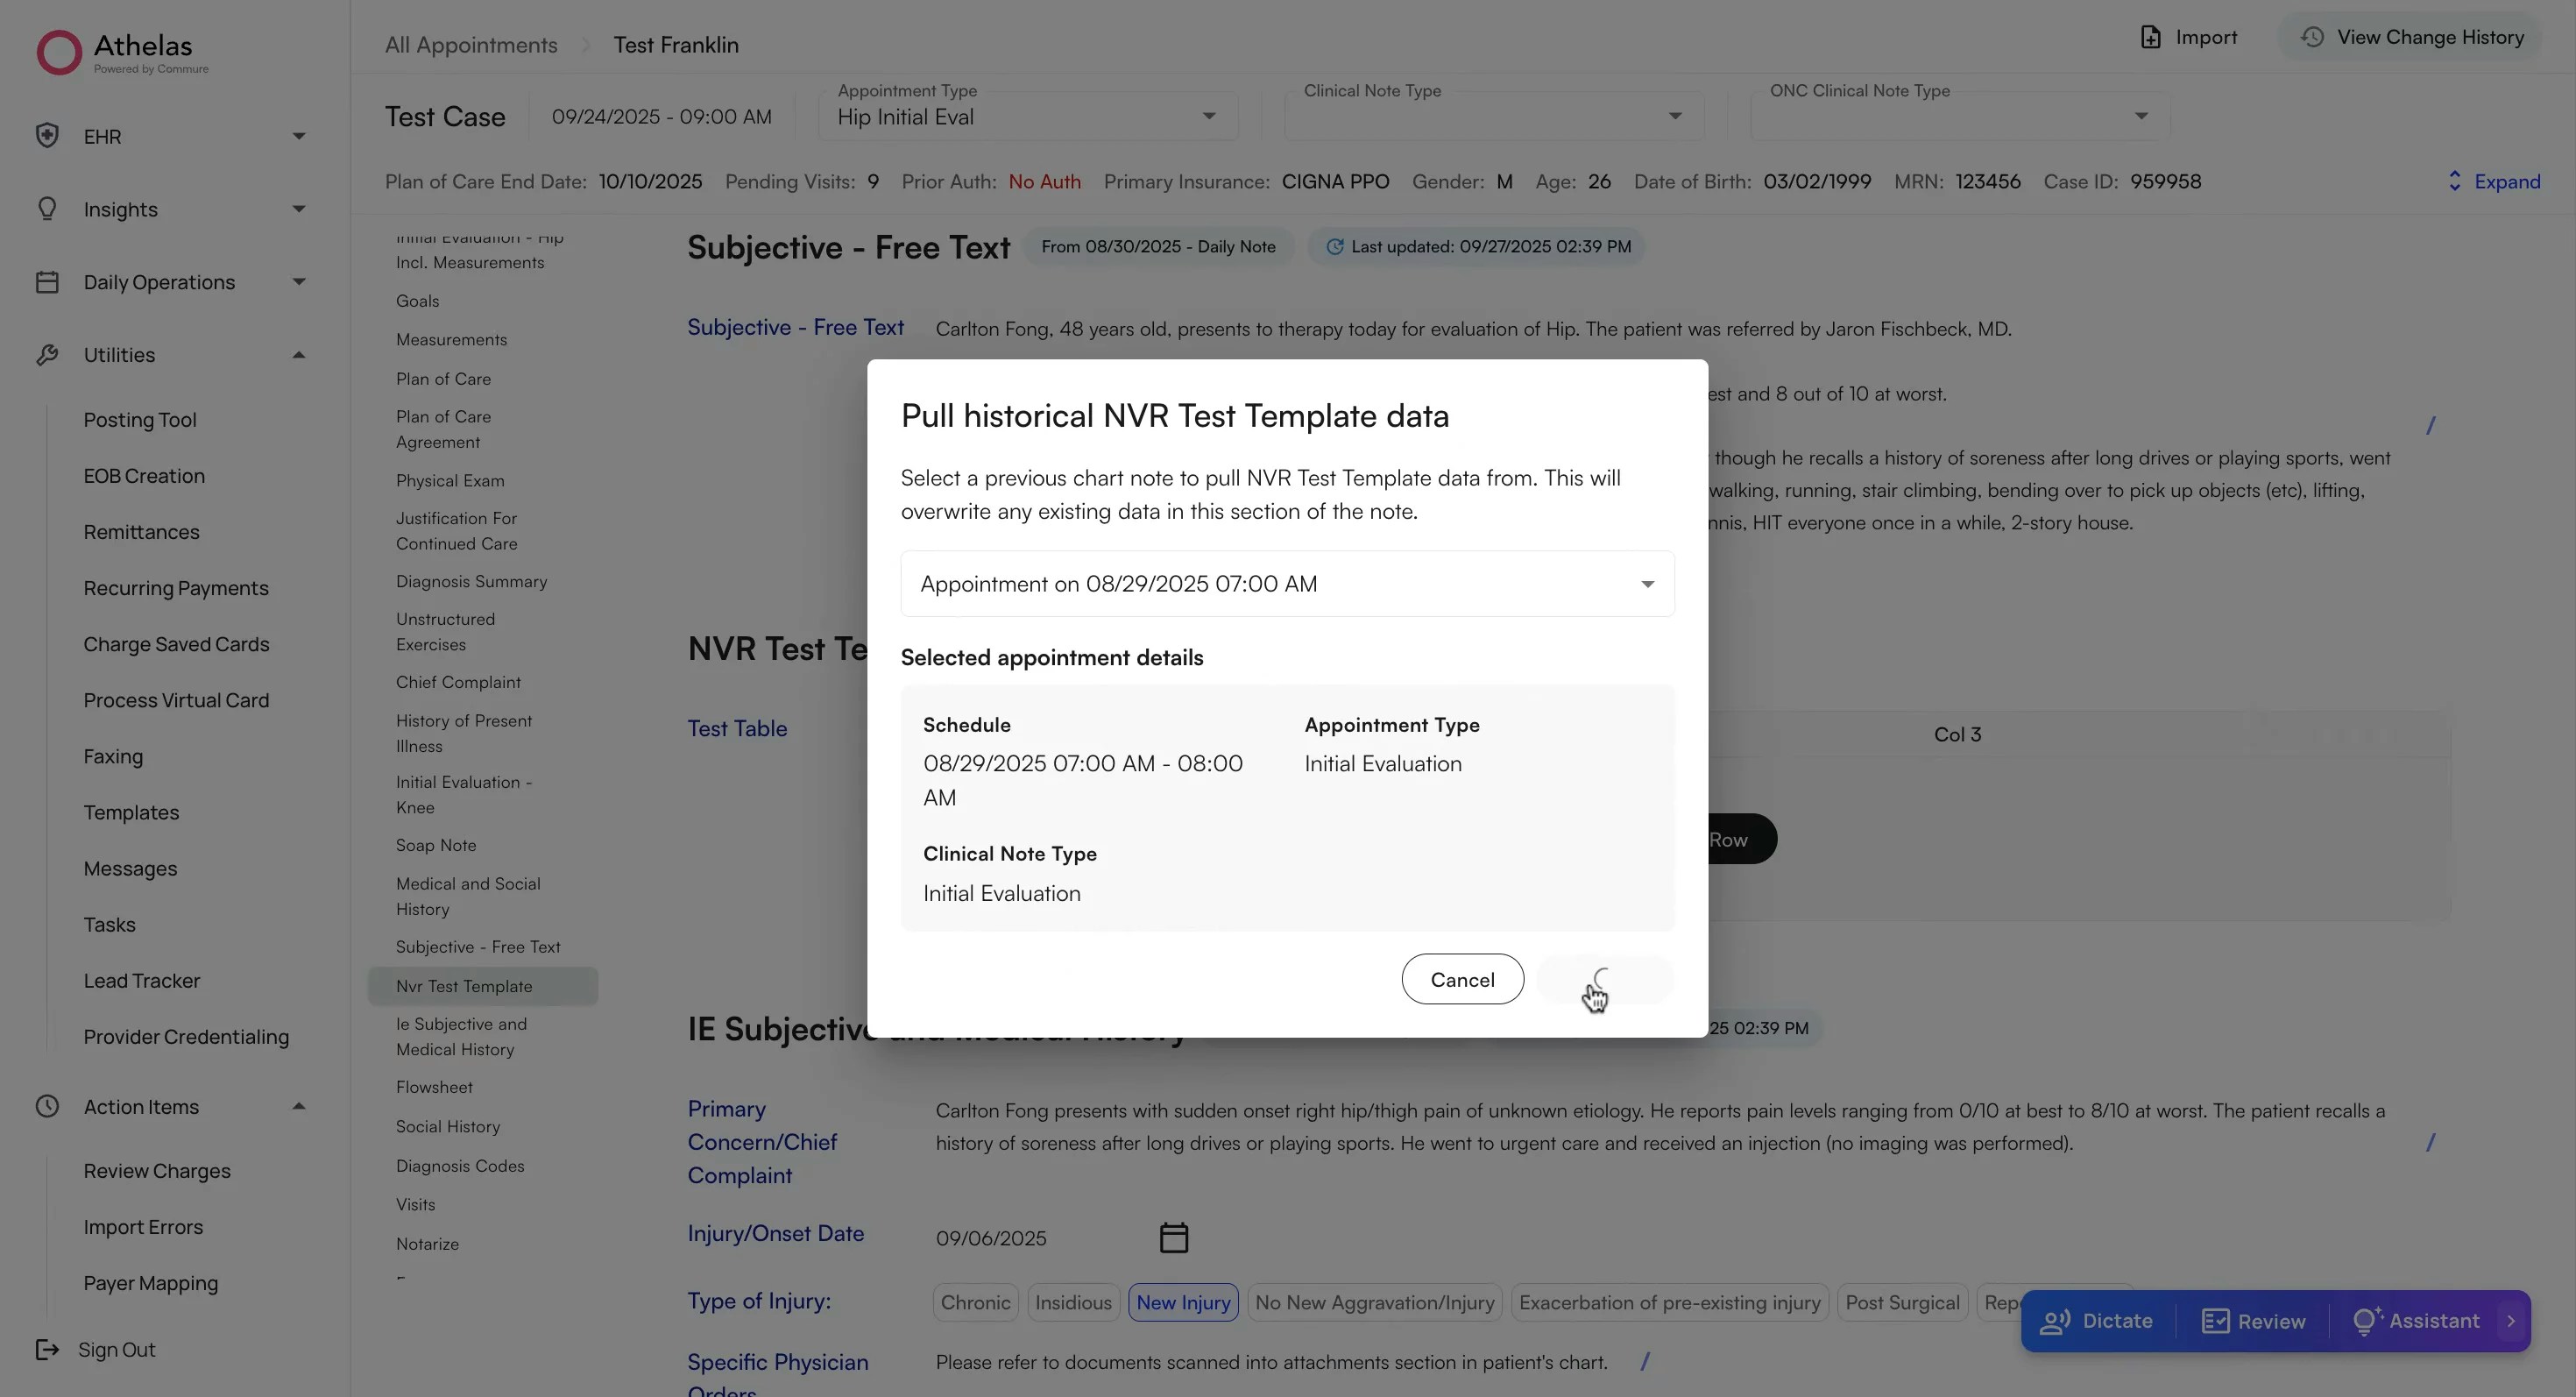
Pull from a previous Chart Note
Click the curled arrow icon in any section to import data from a patient’s prior Chart Note.
Use pre-defined Text Snippets
Type ”/” in a text field to quickly insert pre-made text snippets.Note: You can customize your text snippets from the Preferences tab.To set up snippets that guide AI Scribe note generation, see Scribe Text Snippets & Macros.
FAQs
I can’t see my patient’s past chart notes from my old EHR
Import Records for Past AppointmentsContext:
- Plan of Care details may not be migrated from the old EHR into Athelas Air.
- For returning patients seen in Air for the first time, providers will need to reference their previous documentation and set up the Plan of Care in Air.
- This is a one-time step: once entered, the Plan of Care will automatically carry forward from note to note.
- Go to the Patient’s Profile → **Appointments **and locate the **date of service **of the latest Progress note / Initial Eval appointment for the case.
- Go to Attachments, search for the date of service corresponding to the note from which you want to carry forward the measurements.
- Click the eye icon to view the PDF, then download the PDF to your device.
- Go back to the **Appointments **Tab
- Click the + icon to the right of the appointment → Set Up Chart Note.
- Select the right Case, Appointment Type, and Clinical Note Type [Progress Note, Initial Evaluation, etc.]
- Select For Documentation Only. This option ensures the imported chart note is not billable.
- Select Set-up. This will open the chart note on a new screen
- Click on **Import **at the top right → Upload the attachment → Scribe processes the PDF.
- Track progress by clicking into **Athelas AI → **Select the sections you would like to pull and **Apply Scribe **to desired sections once complete.
- Review, edit if needed, and exit (auto-saves, no signature required). This information should then start pulling into all future notes made on Air.