
Overview
The Self-Serve Credentialing Matrix is a centralized tool designed to simplify and standardize how providers and insurance companies manage credentialing requirements. It provides an at-a-glance reference for the credentialing status of each provider–payer relationship, ensuring clarity, compliance, and faster decision-making. Credentialing is a critical process that validates whether providers meet the requirements of insurance companies to deliver care under their plans. Traditionally, this information is fragmented, requiring manual lookups and repeated back-and-forth. The self-serve credentialing matrix eliminates that friction by giving all stakeholders immediate visibility into credentialing statuses.How would it help?
- Efficiency – Cuts down on time spent searching for or verifying credentialing requirements.
- Transparency – Provides providers and payers with a shared source of truth.
- Scalability – Supports onboarding, cross-coverage, and expanding provider networks with minimal administrative overhead.
Key concepts
Selecting credentialing type values
You can select any of the 3 allowed combinations (the 4th, shown below, is not allowed):Facility Specificity
If facilities are not specified for the Insurance Company or Credentialing Group, then the credentials will be applied site-wide. You are allowed to have different types of credential for different facilities, and it will impact the overall outcomes for Appointment Scheduling and Chart Note Signing.Choosing Facilities
Choosing Facilities
Mercy Care, we set MAIN OFFICE to a Pending state, and for the rest of the facilities this insurance was credentialed.📹 Video demonstration — a screen recording for this scenario is available in the source guide and needs to be uploaded (Loom/YouTube) and embedded here.Creating Appointments for different facilities (with blocks)
Creating Appointments for different facilities (with blocks)
Override Credentialing Matrix.📹 Video demonstration — a screen recording for this scenario is available in the source guide and needs to be uploaded (Loom/YouTube) and embedded here.Example: a provider with entries across facilities
Example: a provider with entries across facilities
Abhi Provider and the patient insurance is Mercy Care:
- If the appointment is being scheduled at
Main Office, the facility-level credentialing entry would cause the appointment to be blocked on creation. - If the appointment is being scheduled at a facility not named
Main OfficeorGary J Smith, then the appointment would be created since the provider is credentialed under the group.
Provider Licensing
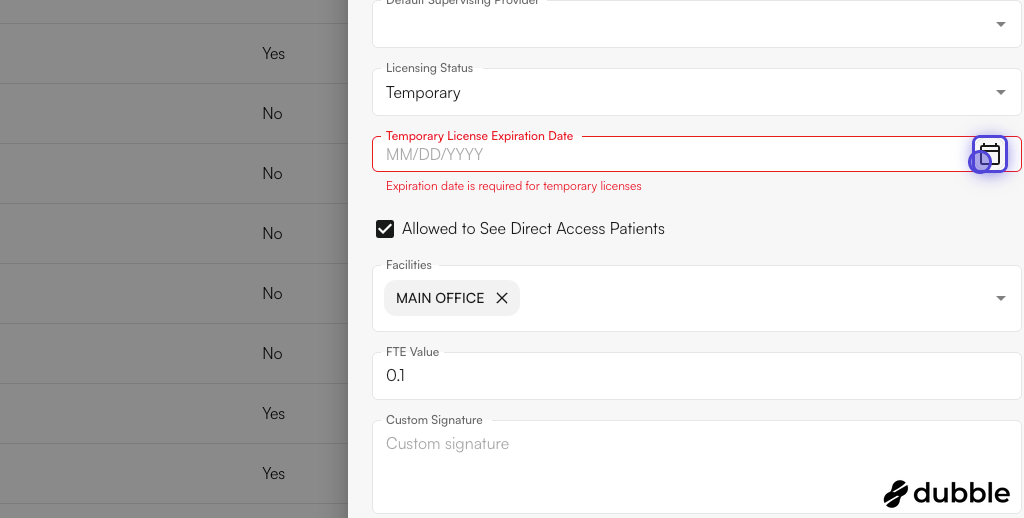
Provider Licensing holds the licensing status of a provider. The three different types of provider licensing are:Licensing setup
Licensing setup
Go to EHR > Preferences
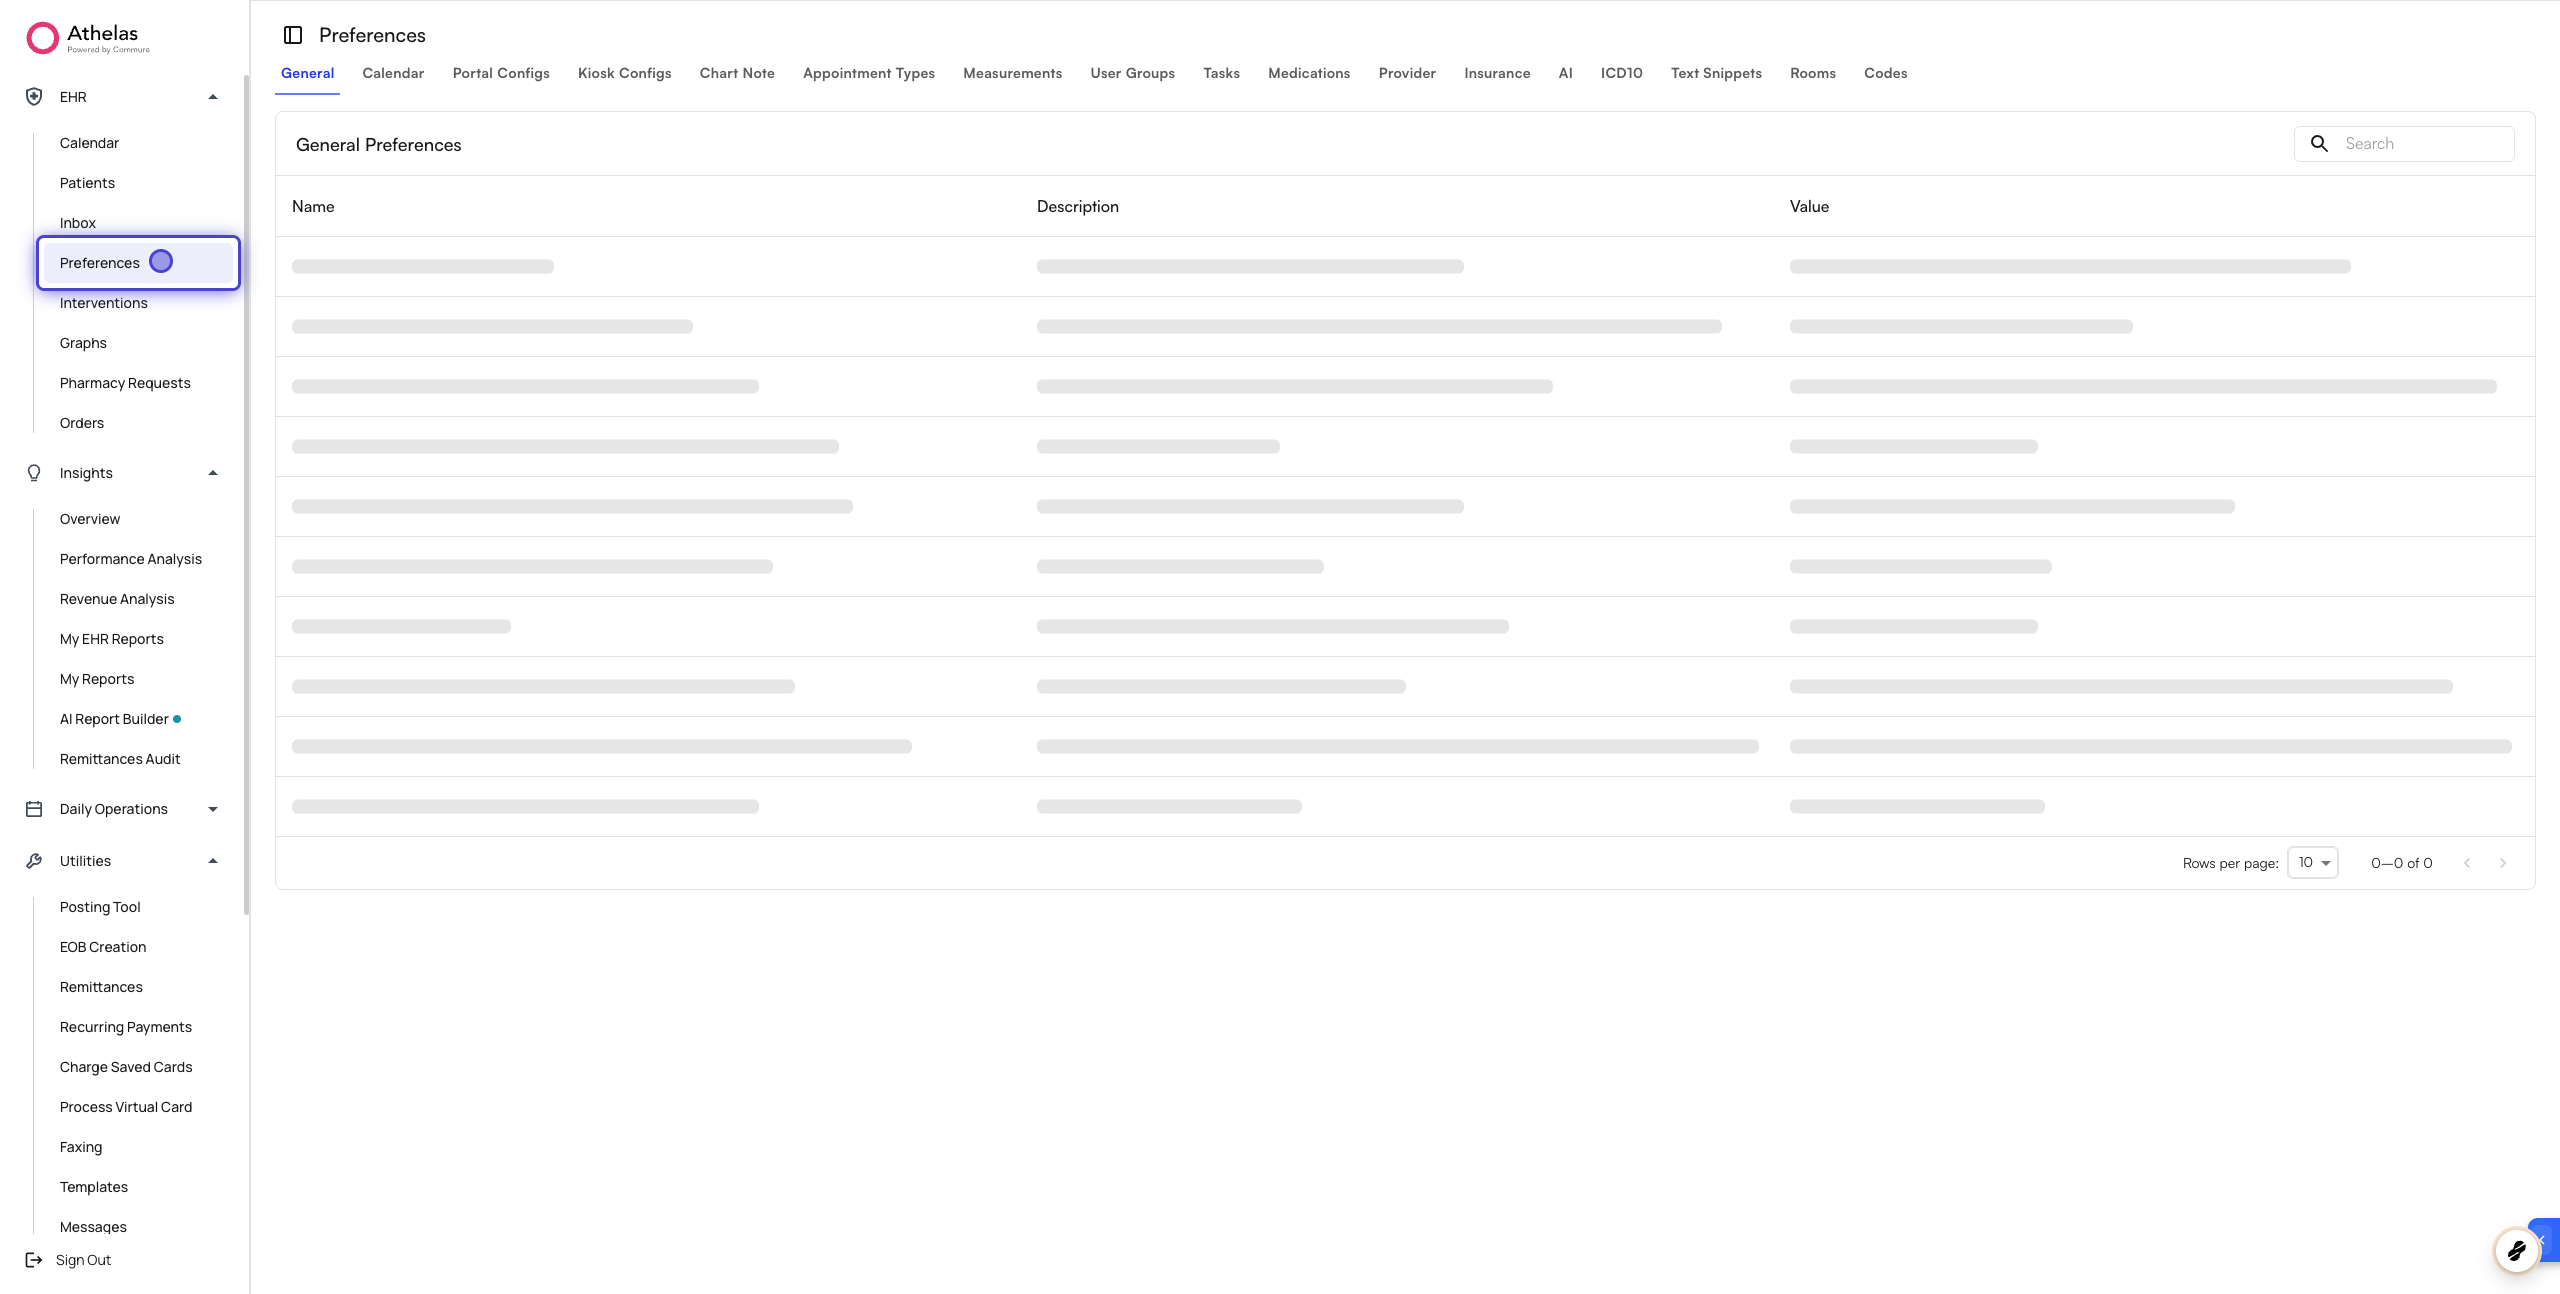
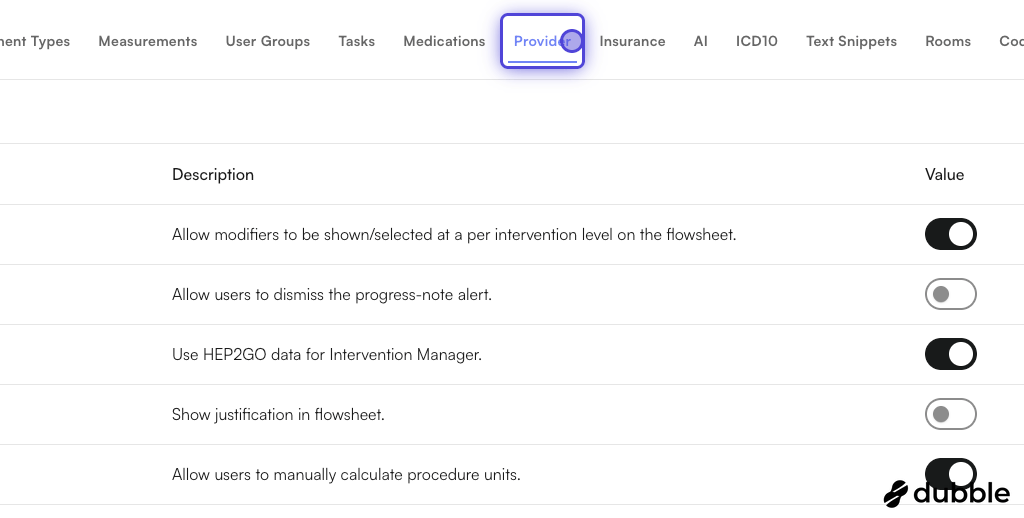
Click on the Provider tab
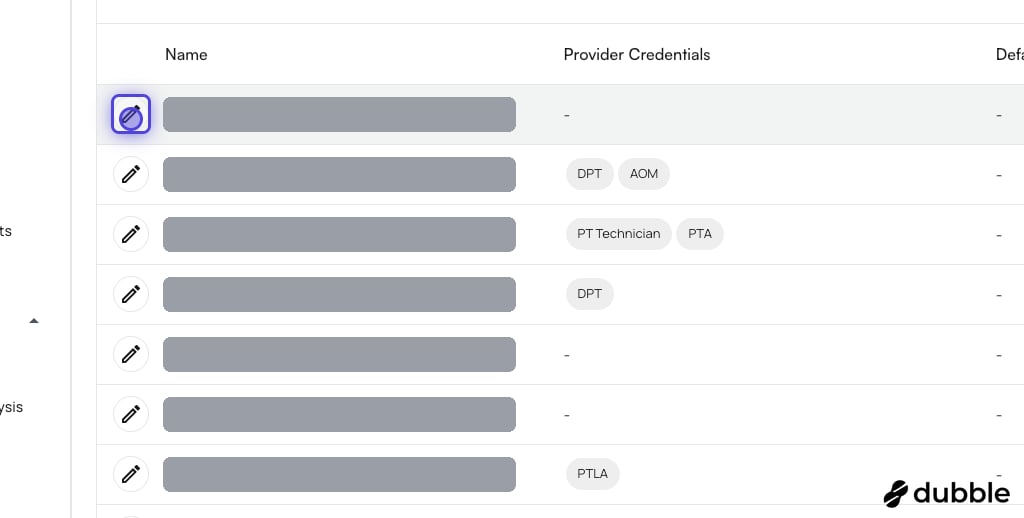
Click on the pencil icon to edit a provider's information
Expand the licensing status option
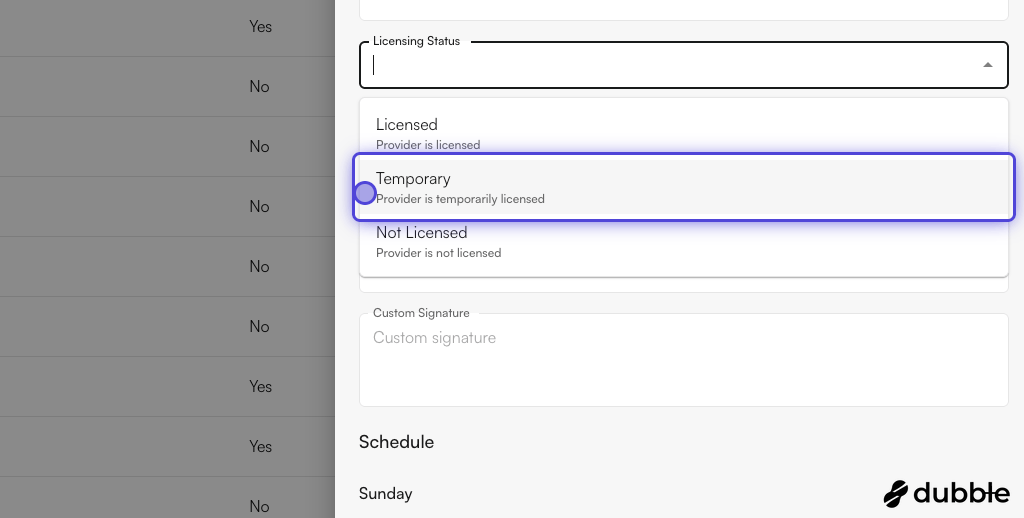
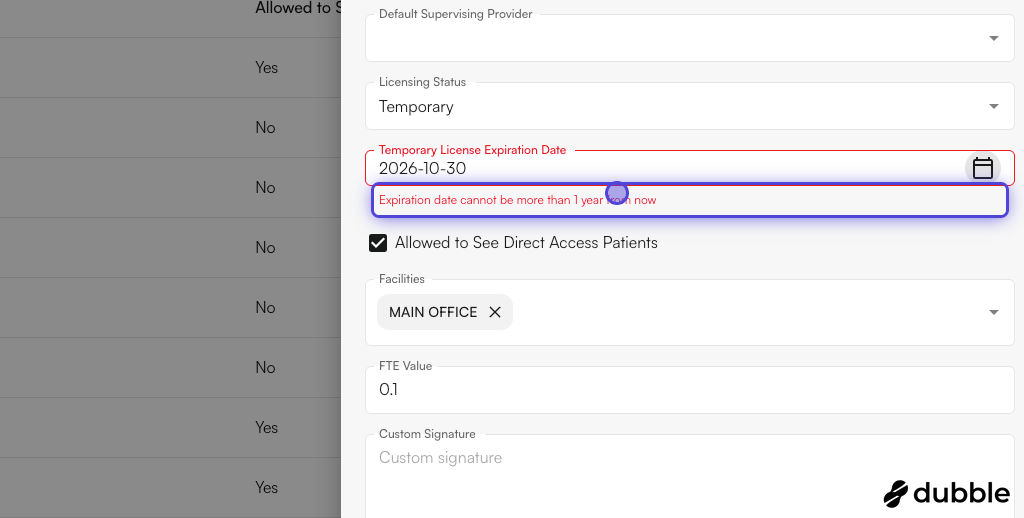
Fill the temporary license expiration date
Expiration date cannot be more than 1 year from now
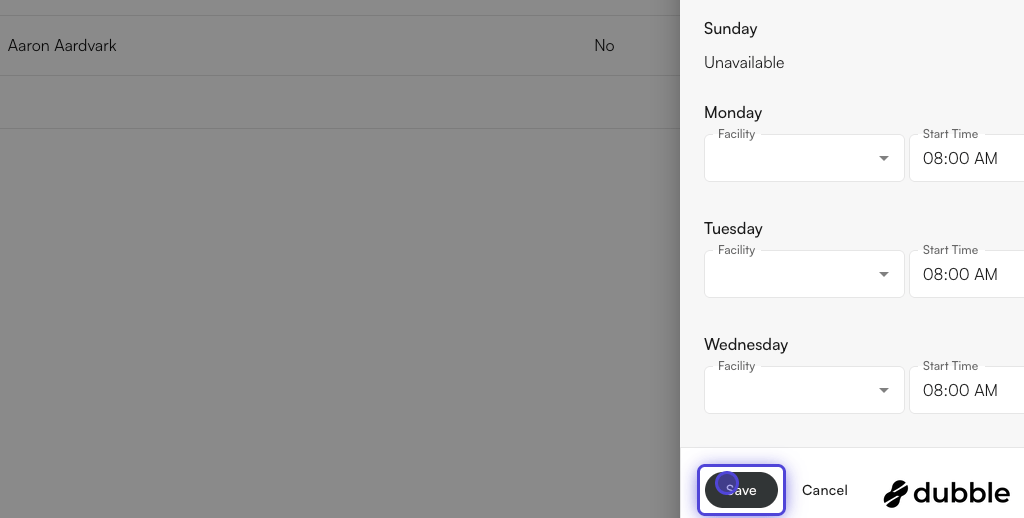
Click on Save to reflect these changes
Provider credentials
Adding a provider credential
Adding a provider credential
Navigate to Provider Credentialing
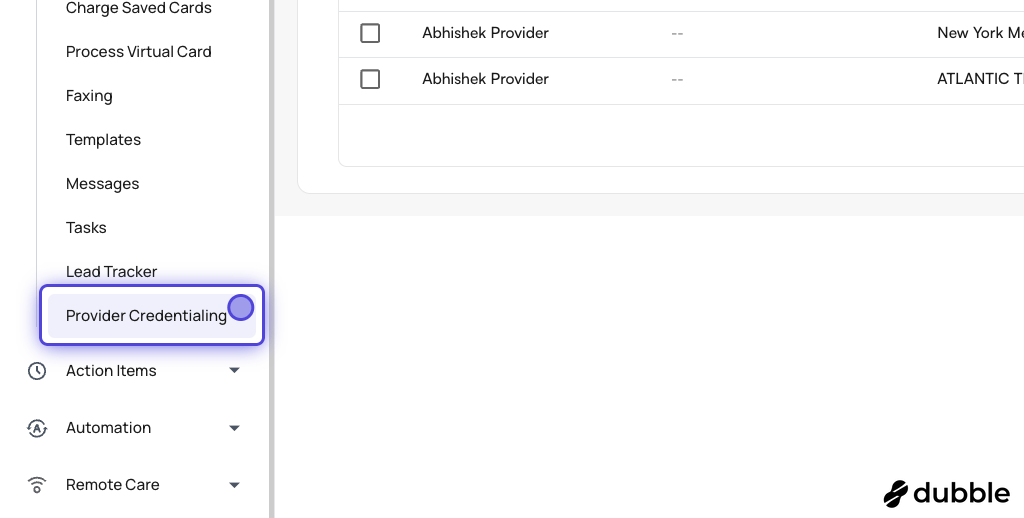
Click on Add Credentialing
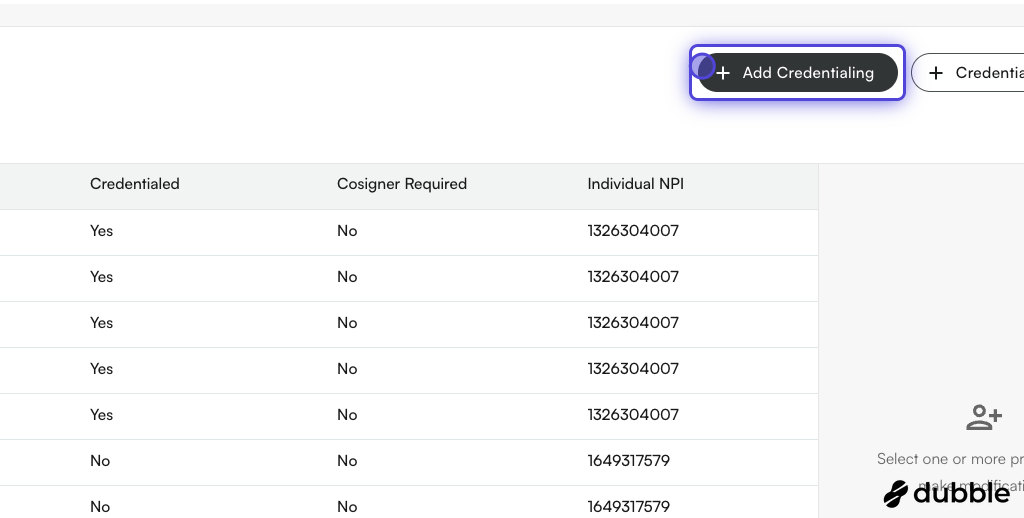
Search for provider names
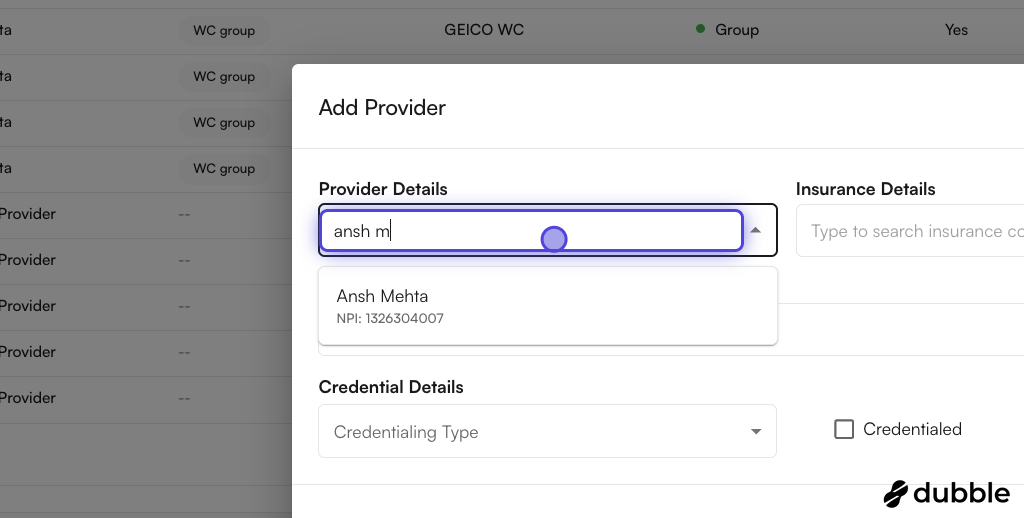
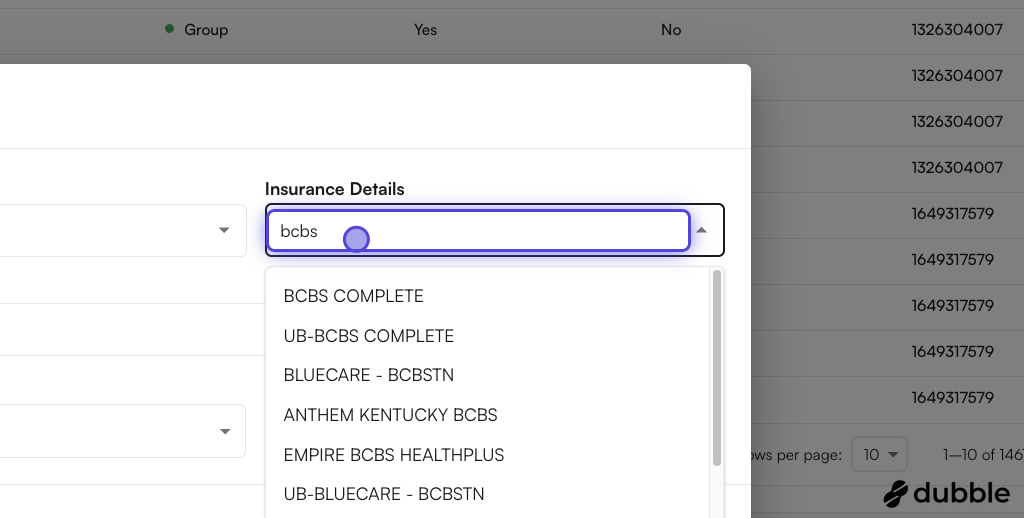
Search for insurance companies
Select credentialing type
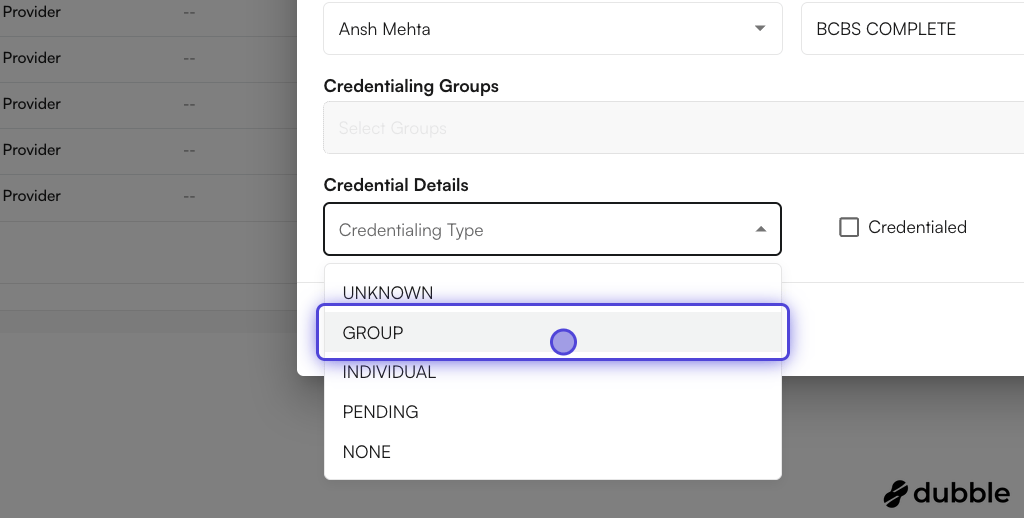
Check the relevant values for the credentialing type selected
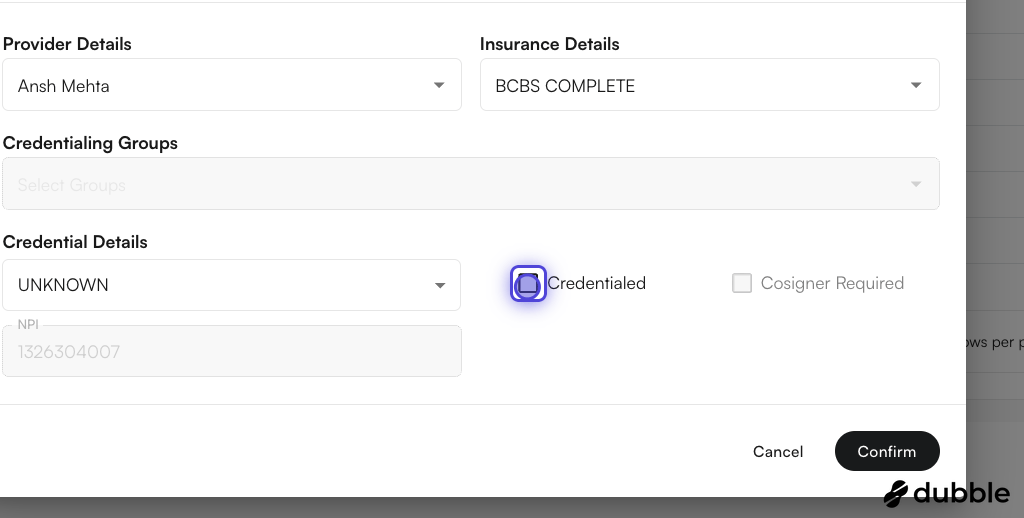
Click on Confirm to save your changes
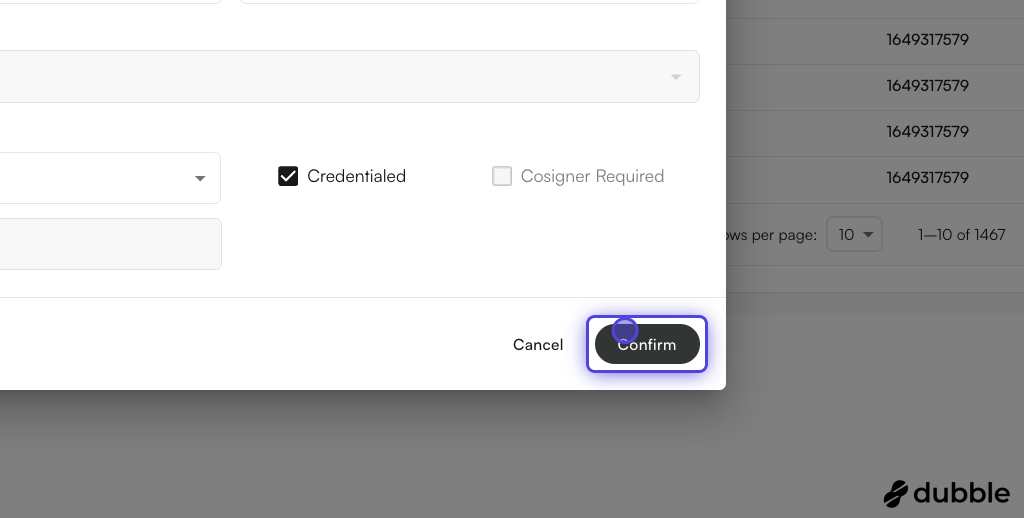
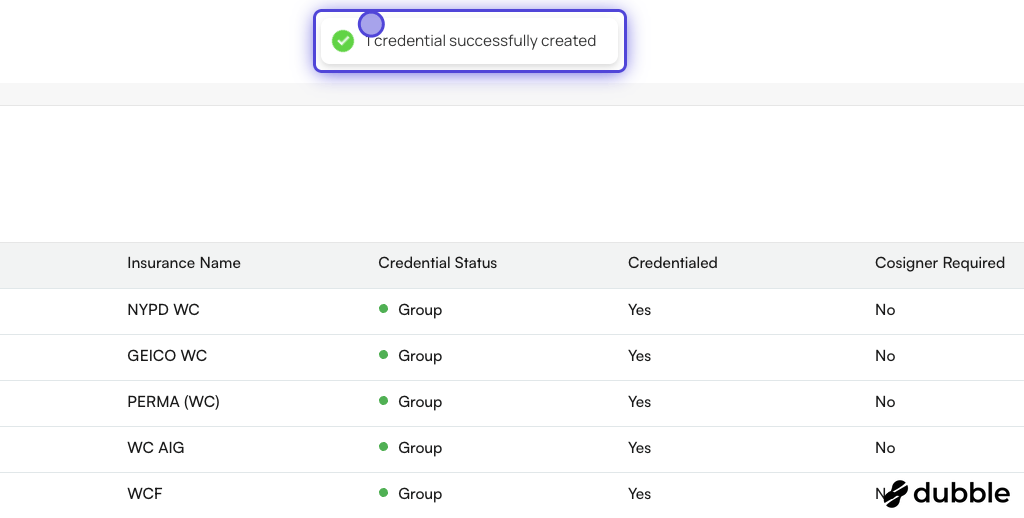
You can see the success message
Bulk edit provider credentials
Bulk edit provider credentials
Select multiple rows on the table
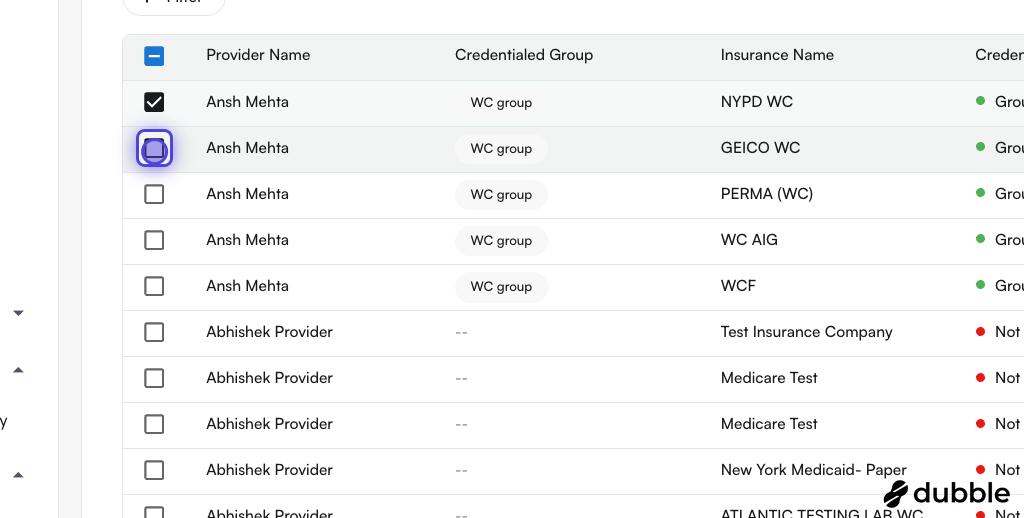
Use the edit section on the right of the table
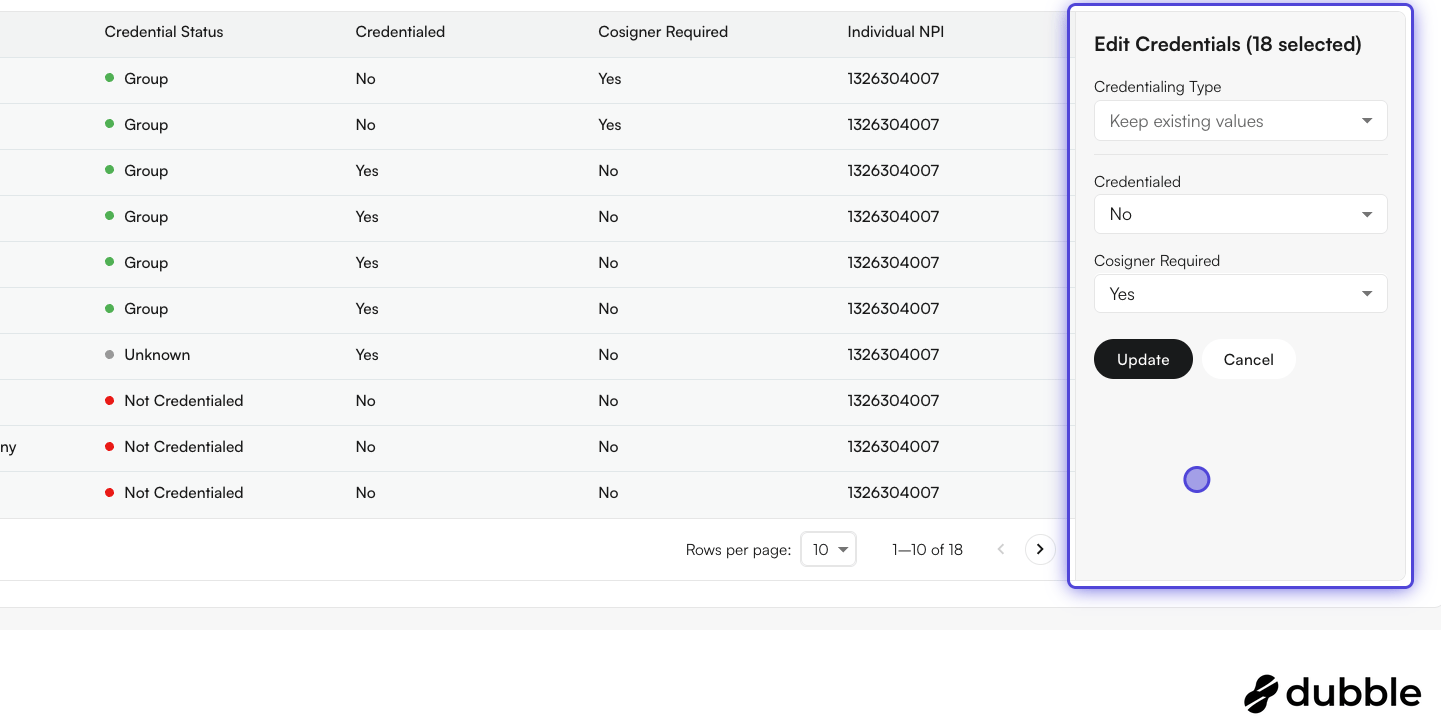
Credentialing type, Credentialed, and Cosigner Required values.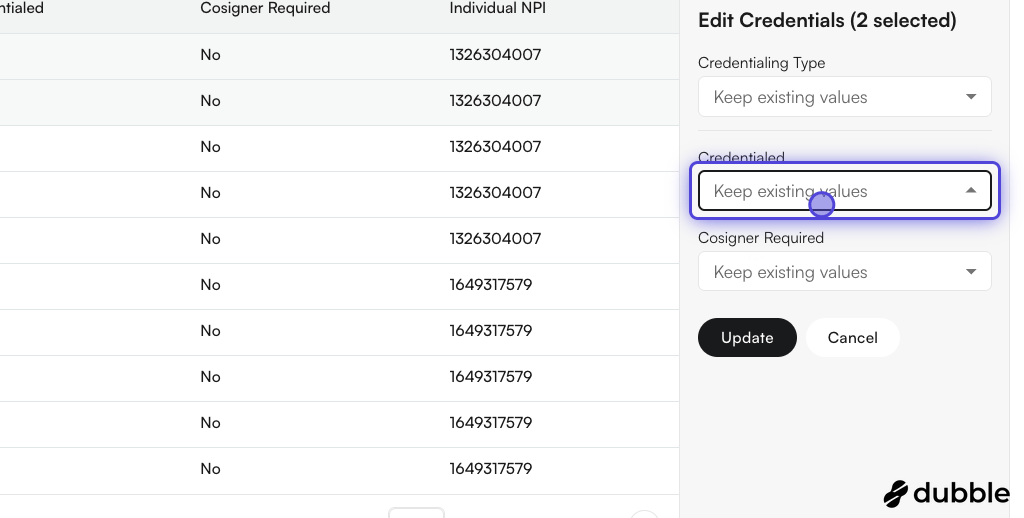
Change values for the selected rows
Yes for Cosigner required.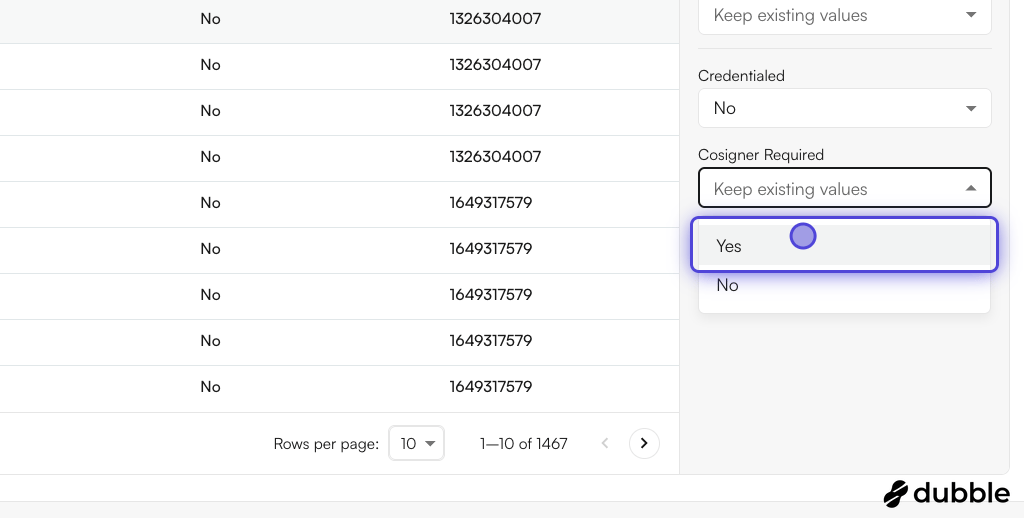
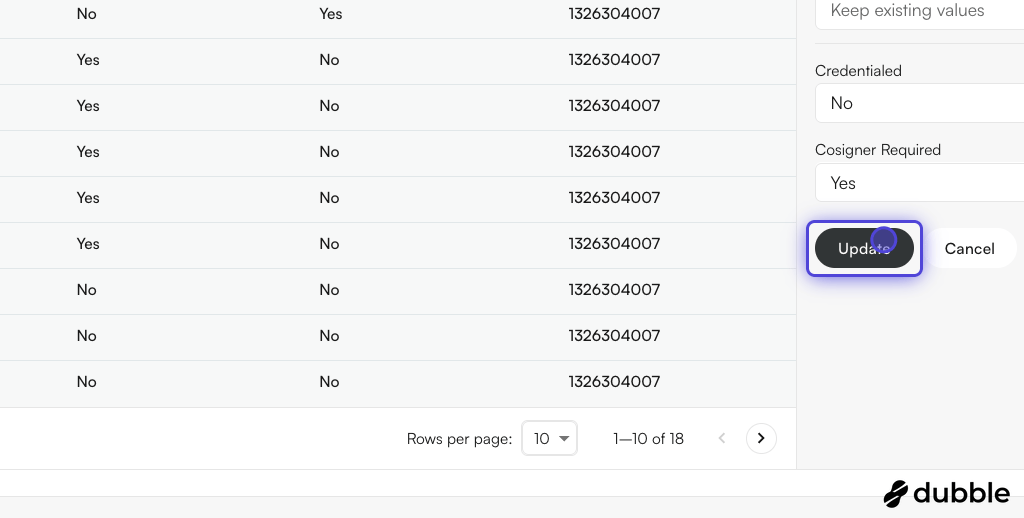
Click on Update to save your changes
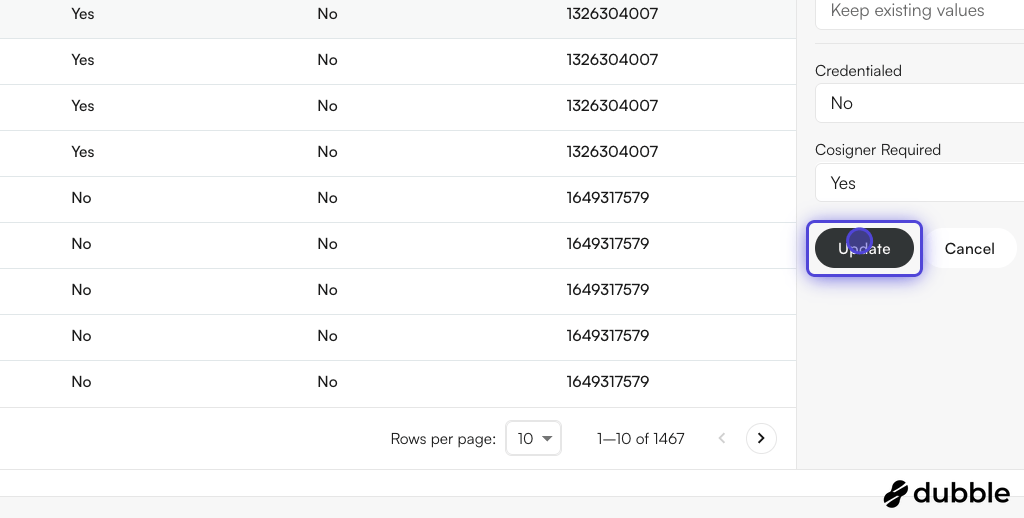
You can see the success message
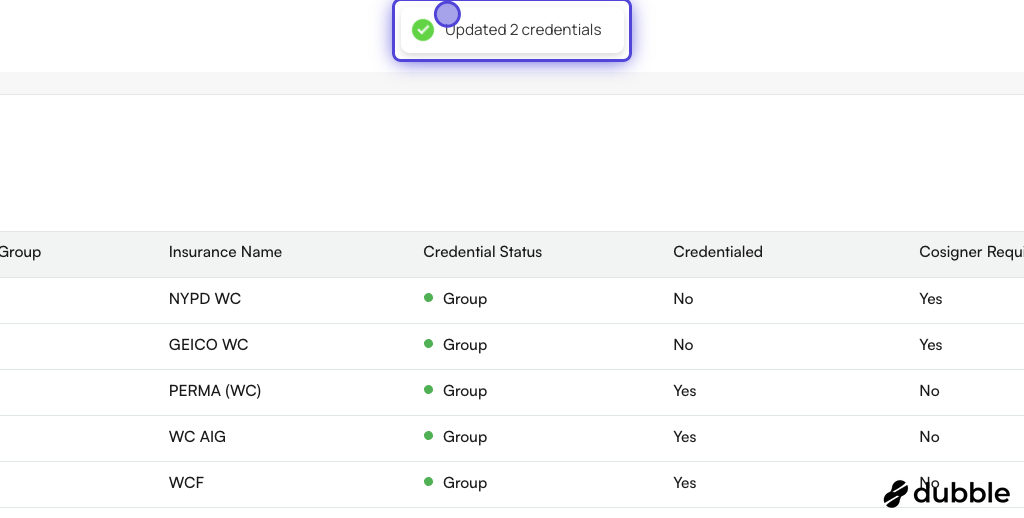
Select all results in a filter for bulk editing
Select all results in a filter for bulk editing
Select the adequate filters
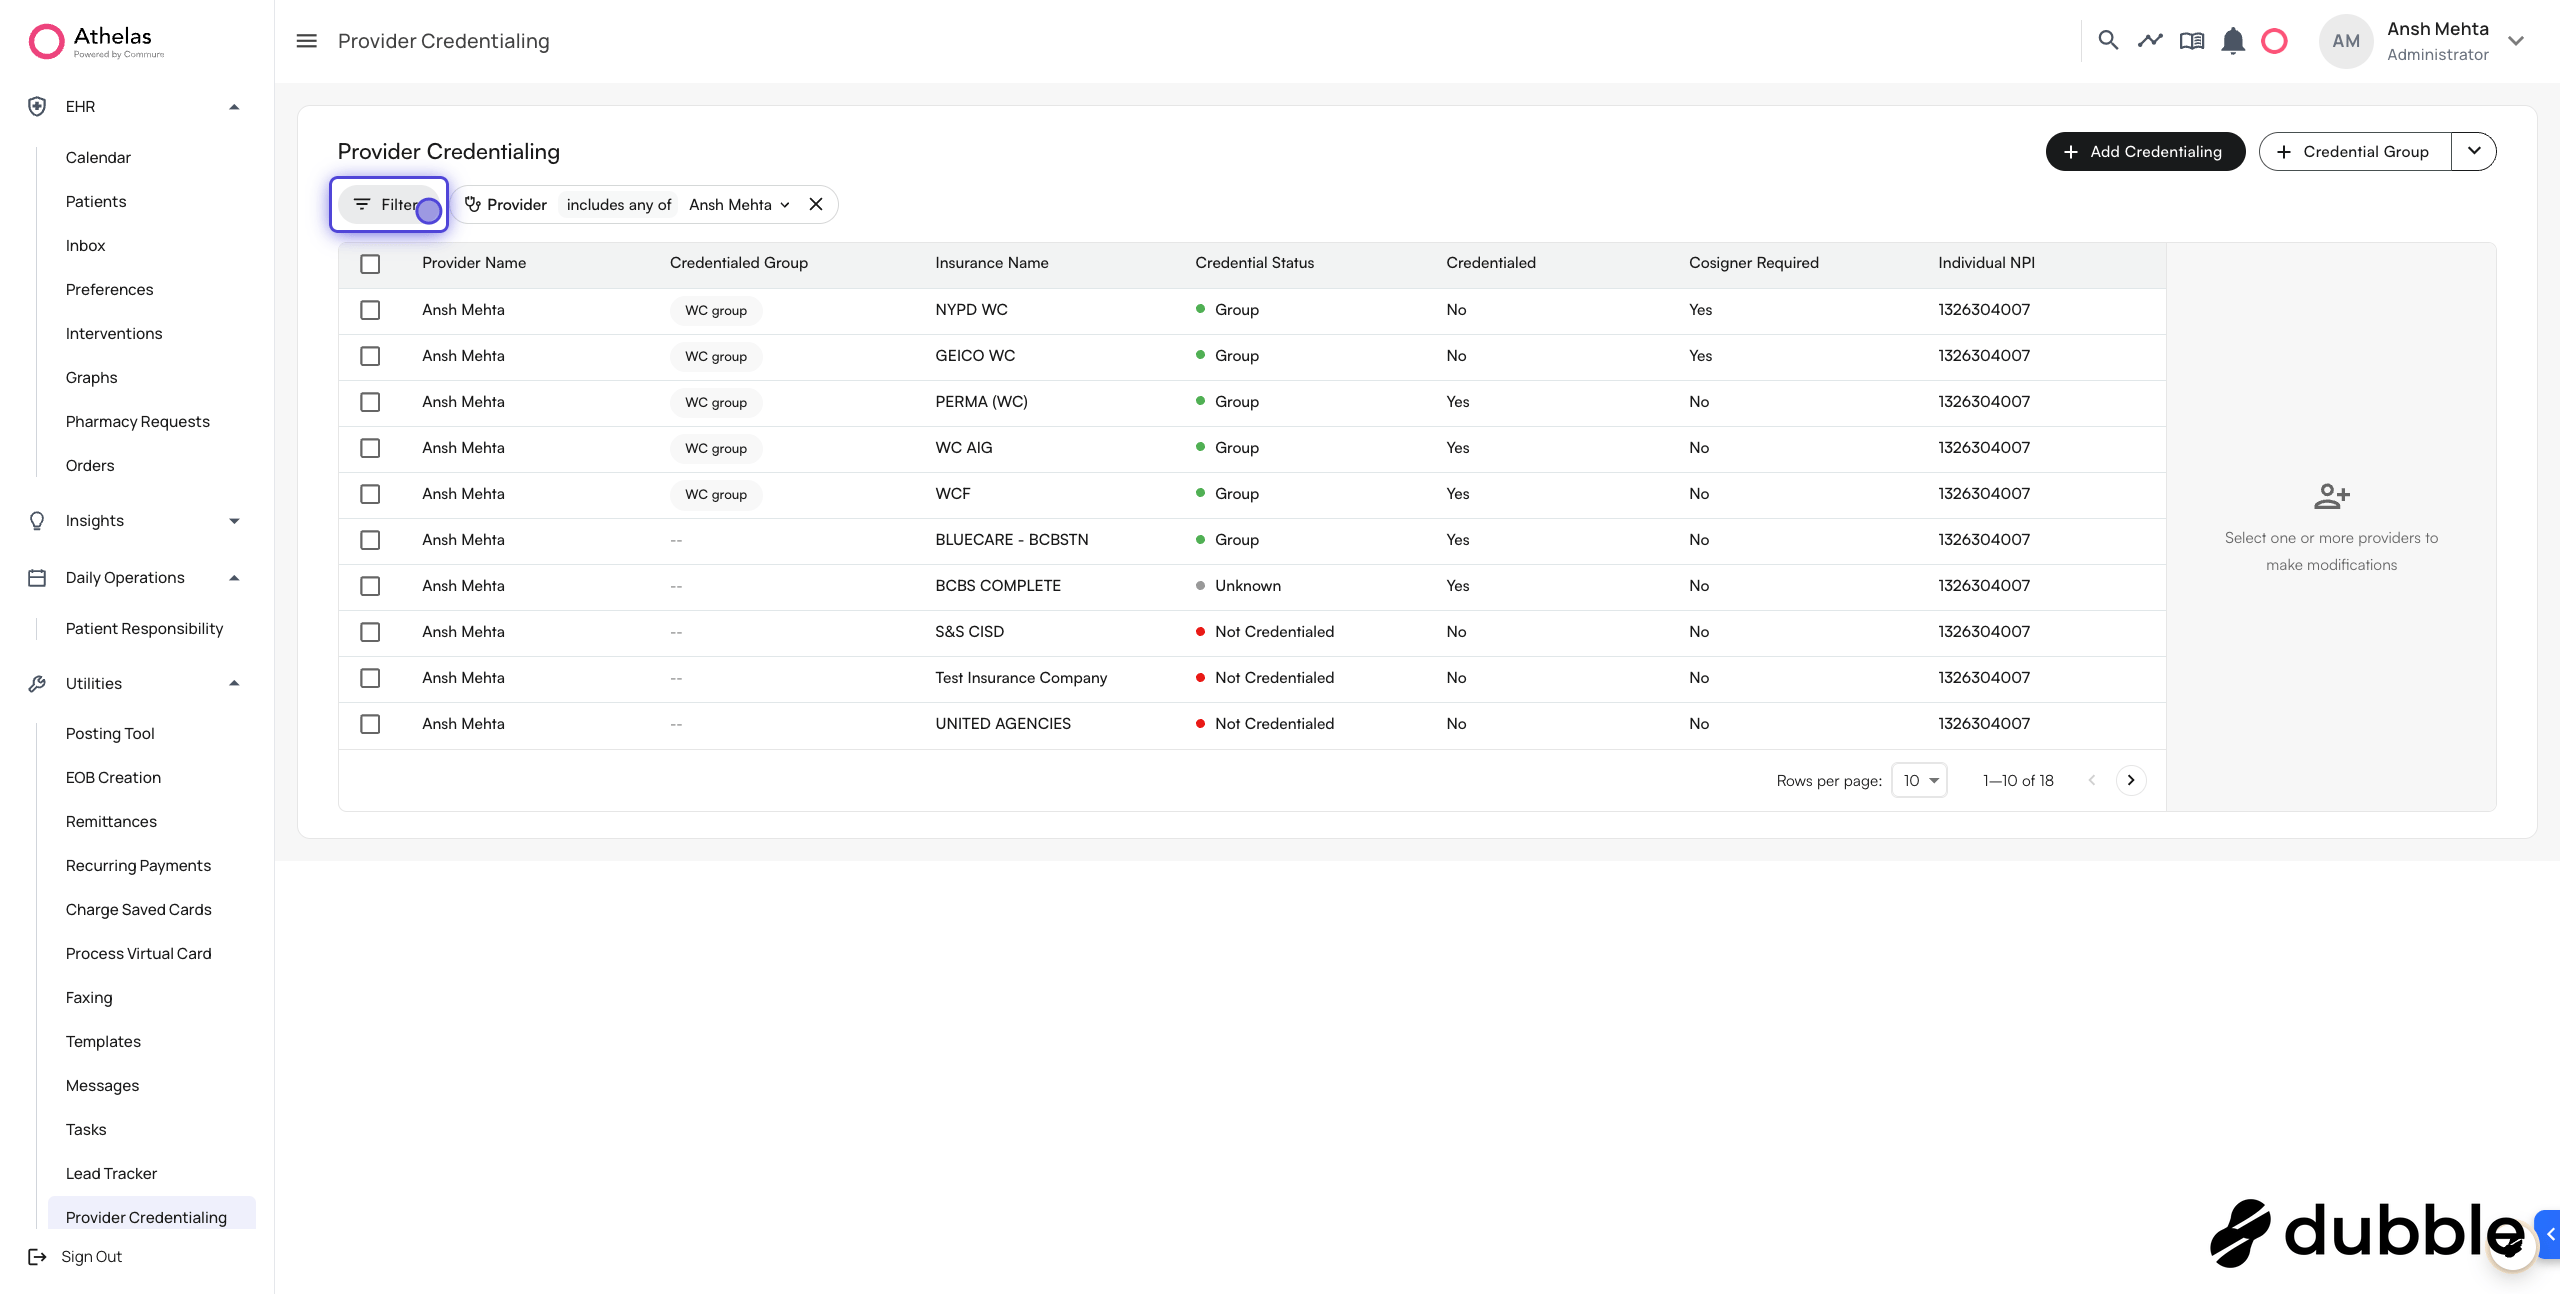
Review the result count
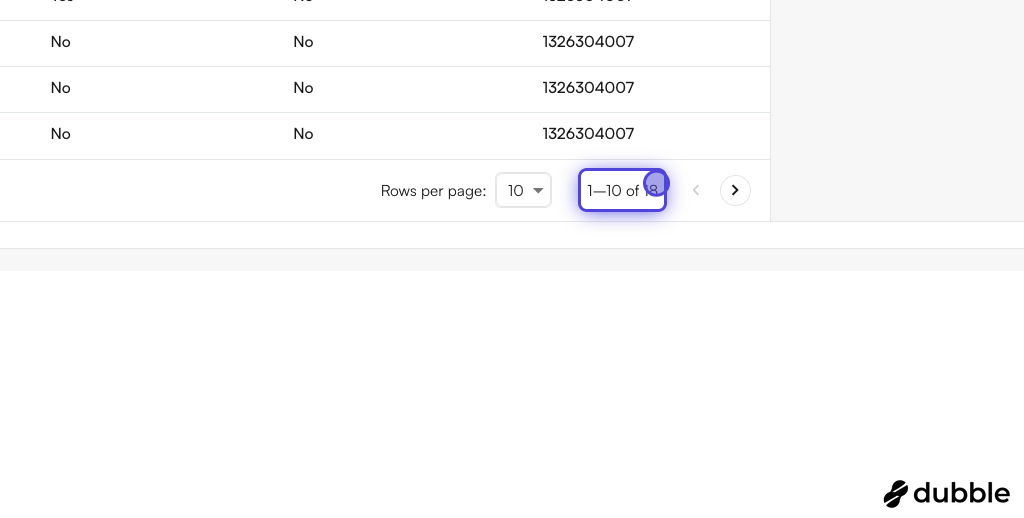
Check the box on the table header
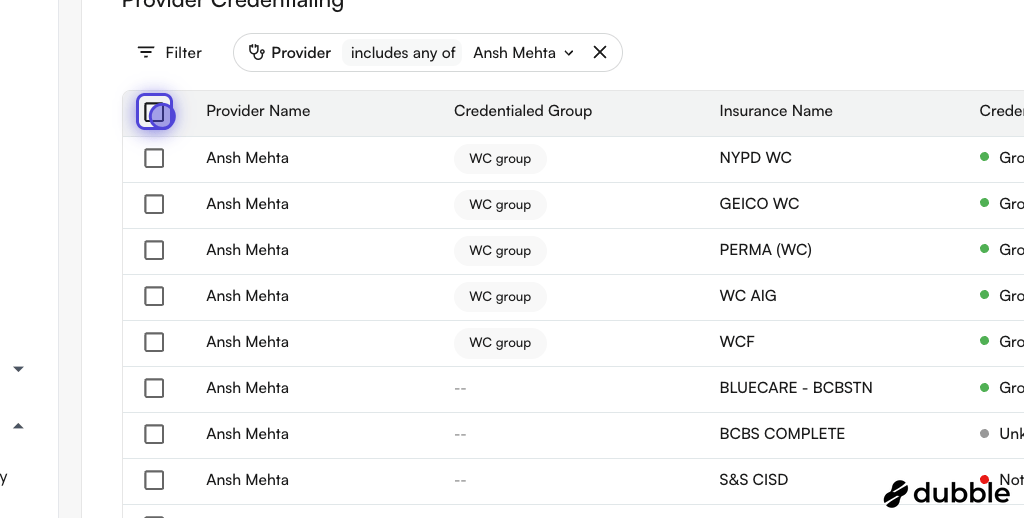
Select all rows on the page
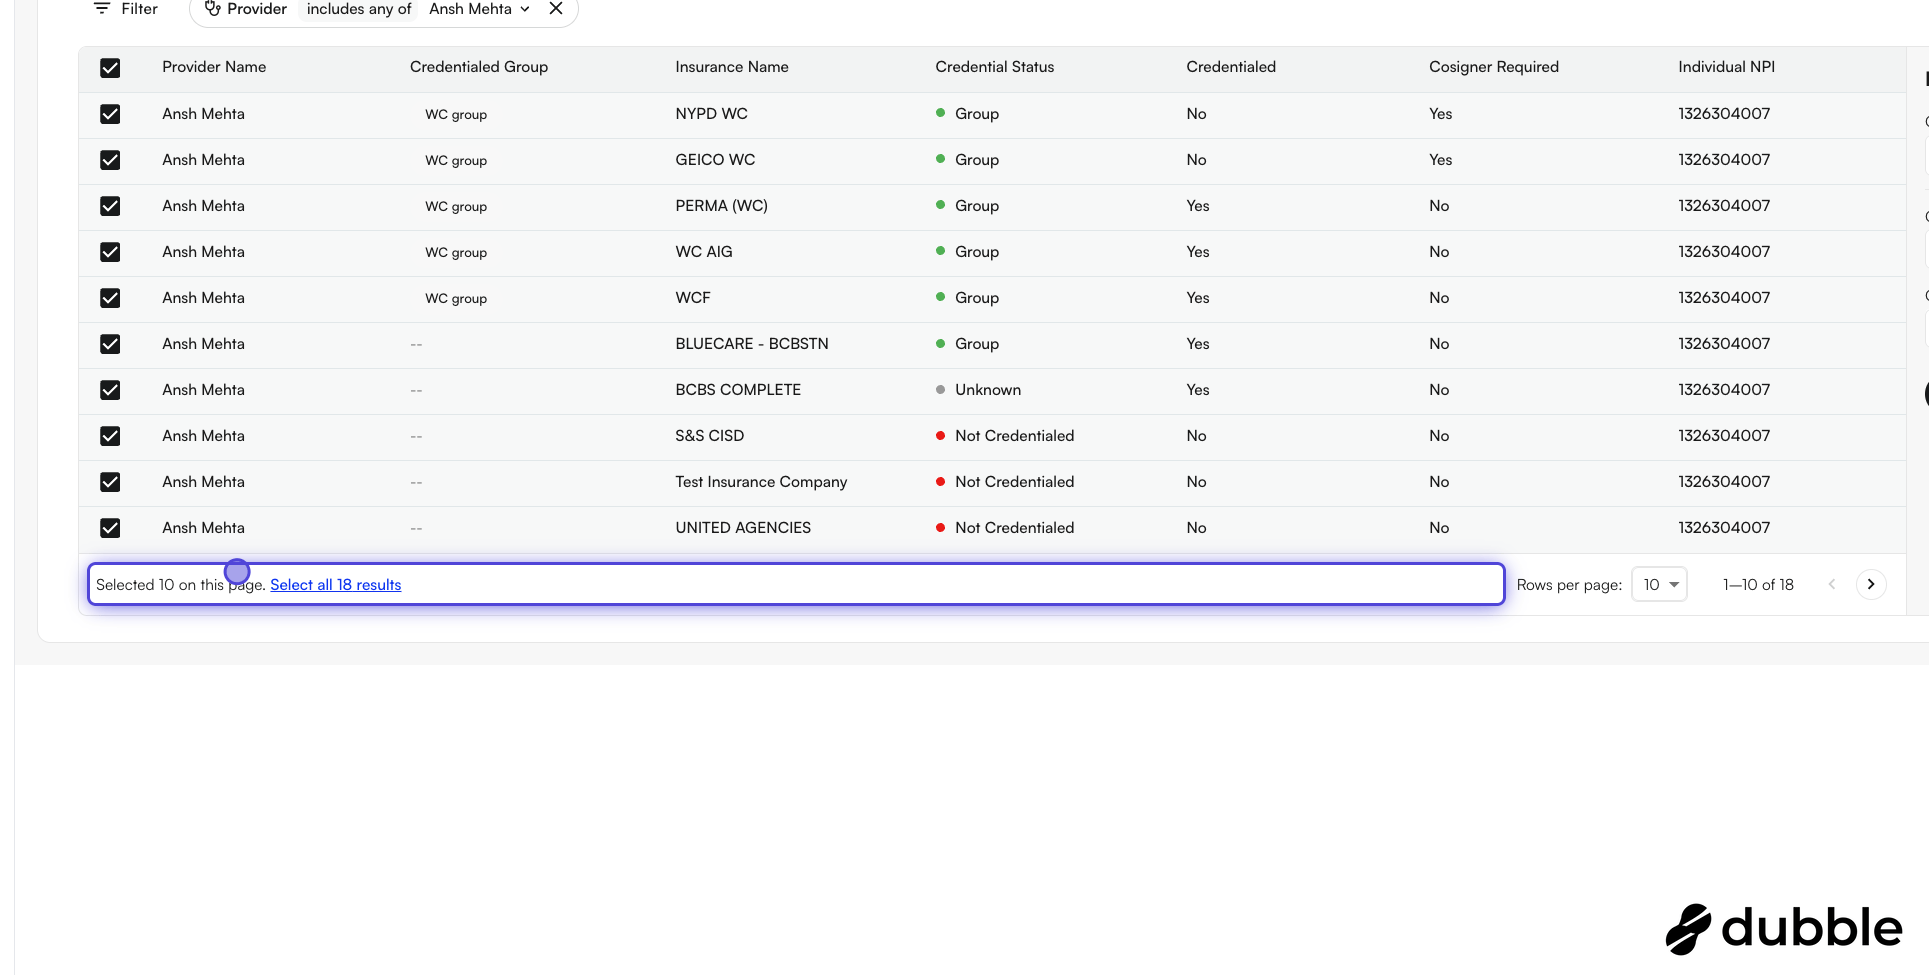
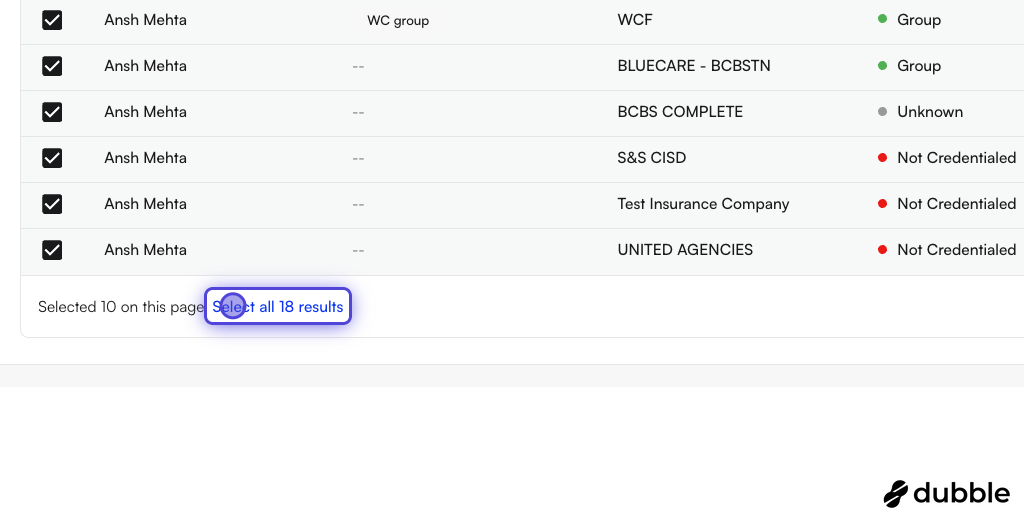
Click on Select all 18 results to select every row in the filter
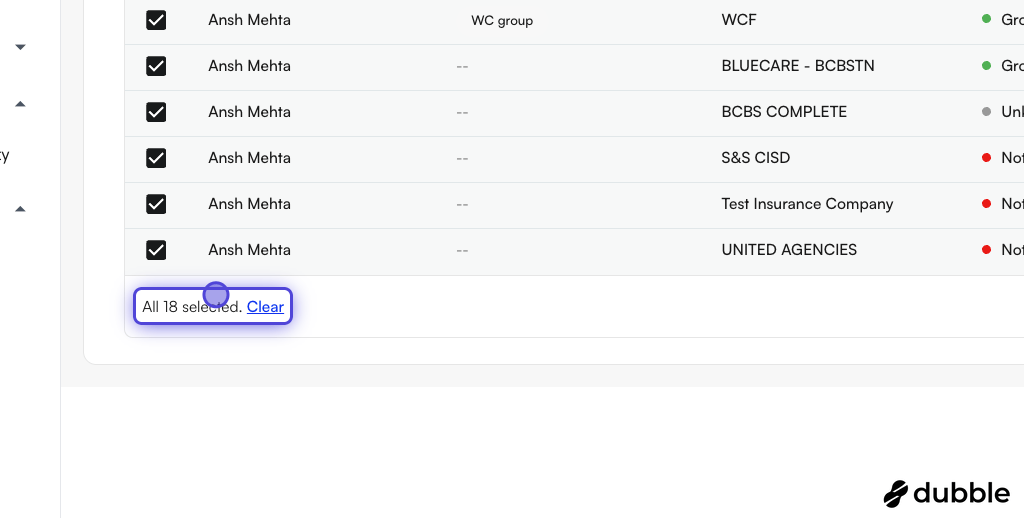
All 18 rows are now selected
Make the edits accordingly
Click on Update to reflect your changes
Credentialing Group
Credentialing group allows you to bundle multiple insurance companies under one group, so when you get credentialed for a group, you can apply the same configuration.- An insurance company can be part of multiple credentialing groups.
- Groups are mutually exclusive with individual insurance selection in the Add Credential modal.
- You can select multiple groups when adding credentials to credential a provider with all insurances across those groups.
Creating Credentialing Groups
Navigate to the Provider Credentialing page
Click the + Credential Group split button in the top right

Fill out the group details
- Enter a group name (e.g., “Optum Group”, “Medicaid Plans”).
- Add an optional description.
- Select insurance companies to include in the group.
Click Save Group to create the group
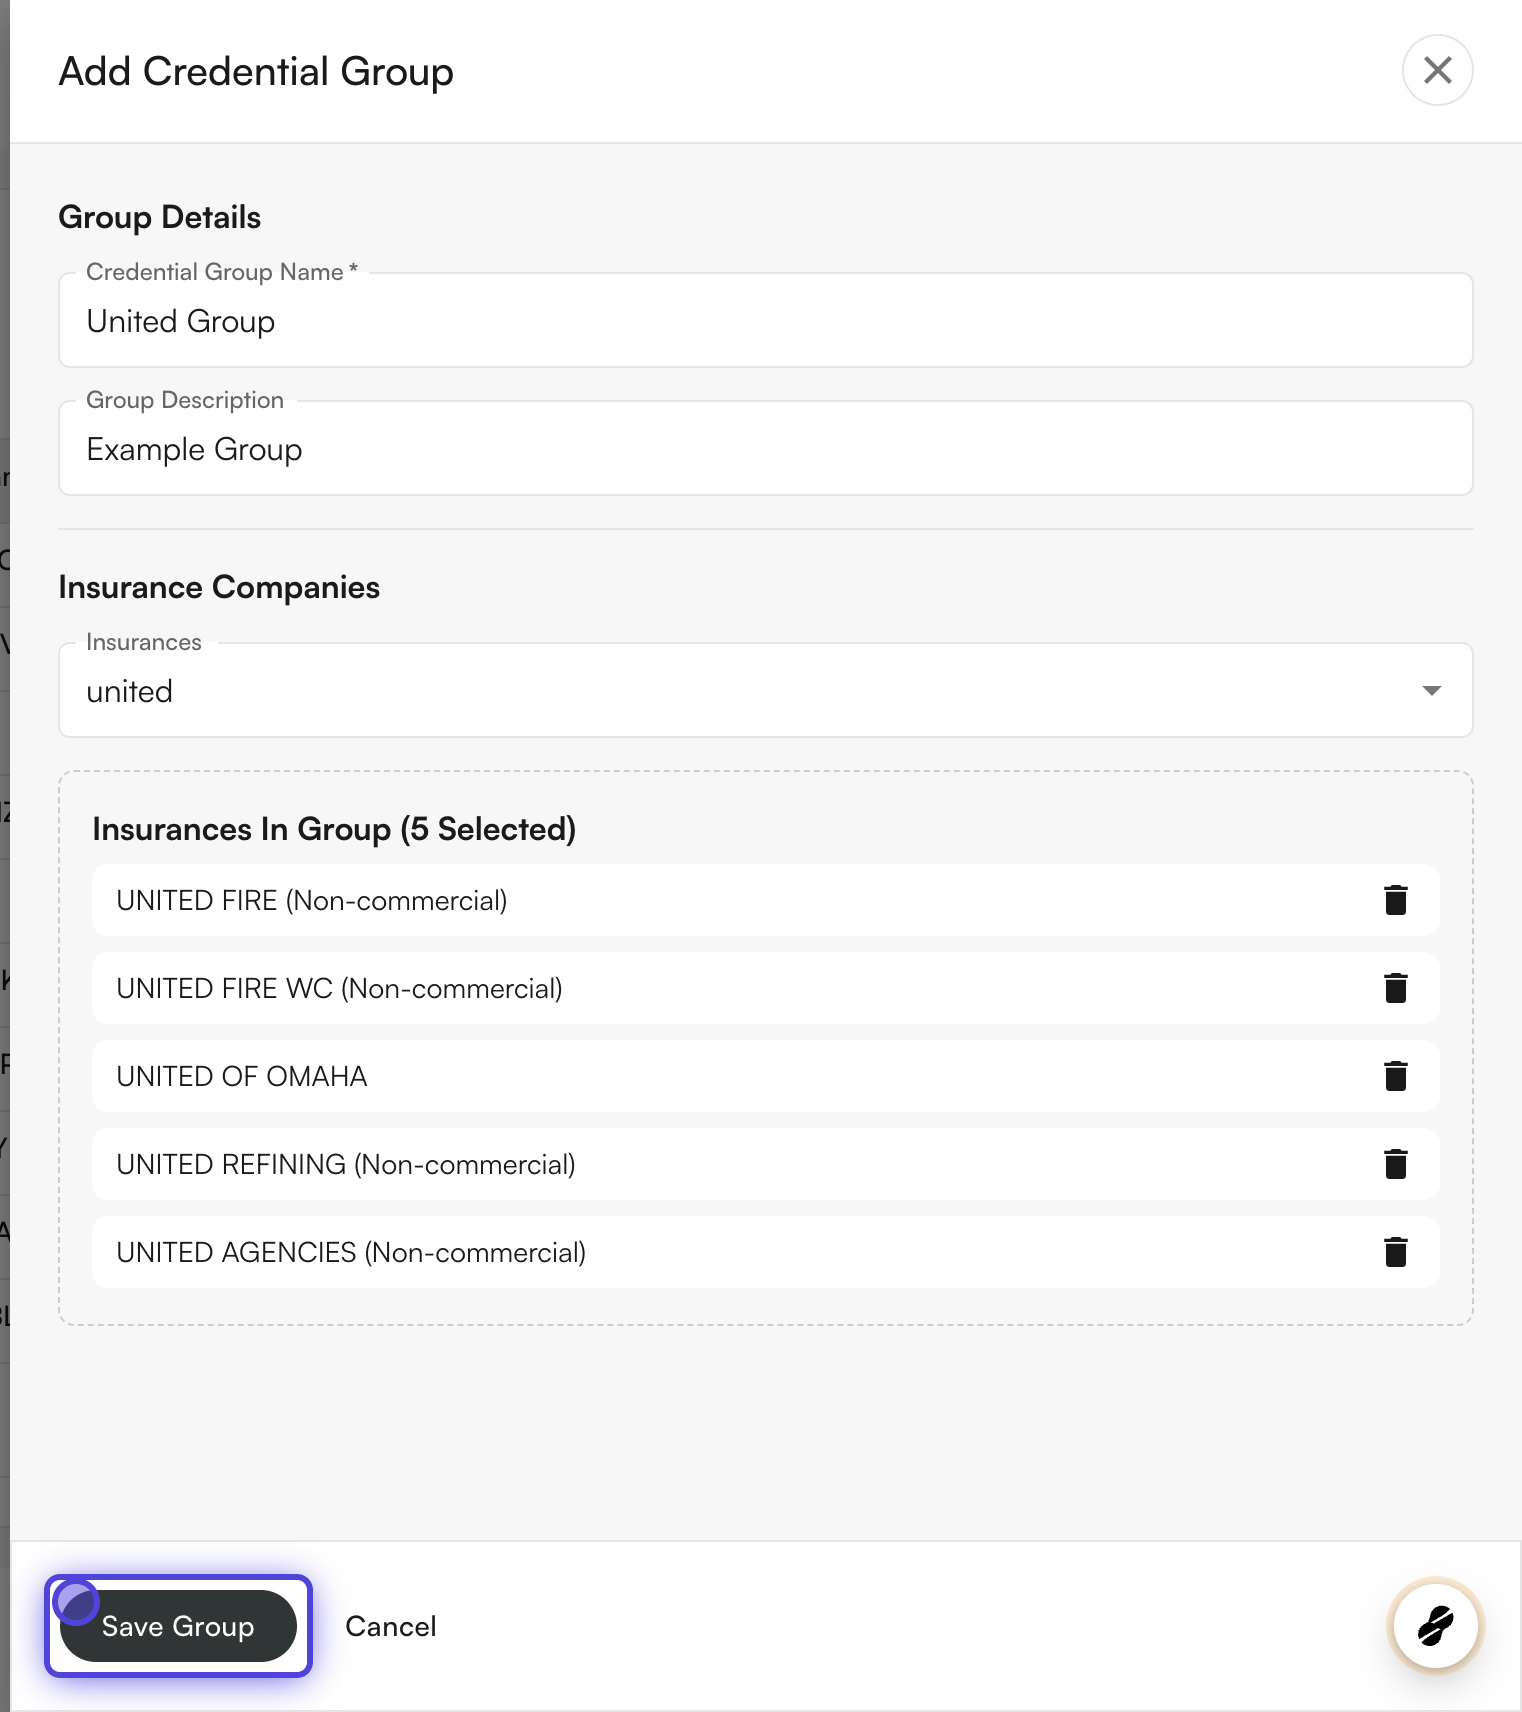
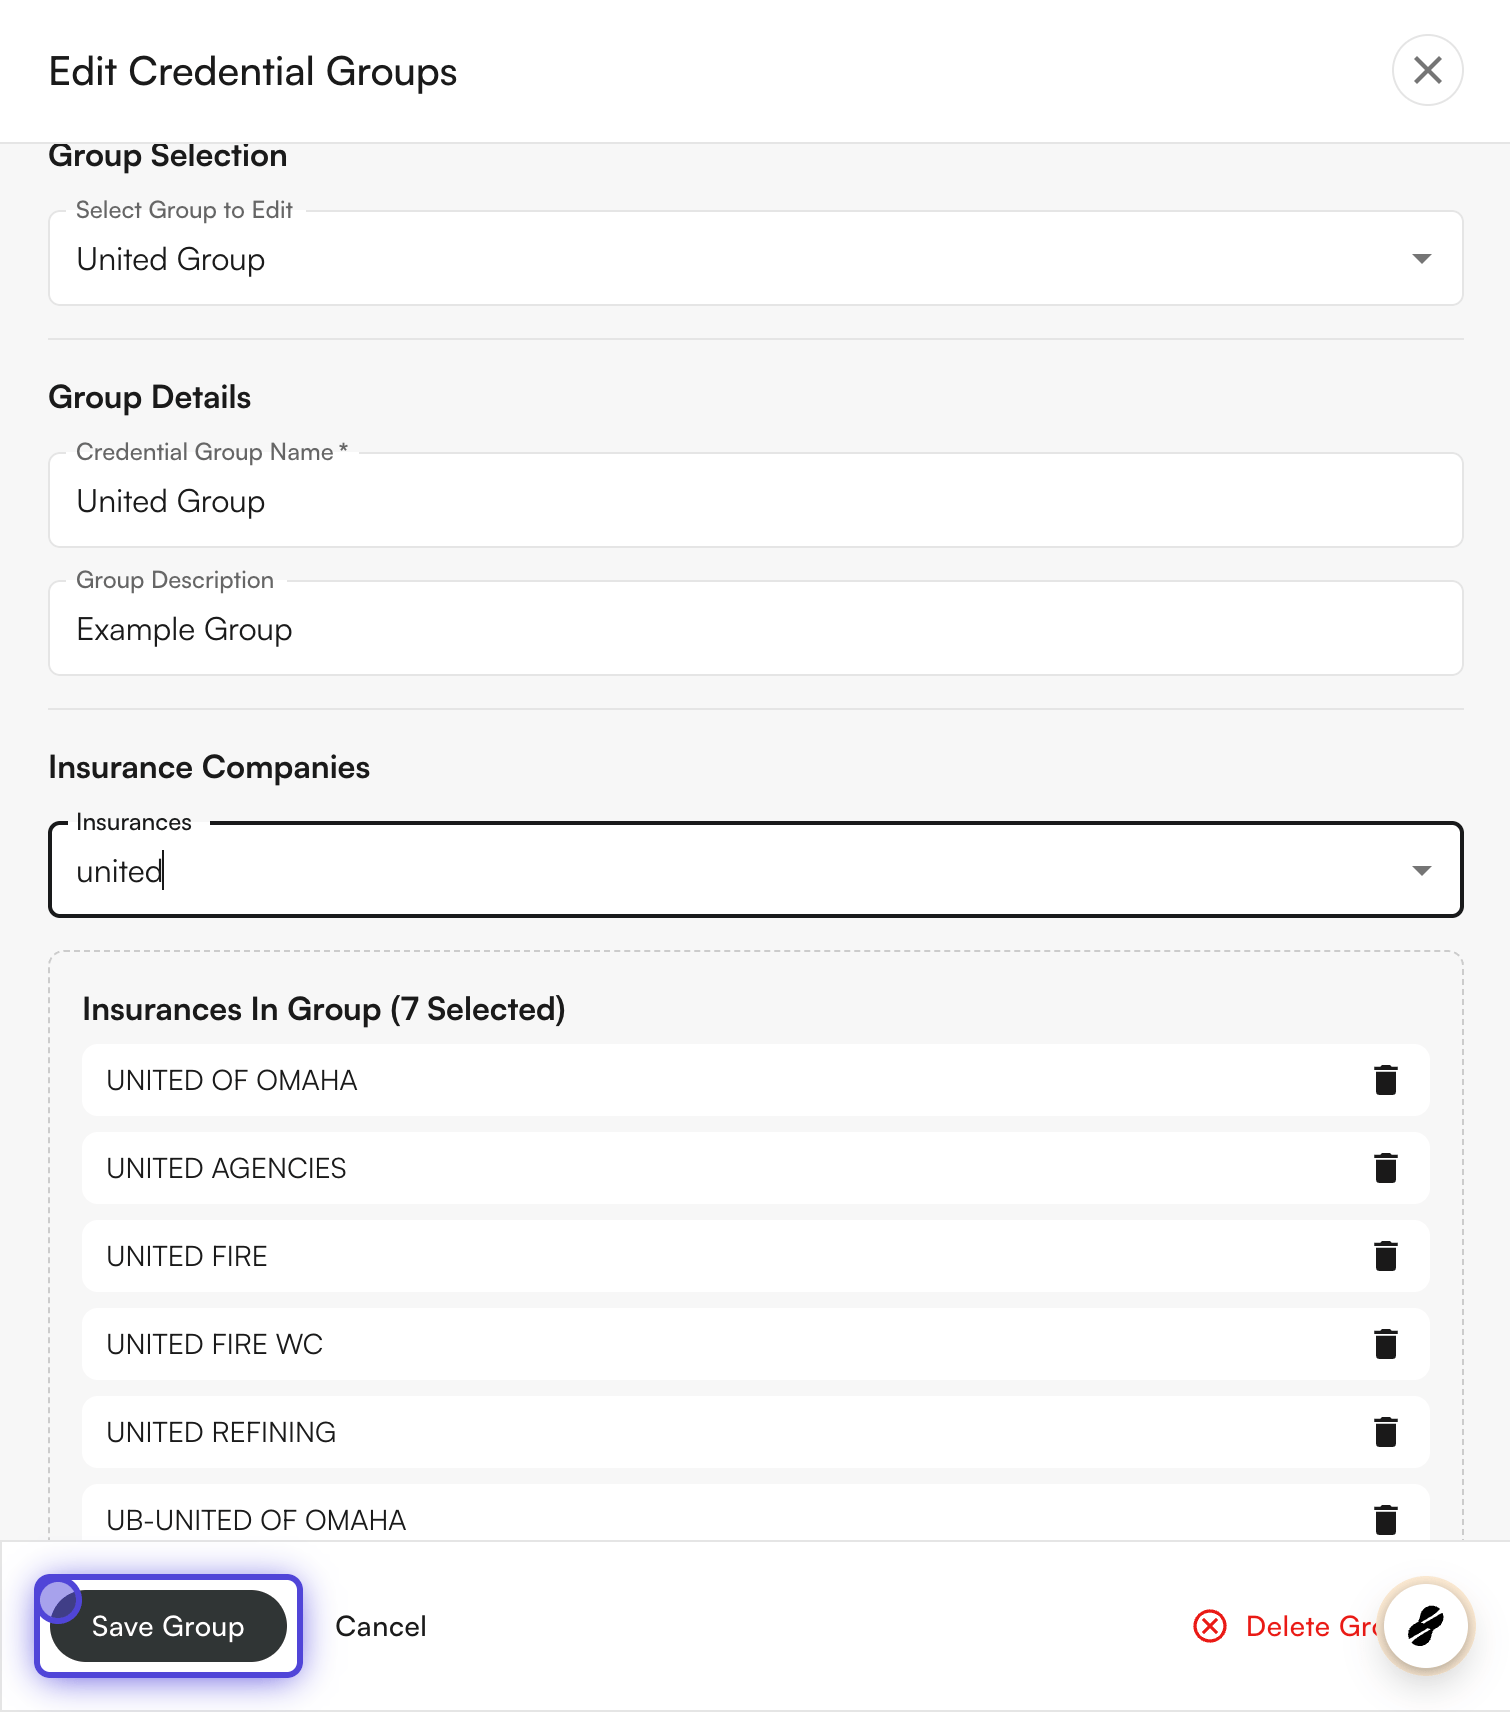
Editing Credentialing Groups
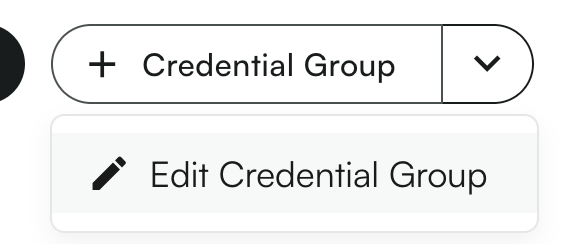
Click the dropdown arrow on the Credential Group button, then select Edit Credential Group
Choose the group you want to edit from the dropdown
Click Save Group to update, or Delete Group to remove it
Adding Credentials Using Groups
Click Add Credentialing to open the credential modal
Select a provider
Choose your credentialing approach
- Individual: Select a specific insurance company, OR
-
Group: Select one or more credentialing groups.
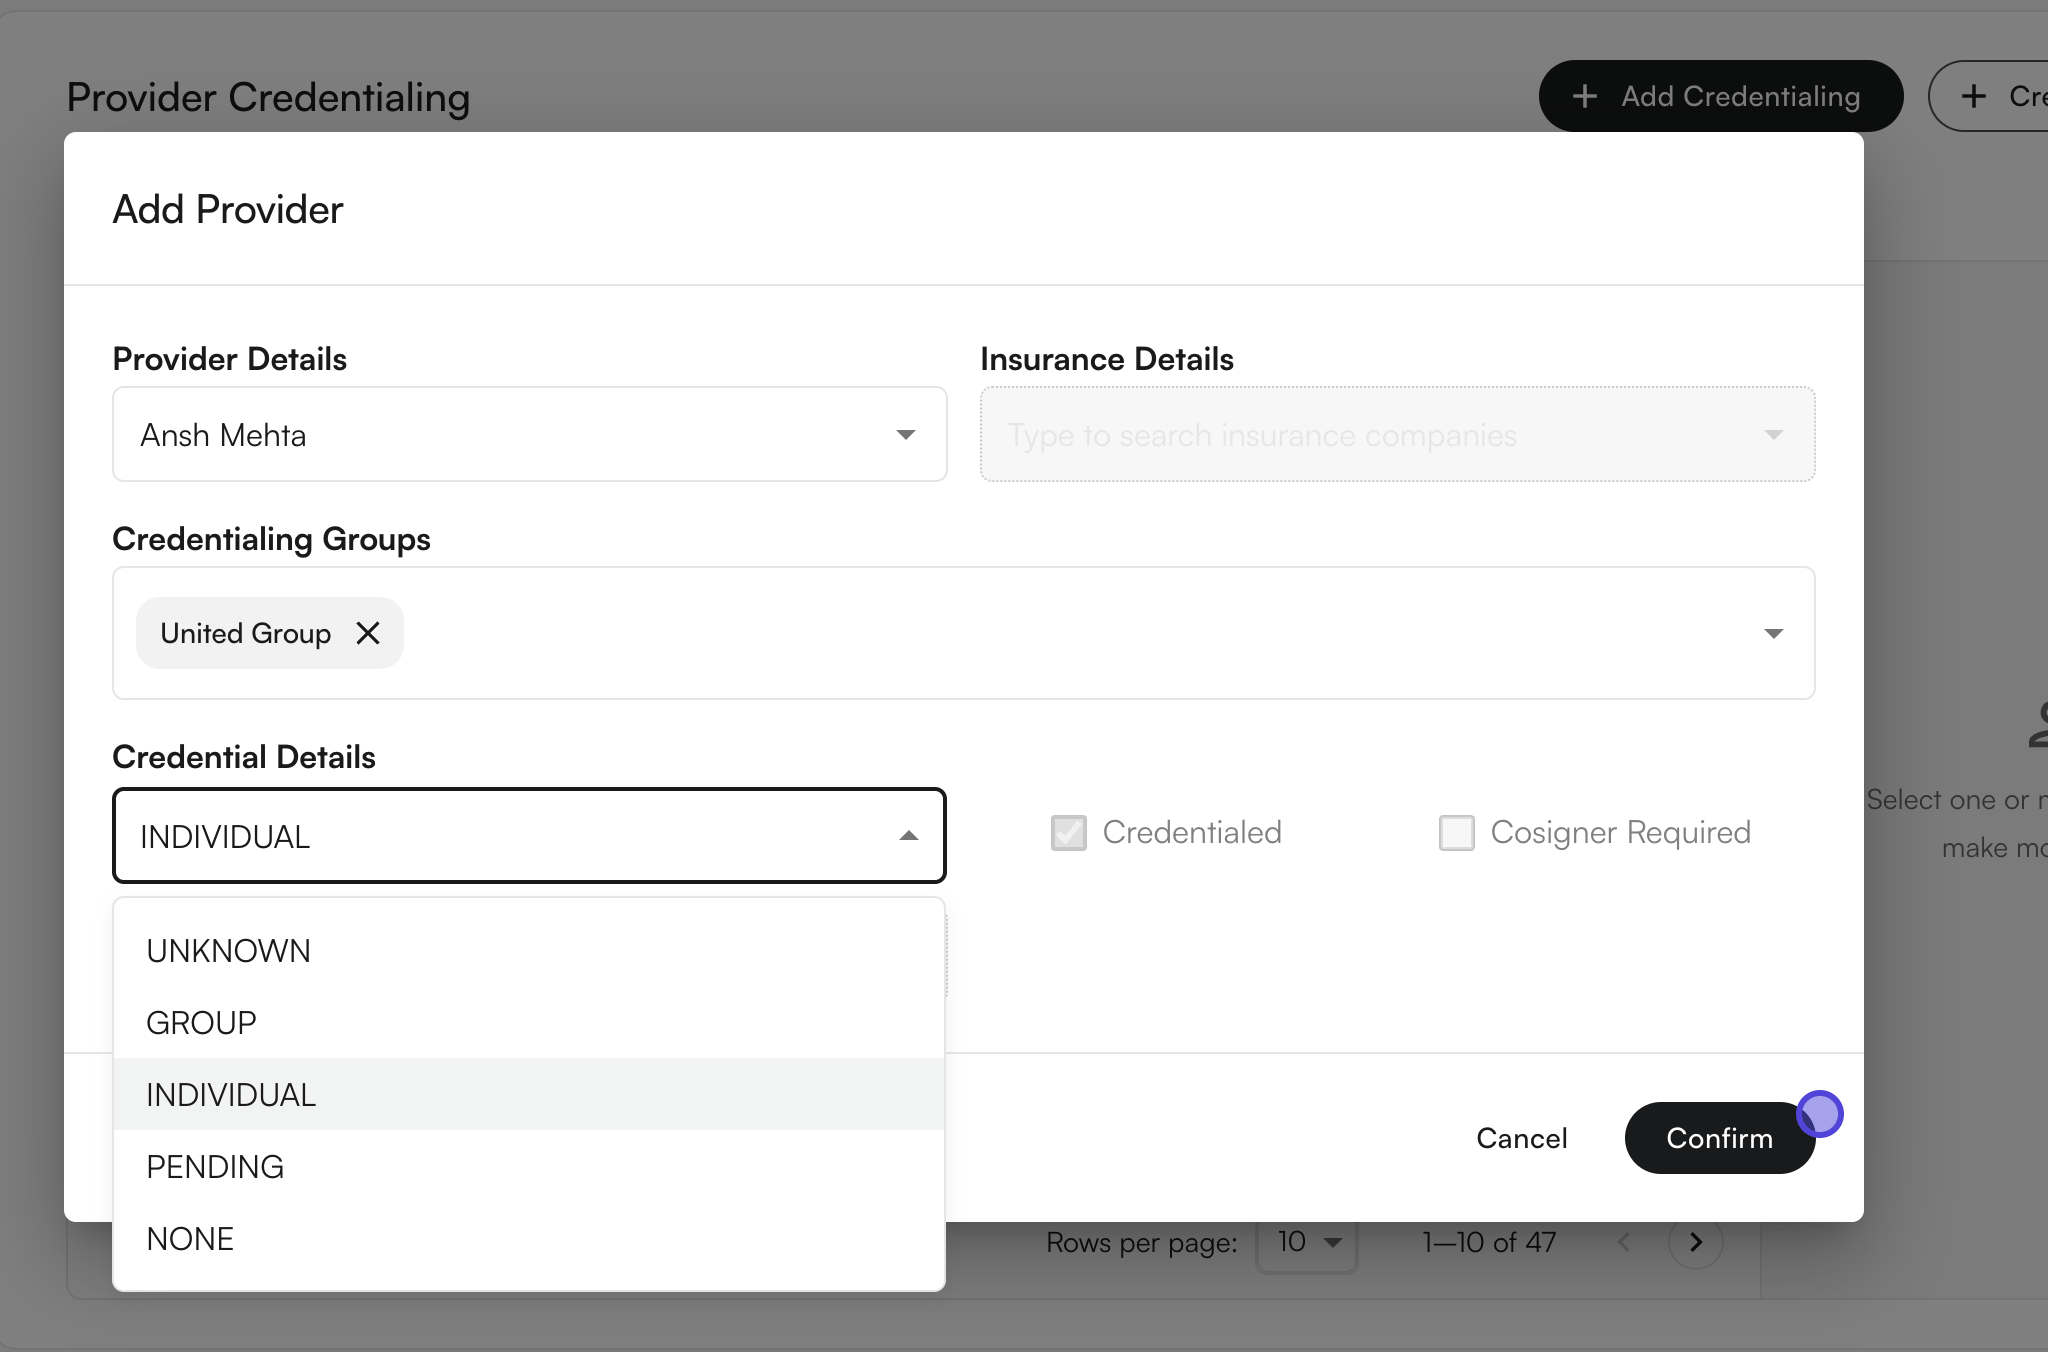
Set credential details
Click Confirm
Viewing Group Information
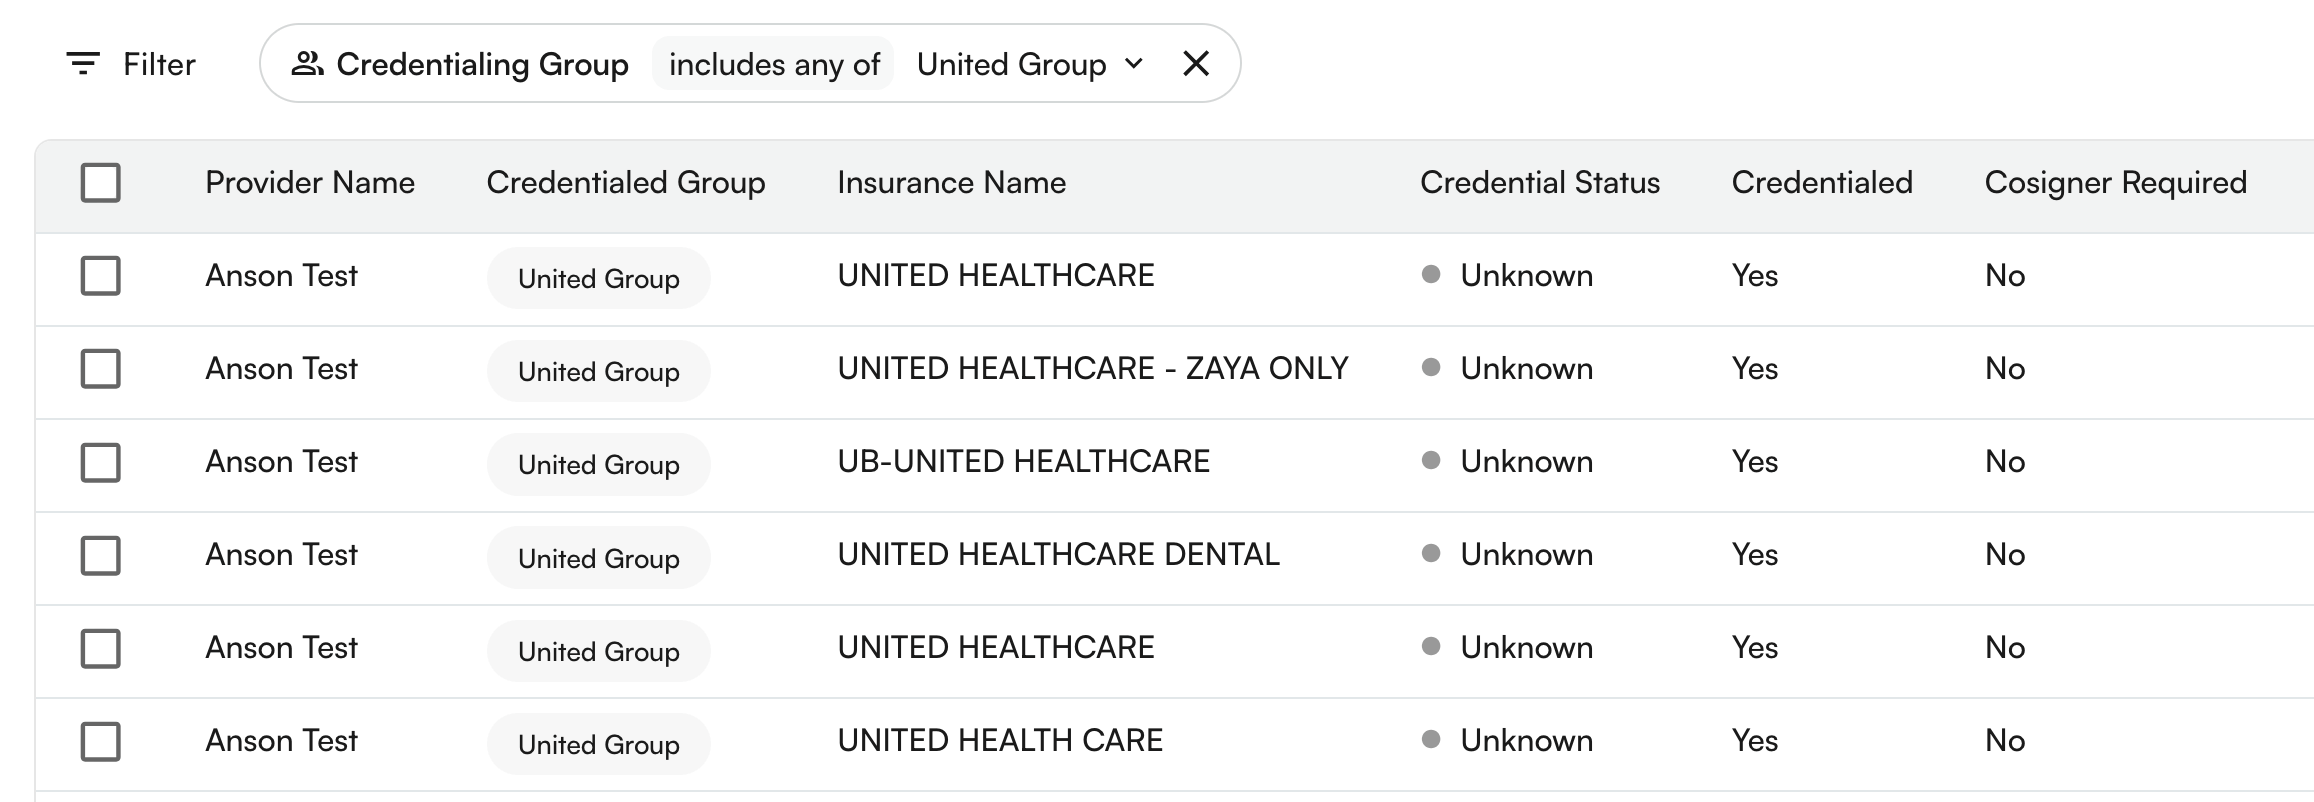
- Table column: The “Credentialed Group” column shows which groups each provider belongs to.
- Filtering: Use the “Credentialing Group” filter to view only providers who qualify for specific groups.
- Group qualification: Providers only appear in a group if they have credentials for ALL insurance companies in that group.
Deleting a credentialing group
You can also delete a credentialing group.Open the credentialing group editor
Edit Credentialing group.Select the group to be edited
Find the delete option
Delete credentialing group.Confirm the deletion
Delete Group, the credentialing group would be permanently deleted.Using credentialing group as filters
Open the filters
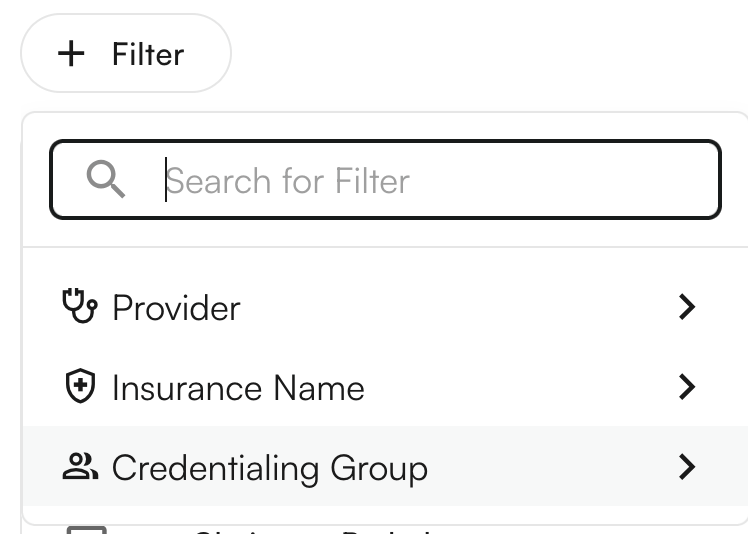
+ Filter button above the table. This will show various filters. Select Credentialing Group.Search for various groups
Click on each row to select/deselect the credentialing group
Load the filtered rows
Using credentialing groups to add credentials
Click on the + Add Credentialing button
Select the provider name from the list of providers from the site
Select the credentialing group from the existing list of credentialing groups
Select the credentialing type
Credentialed and Cosigner required.Click on Submit
Scheduling and Signing logic blocks
Enforce Direct Access
Here is the setup to allow/disallow direct access patients. This is on EHR > Preferences > Providers.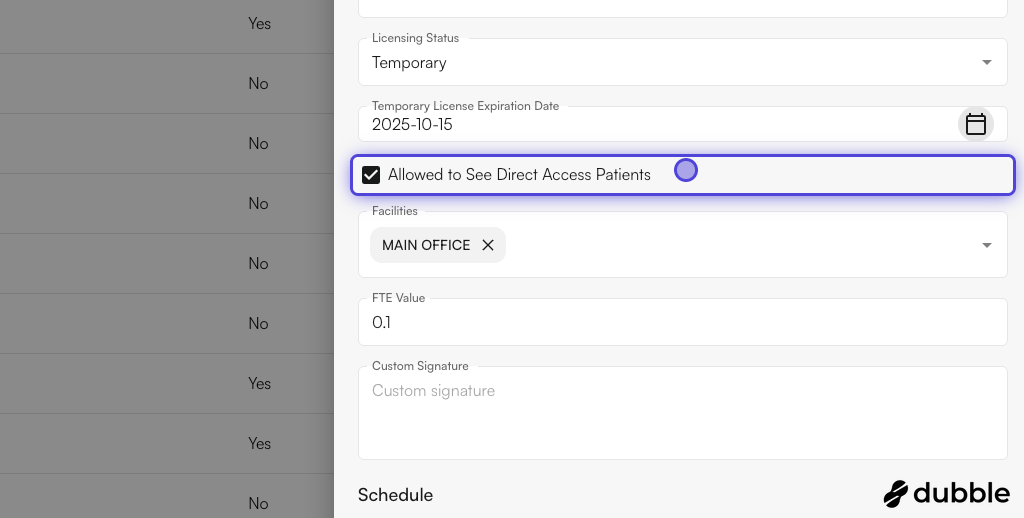
Schedule a Direct Access visit with a provider who is not credentialed for Direct Access cases — the system should flag or restrict the action.📹 Video demonstration to be embedded.
Block Scheduling for Non-Credentialed, Non-Co-Signing Provider
Try scheduling a visit with a provider who lacks payer credentialing and co-signing privileges — expect the system to block or warn accordingly.📹 Video demonstration to be embedded.
Enforce Co-Sign Requirements for Non-Credentialed Providers
A) Attempt to schedule an appointment with a provider marked as “Co-sign Required” for the selected payer.Expected behavior: the system should flag the need for a credentialed supervising provider before proceeding.B) Assign a supervising provider who is credentialed with the payer and complete scheduling successfully.
Expected behavior: the system validates the supervising provider and allows the appointment to be scheduled without error.📹 Video demonstration to be embedded.
Attempt to Schedule with Expired License
A provider previously held a temporary license, but it has since expired.Expected behavior: the system should prevent appointment scheduling and surface a clear message indicating the provider’s license is no longer valid.📹 Video demonstration to be embedded.