
Navigate to Implantable Devices
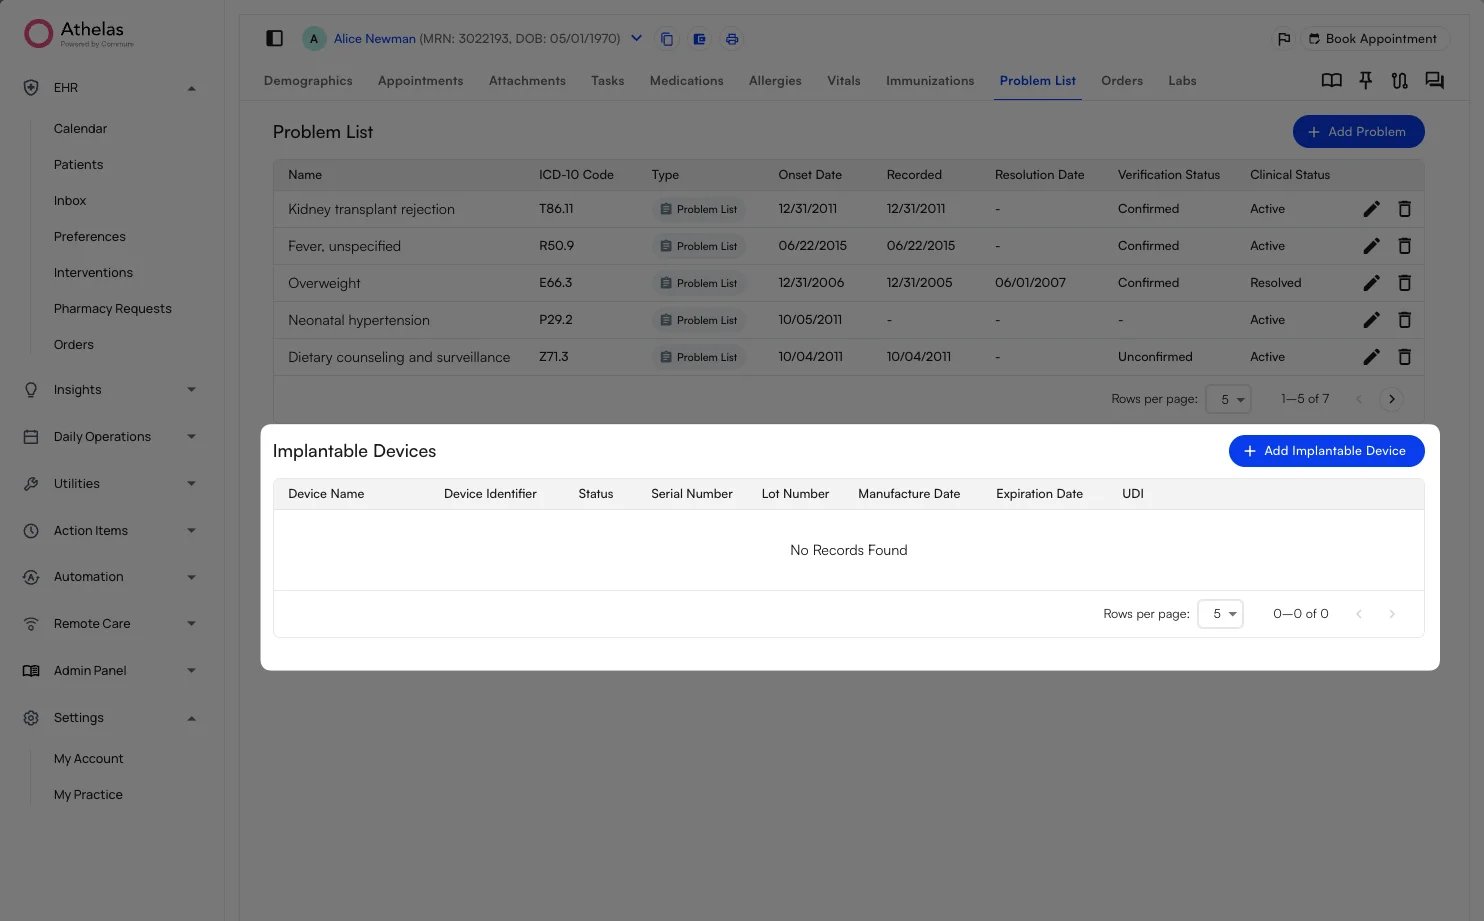
Open the patient’s Problem List
- From the left navigation, open the Patients tab and search for the patient by name or MRN.
- On the patient’s profile, open the Problem List tab.
- Scroll down past the Problem List table to the Implantable Devices section.
Add an Implantable Device
Look up a device by its UDI
- In the Implantable Devices section, click the + Add Implantable Device button.
- In the Create Implantable Device panel, paste or scan the device’s UDI into the UDI (Human Readable) field, then run the lookup using the field’s lookup icon.

| Field | Description |
|---|---|
| UDI (Human Readable) | The device’s Unique Device Identifier. Paste or scan it to drive the lookup. |
| Device Identifier (DI) | The portion of the UDI that identifies the device’s make and model. |
| Status | The device’s current status (for example, Active). |
| Device Name | The device’s brand or model name. |
| Distinct Identifier | An additional identifier for the specific device, when applicable. |
| Serial Number | The device’s serial number. |
| Lot Number | The device’s lot or batch number. |
| Manufacture Date | The date the device was manufactured. |
| Expiration Date | The date the device expires. |
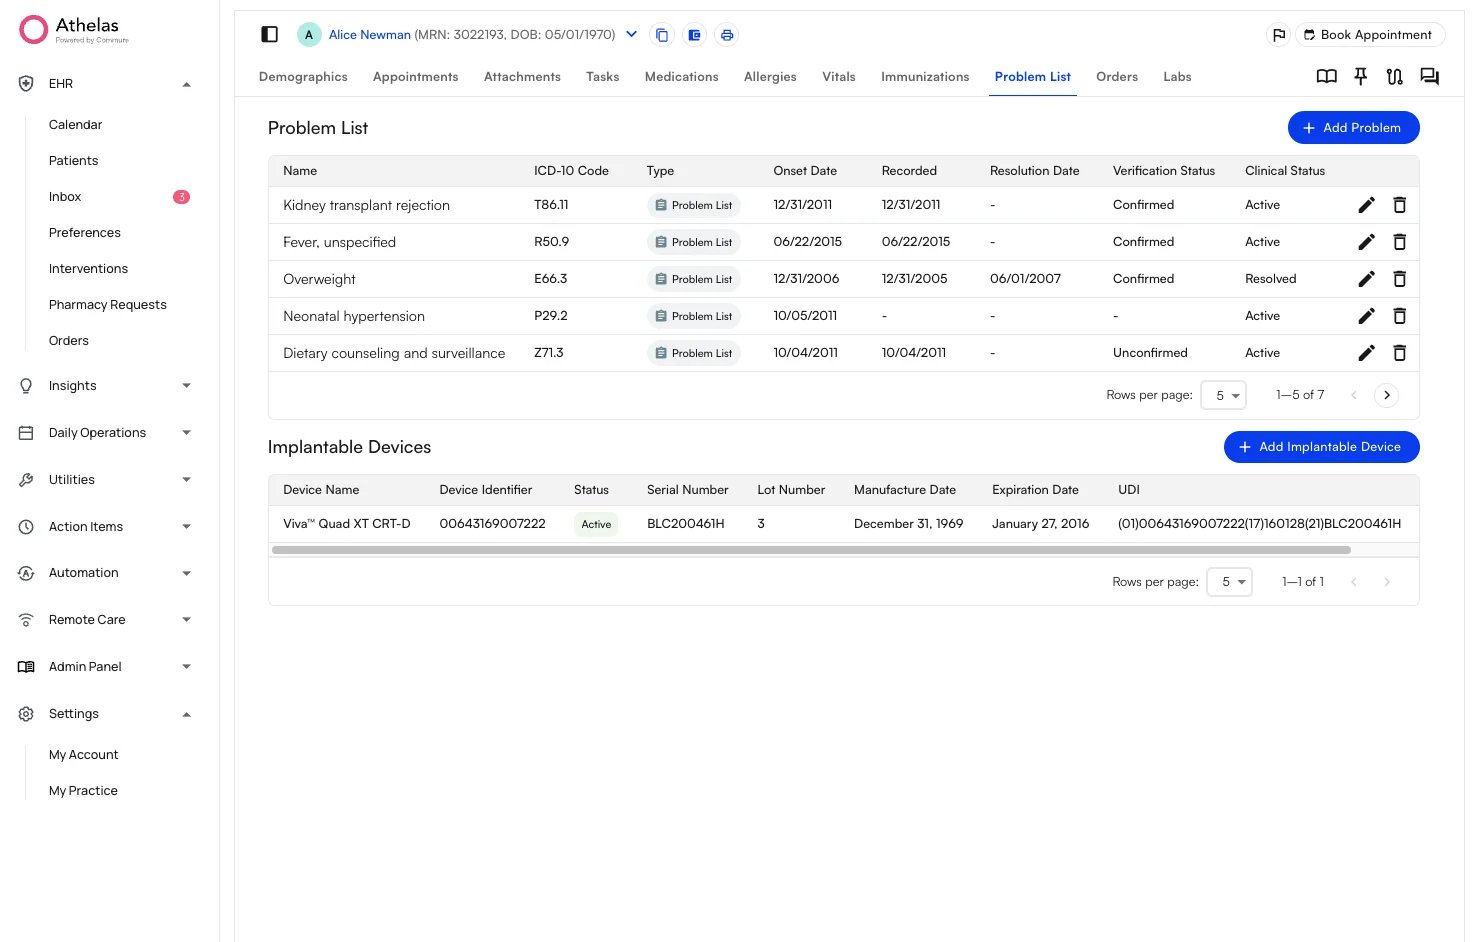
- Review the populated fields and click Save. The device now appears in the Implantable Devices table, with its UDI, Device Identifier, Status, Serial Number, Lot Number, Manufacture Date, and Expiration Date.
Edit or Delete an Implantable Device
Update a saved device
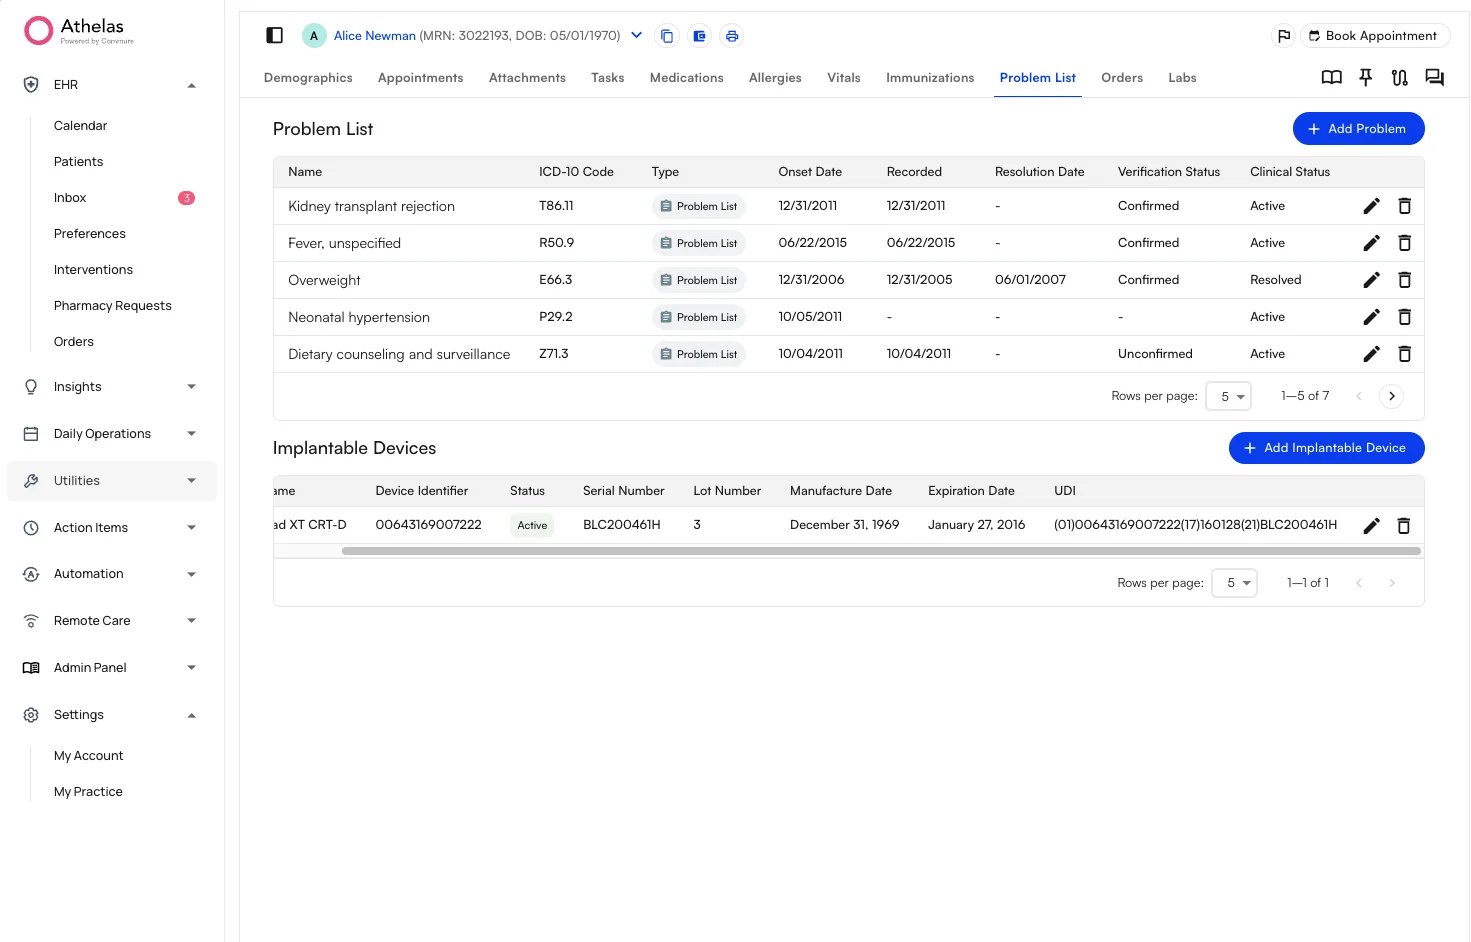
The action buttons sit at the far right of the Implantable Devices table.- Drag the table’s horizontal scroll bar to the right to reveal the pencil (edit) and trash (delete) icons on the device’s row.
- Click the pencil icon to edit the device’s details, or the trash icon to remove it.
FAQ
Where are a patient's implantable devices stored?
Where are a patient's implantable devices stored?
Implantable devices live on the patient’s Problem List tab, in the Implantable Devices section below the problem list itself.
Do I have to type in all the device details manually?
Do I have to type in all the device details manually?
No. Enter the device’s UDI in the UDI (Human Readable) field and run the lookup. Air queries the NLM AccessGUDID API and automatically populates the Device Identifier, Device Name, Status, Serial Number, Lot Number, Manufacture Date, and Expiration Date.
How do I edit or remove an implantable device?
How do I edit or remove an implantable device?
Scroll the Implantable Devices table to the right to reveal the action icons on the device’s row. Click the pencil icon to edit, or the trash icon to delete.