
Joining the Waitlist from the Athelas Patient Portal
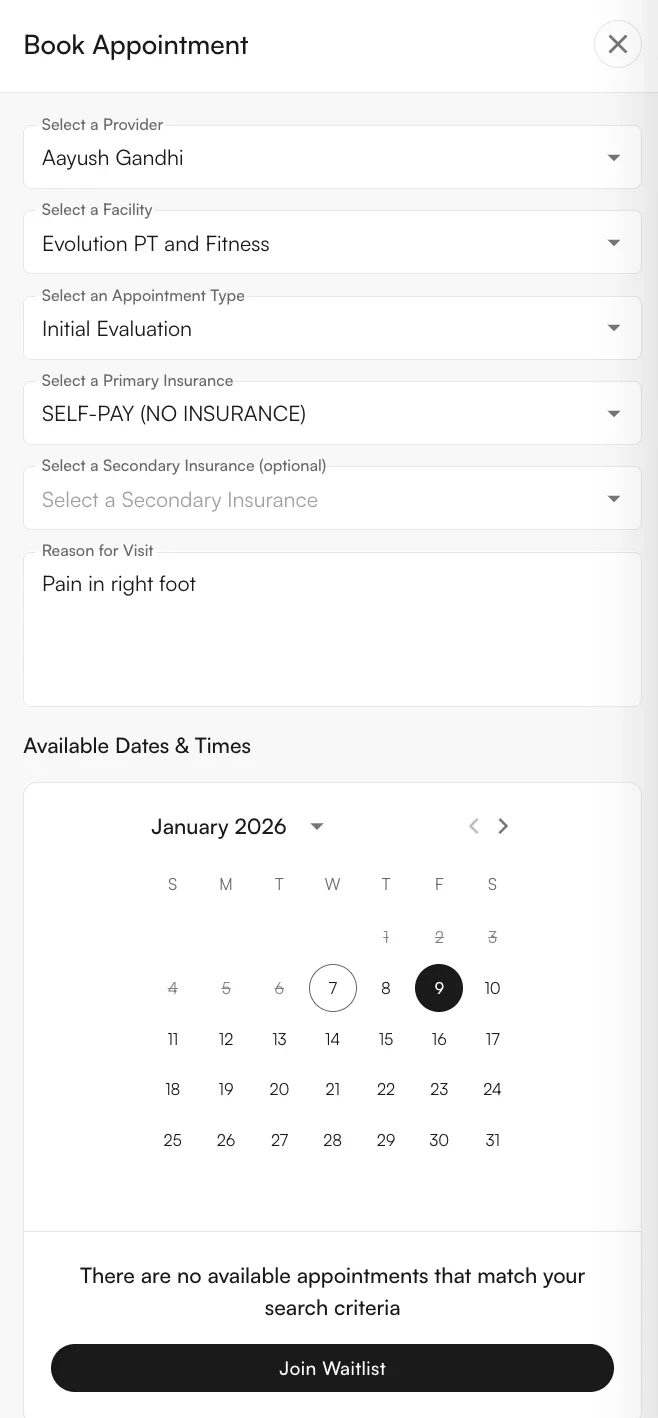
When a patient uses the Athelas Patient Portal to schedule an appointment, they must specify a provider, facility, and appointment type before seeing available times.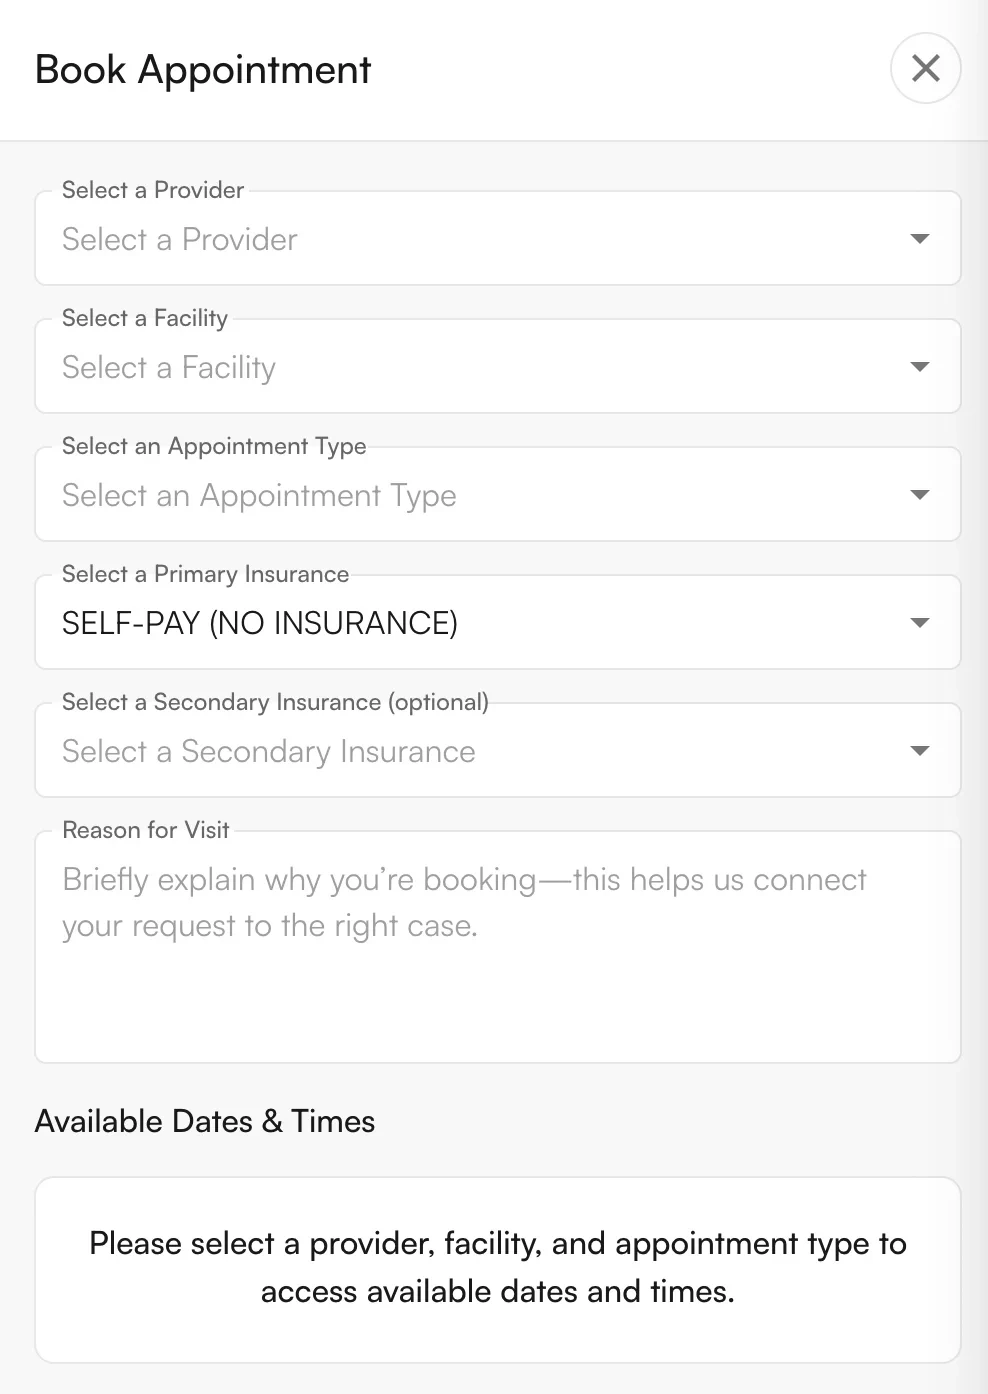
External & Internal Appointment Types
As part of using the Waitlist, practices can map multiple internal appointment types (visible to internal personnel) to a single external appointment type (visible to patients). When patients are added to the Waitlist, they’re offered only the external appointment types — reducing confusion about which option to select. To edit the mappings:-
Navigate to Calendar Preferences.
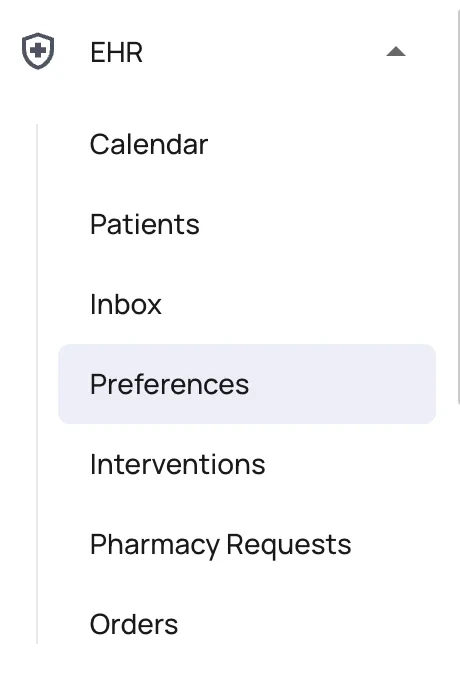
-
Open the Appointment Types tab.
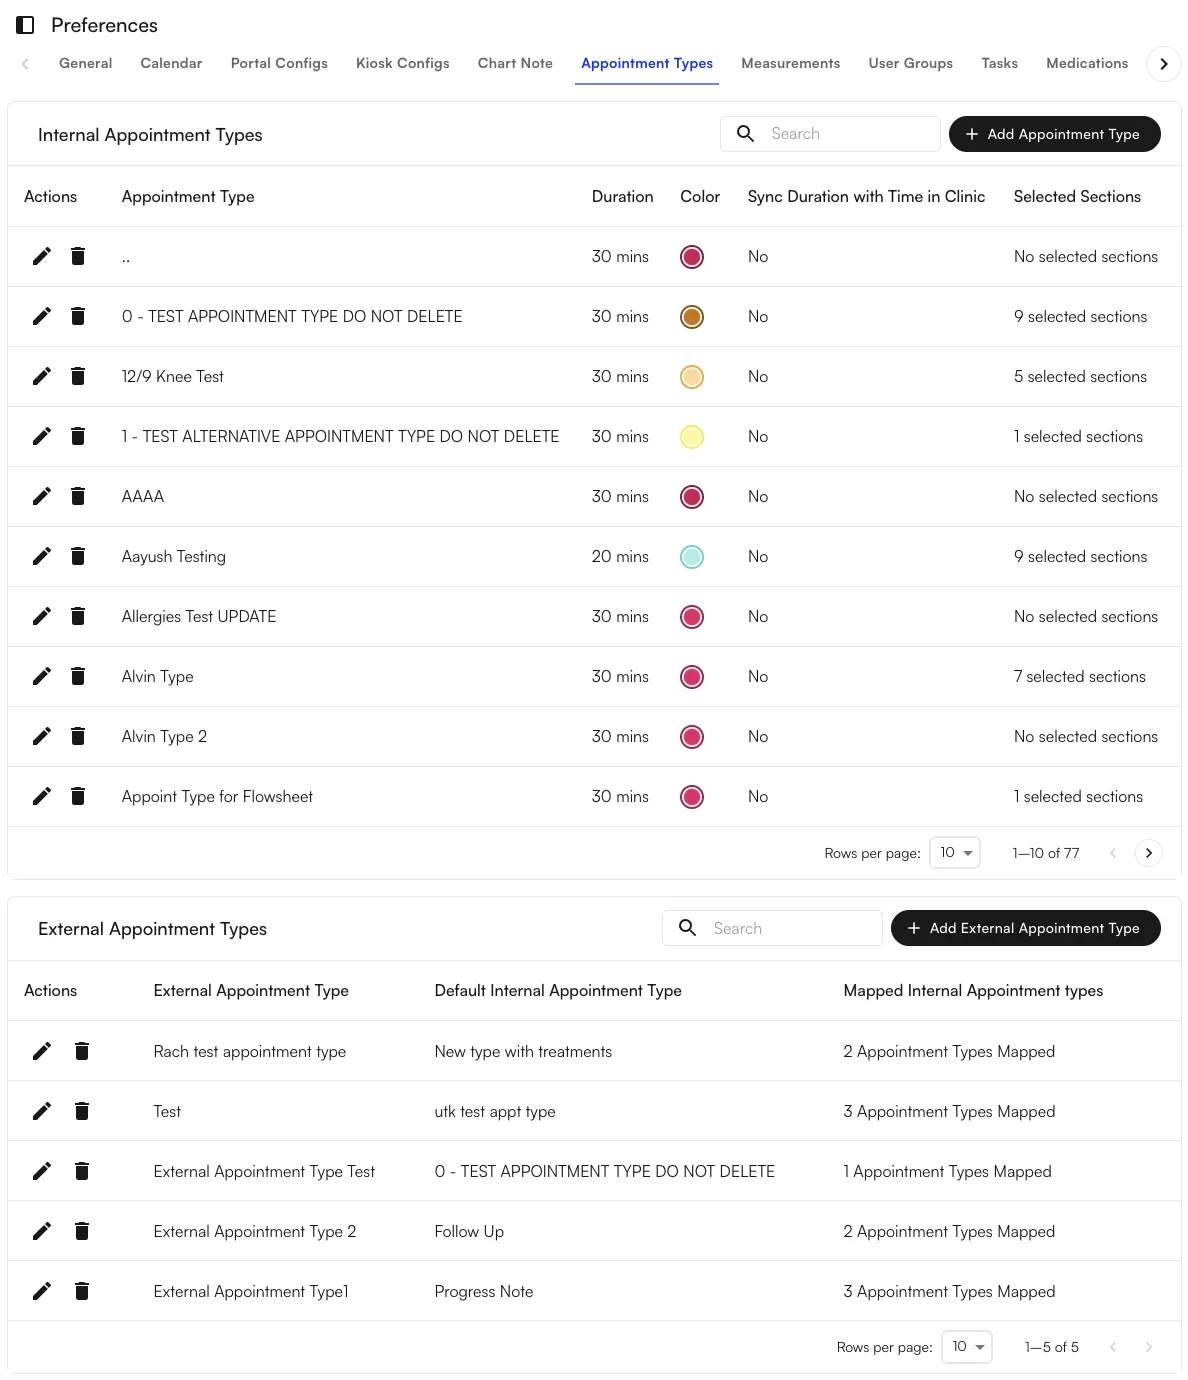
-
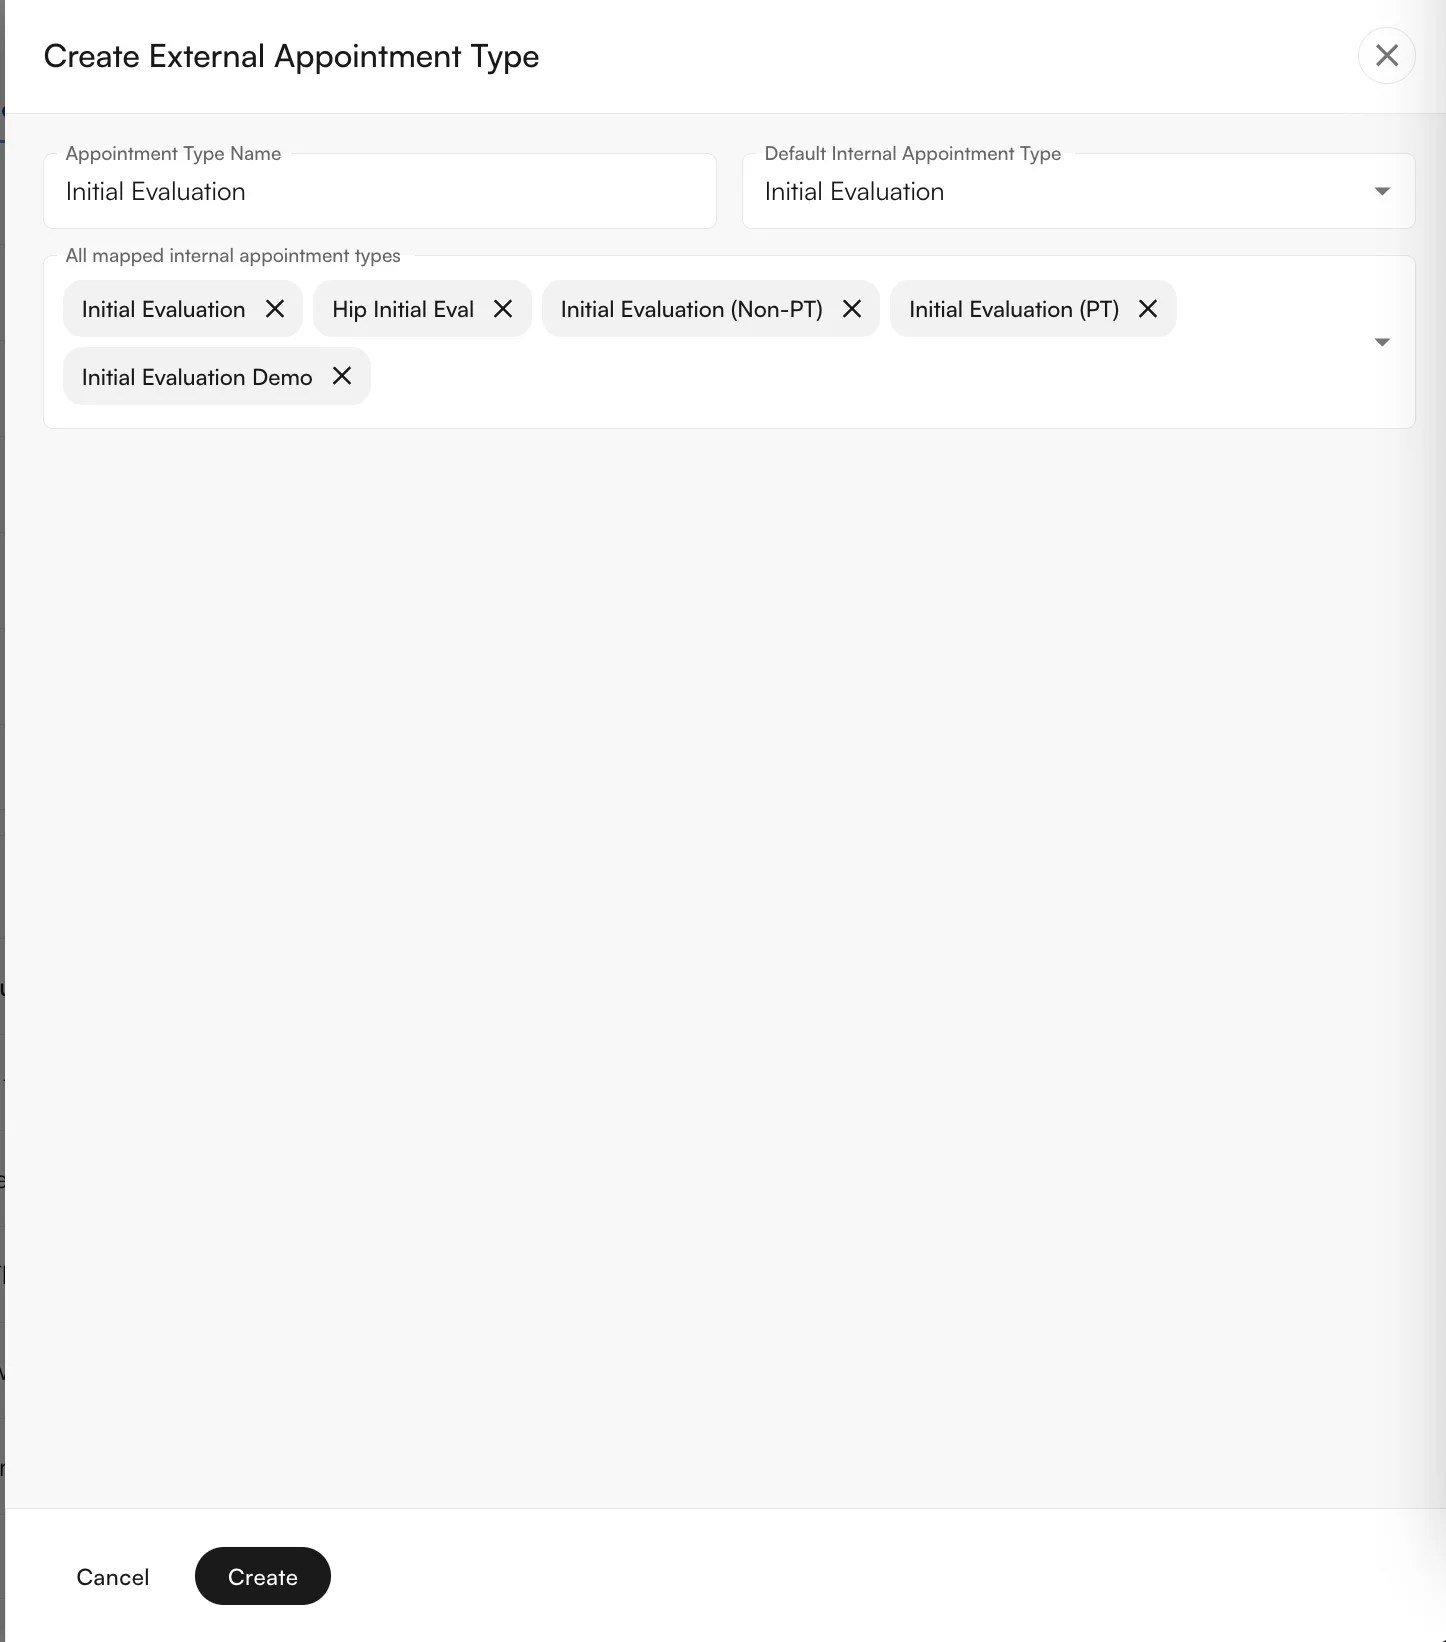
Create or edit external appointment types — pick which internal appointment types map to each external one. You can also choose a Default Internal Appointment Type, which determines the internal type used when automatic scheduling is on. An internal appointment type can only be mapped to a single external appointment type, ensuring there’s no confusion about what the patient sees.
Adding a patient to the waitlist from Insights
If a patient does not have access to the Patient Portal, or the site wishes to add the patient themselves, a patient can be manually added to the waitlist from the Insights Calendar.-
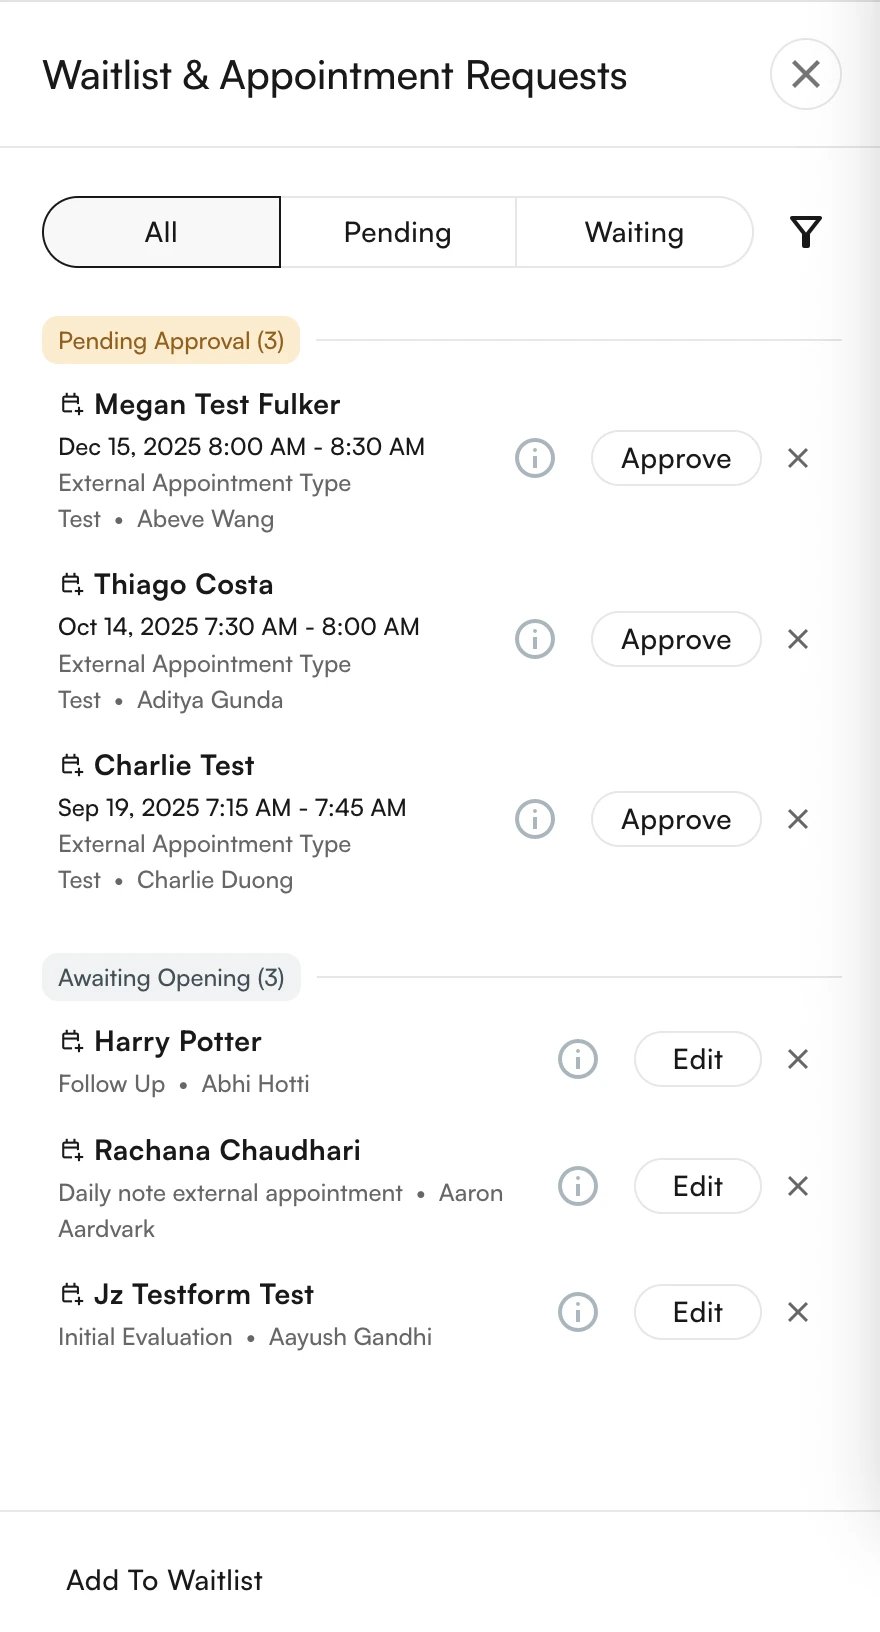
Navigate to the Requests tab in the header bar of the Calendar view.
-
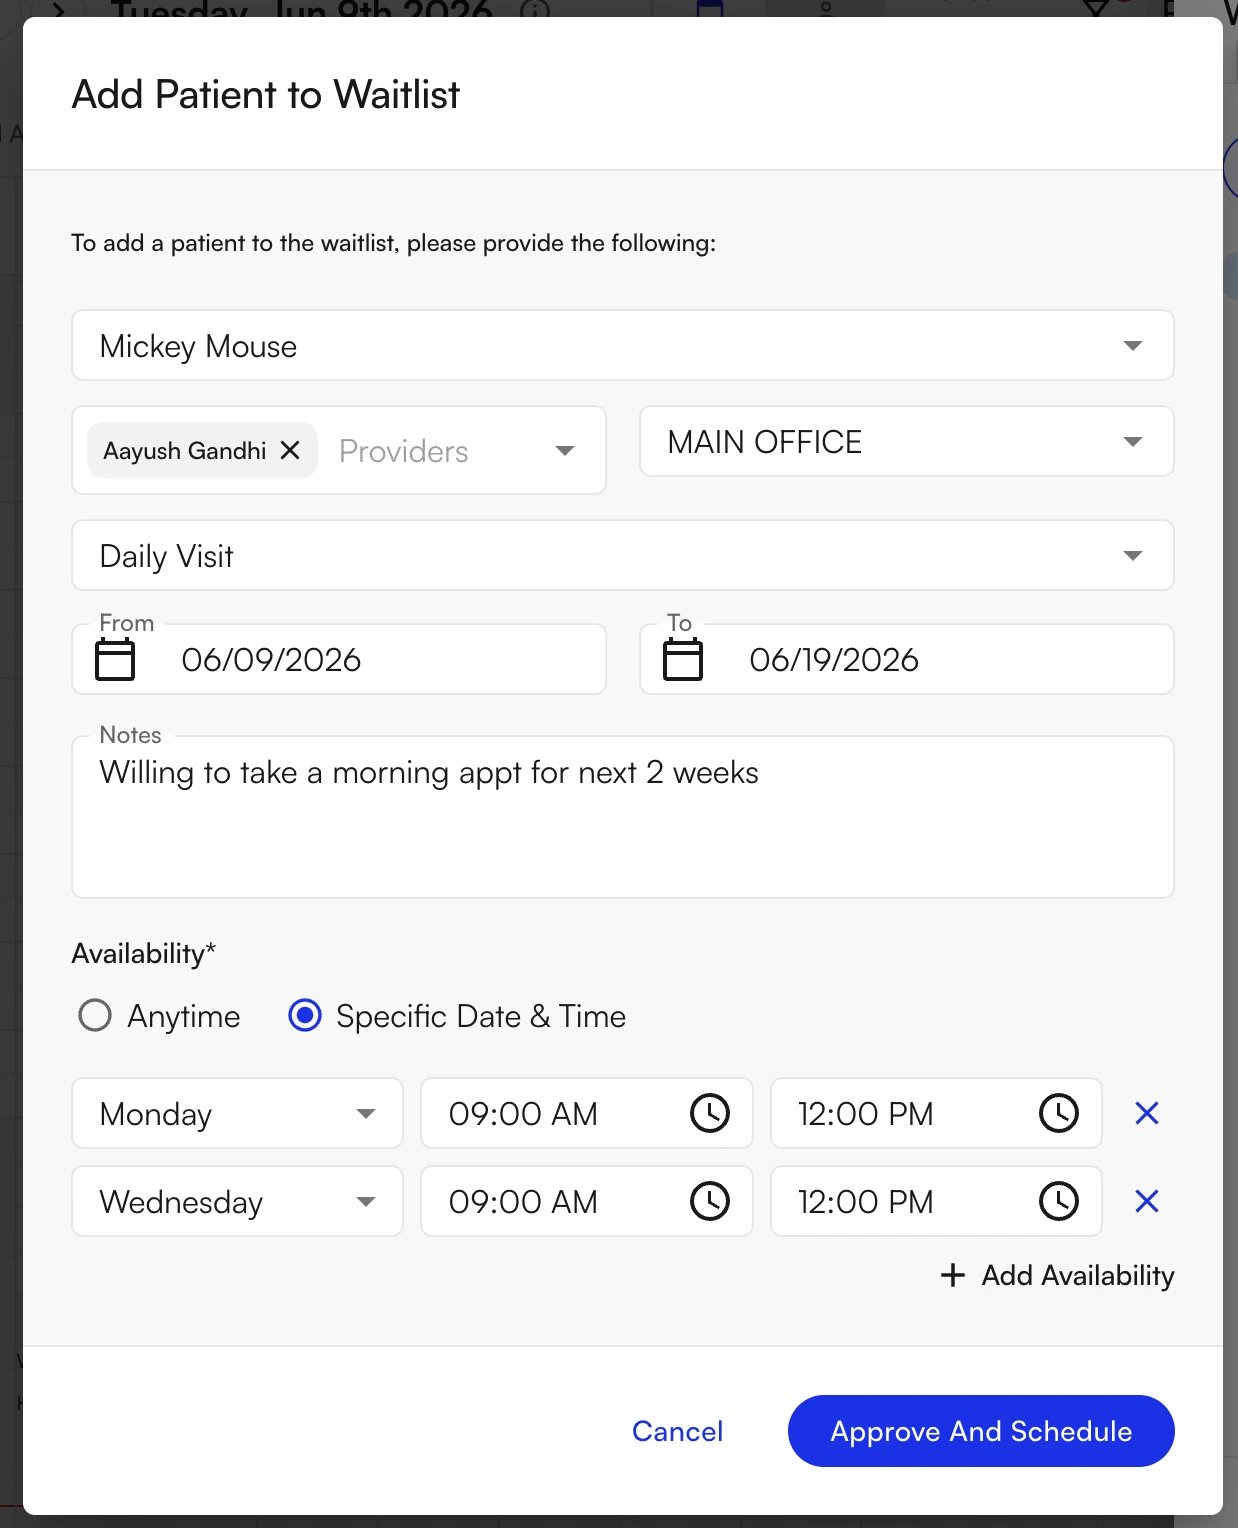
Click Add to Waitlist at the bottom of the drawer. All current waitlist entries and approval requests appear here. Expired requests are excluded from the current list.
-
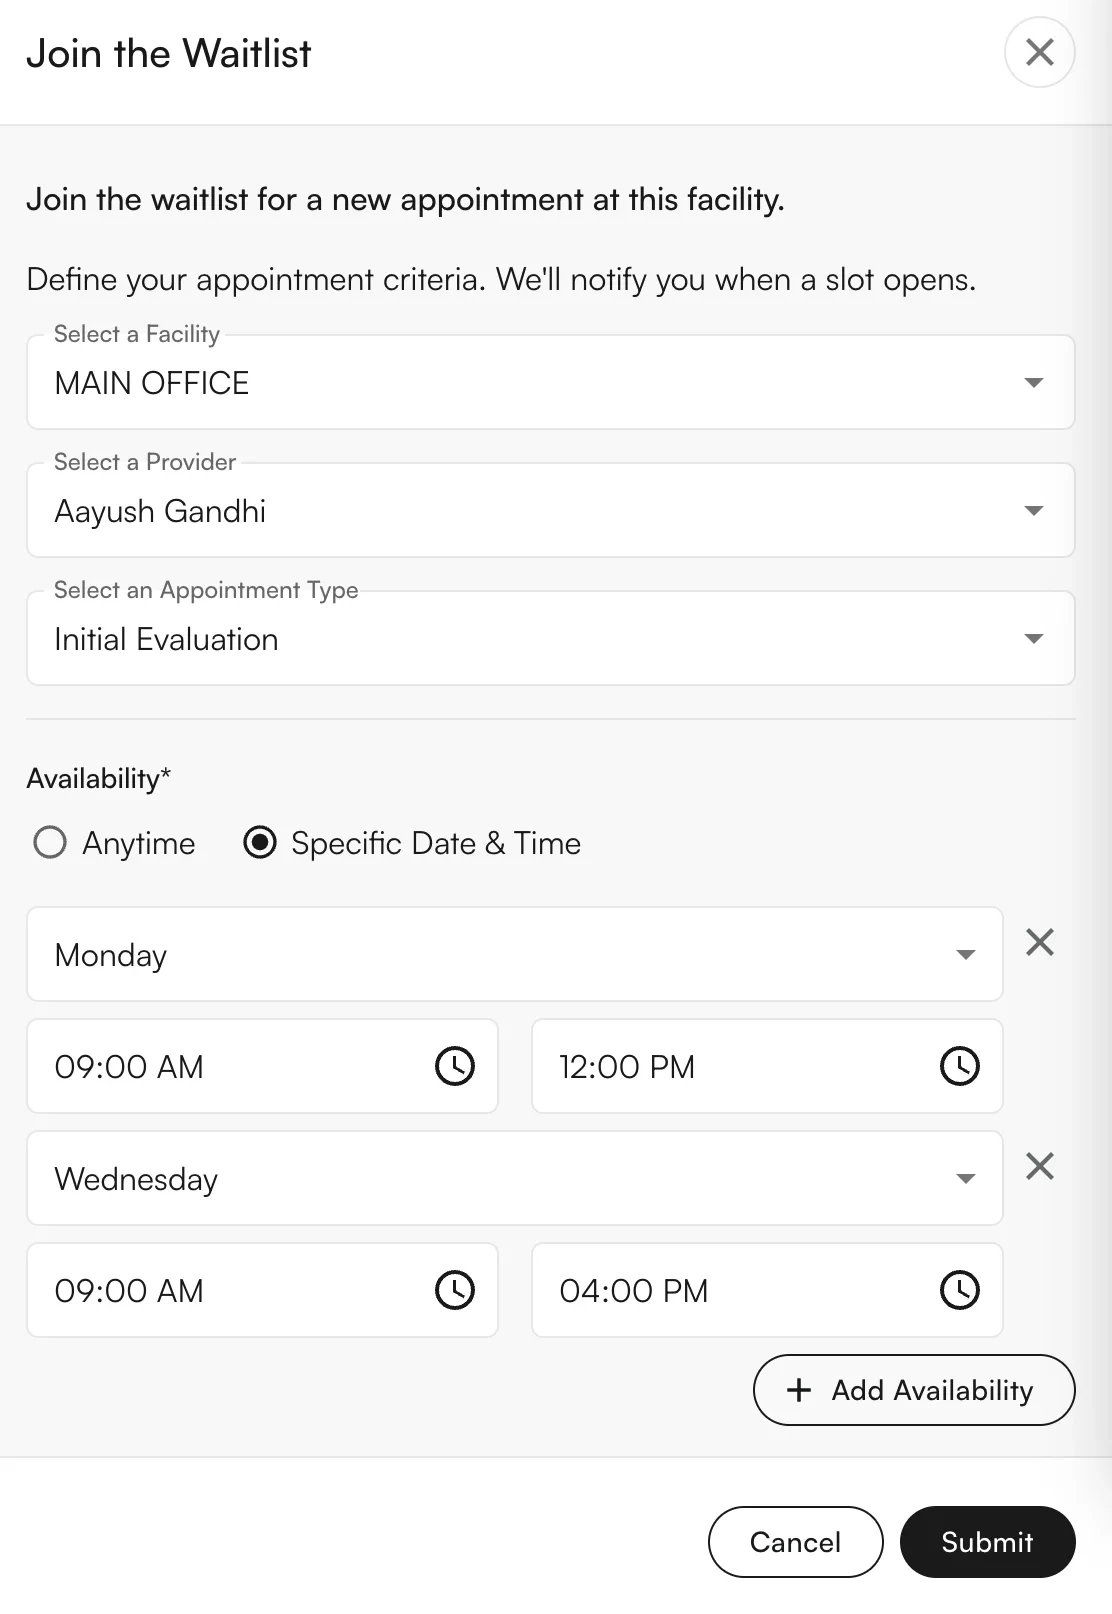
Edit the patient and their appointment preferences — including provider, facility, appointment type, effective and expiration dates, notes, and preferred availability.
-
Confirm. The patient appears at the bottom of the existing waitlist entries.
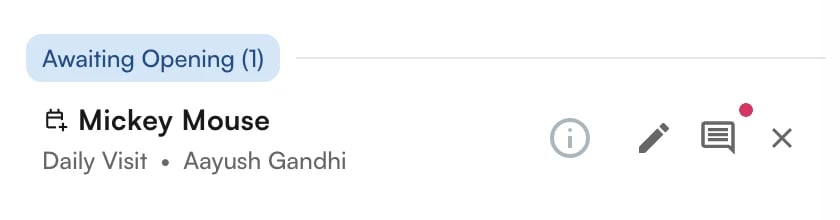
- Manage entries — click Edit to update an existing waitlist entry, or click the X on the right to remove an entry.
-
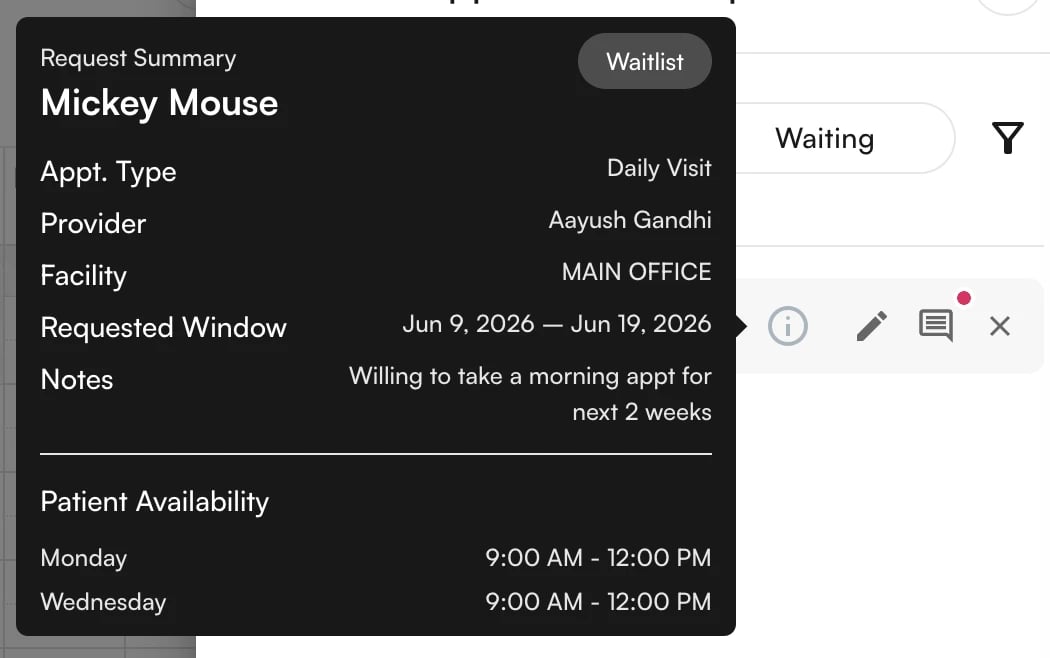
Hover over the (i) icon to see the details of the waitlist entry. Click the notes icon to edit the entry’s notes directly.
Processing cancellations from the waitlist
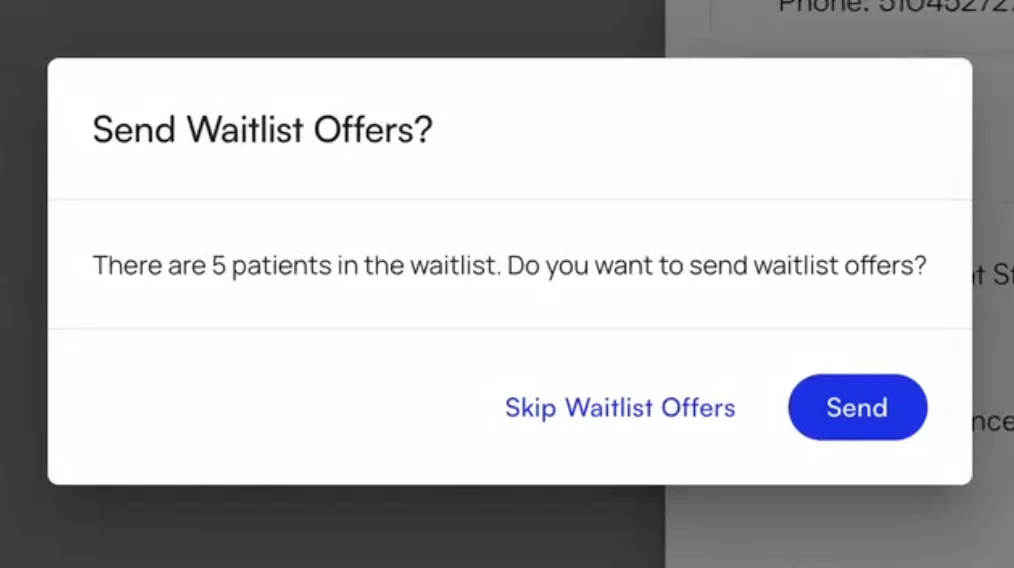
When an appointment is cancelled, you are prompted with a popup informing you that there are waitlist entries matching that timeslot. You can either:- Send the waitlist offers and start the waitlist processing, or
- Skip Waitlist Offers if you intend to fill that slot manually.


Manually triggering waitlist from the calendar
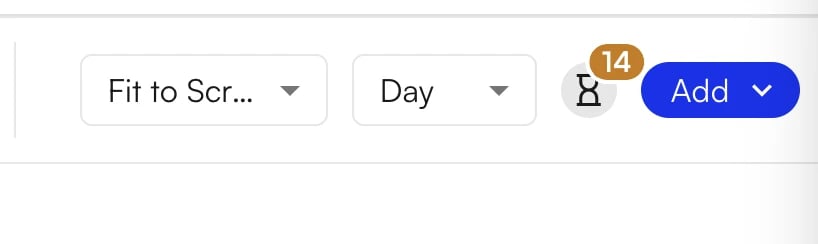
You can also manually trigger the waitlist on an open slot directly from the calendar. Highlight a section of time and choose Trigger Waitlist Offers. From there, you can select a range of time to include when finding offers, and see how many patients will be included in the waitlist offer list.
Waitlist settings and configurations
Several settings allow sites to adjust waitlist behavior. These are accessible in the EHR Preferences page, in the Calendar tab.
- Waitlist on/off — whether the site will allow waitlist entries to be created by patients or site staff.
- Require approval on waitlist requests — when on, all promotions from the waitlist to an appointment must be approved before being scheduled. This overrides the normal appointment-approval configuration.
- Cancel future appointment if waitlist slot has been scheduled — when on, the system detects if a patient has a future appointment matching the waitlist offer. When they schedule a new appointment through their waitlist offer, the very next appointment is cancelled.
- Minimum time to fill a newly opened slot with a waitlist patient — how far out a cancelled appointment must be to offer the slot to a waitlist entry. For example, if the minimum is 30 minutes, cancelling at 8:50 AM for a 9:00 AM appointment will not send any waitlist offer.
- Same-patient waitlist offer exclusion period — how much time must pass between waitlist offers for a single patient, to avoid sending too many offers to the same patient when cancelling multiple appointments. For example, if set to 1 hour and a patient receives a waitlist offer at 9:15 AM, they cannot receive another offer until 10:15 AM — even if they decline the first offer.
- Time to accept by patient — how much time a batch of patients has to respond to their offer. If they do not accept in this time, the next batch of patients is sent the offer as well.
- Waitlist bucket size — the number of patients sent an offer in each batch. If set to
1, behavior is one-at-a-time (Patient A, then B, then C). If set to>1, behavior is a “blast” send (Patients 1–10, then 11–20, then 21–30). - Retain waitlist requests for future — when on, accepting a waitlist offer does not delete the waitlist entry. Instead, the patient moves to the back of the list. When off, accepting a waitlist offer deletes the entry, and the patient must add a new one to be considered for future offers.
- Expire previous waitlist offers — when on, moving from one batch of patients to the next causes the previous batch’s offers to expire. When off, offers don’t expire until a patient accepts. For example, if time-to-accept is 5 minutes, bucket size is 10, and expiration is off: minutes 0–10 there are 10 active offers; 11–20 there are 20 active offers; 21–30 there are 30 active offers, and so on.

FAQ
What happens if no one accepts a waitlist offer?
What happens if no one accepts a waitlist offer?
The system continues moving through the list in configurable batch sizes until a patient accepts or no more entries match the slot. If everyone passes, the slot remains open on the calendar — you can fill it manually or leave it for direct scheduling.
Can the same patient get multiple offers for different slots?
Can the same patient get multiple offers for different slots?
Yes — but only after the Same-patient waitlist offer exclusion period elapses. This prevents flooding a single patient with offers when multiple cancellations happen close together.
Should I use bucket size 1 or a larger batch?
Should I use bucket size 1 or a larger batch?
Bucket size
1 is fairest — the first patient in line gets first pick. Larger buckets fill cancellations faster because the “blast” reaches many patients at once, but the earliest-queued patient may lose out to someone faster to respond. Pick based on whether speed-to-fill or queue fairness matters more for your practice.What's the difference between waitlist offers and appointment requests?
What's the difference between waitlist offers and appointment requests?
A waitlist offer is initiated by the system after a cancellation — the patient chose to be waitlisted. An appointment request is initiated by the patient directly through the portal or online scheduling. When Require approval on waitlist requests is on, accepted waitlist offers still need staff approval before booking.
Can patients remove themselves from the waitlist?
Can patients remove themselves from the waitlist?
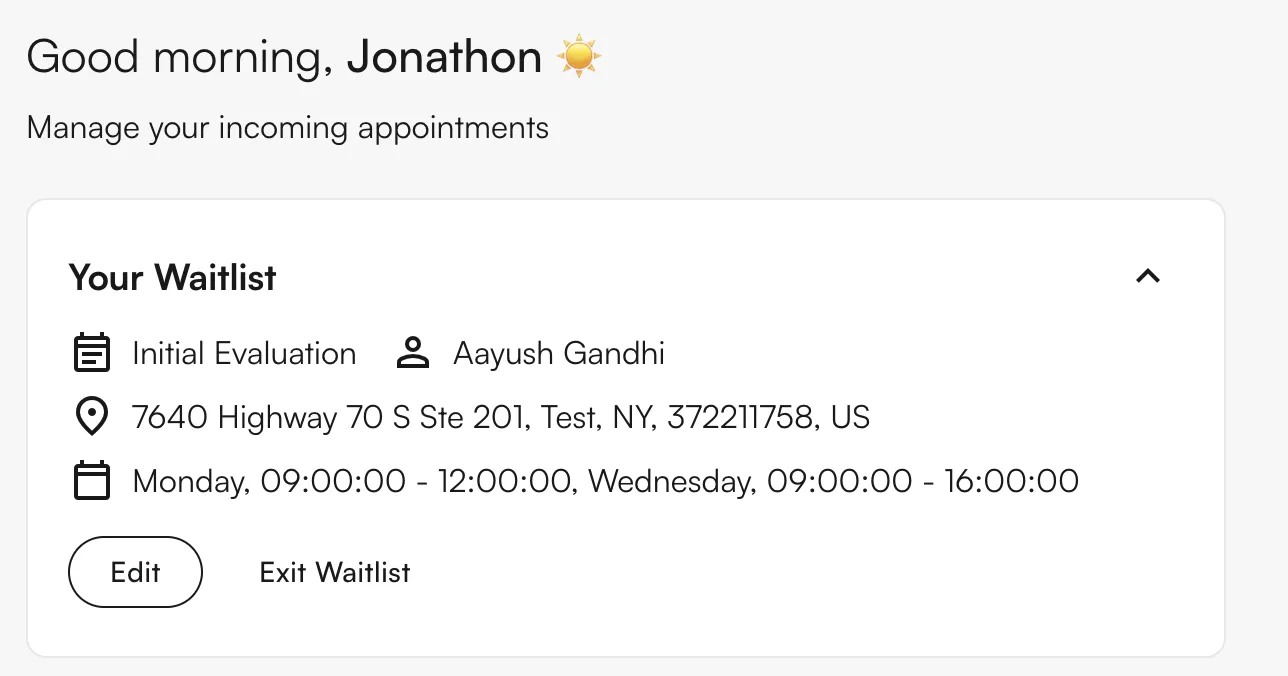
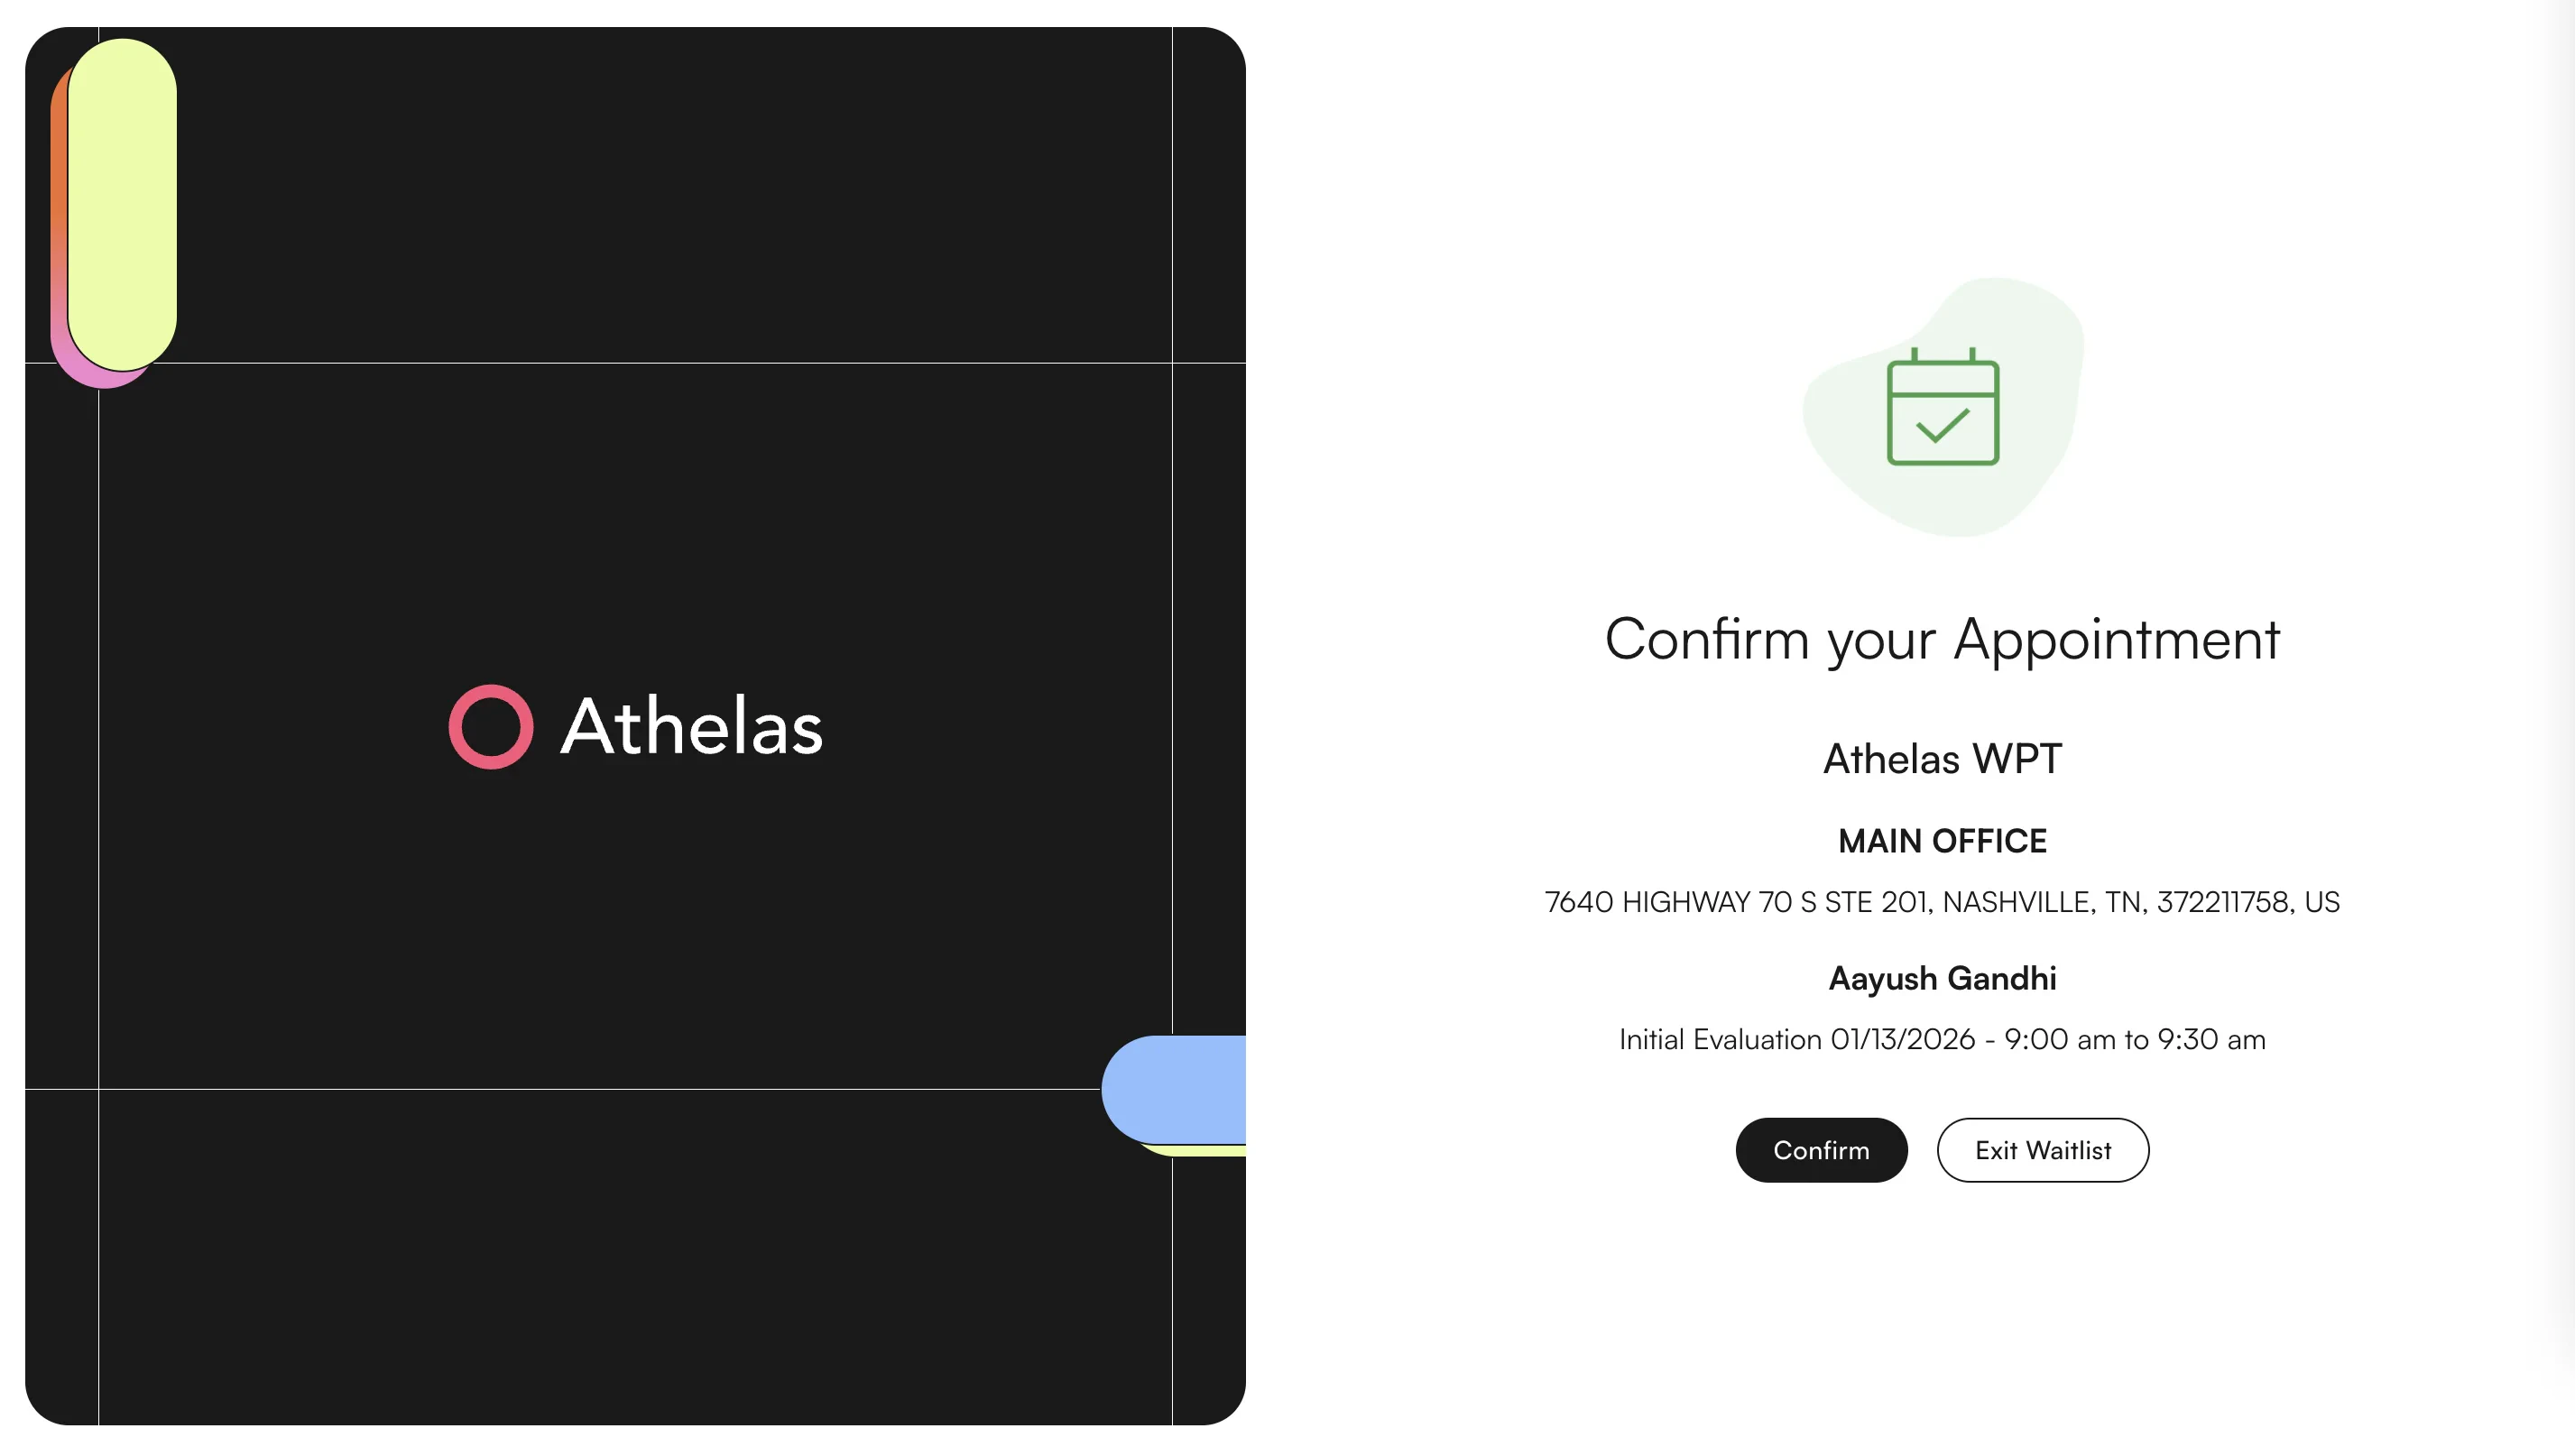
Yes. From their portal, patients can edit their preferences or exit the waitlist entirely. Staff can also remove entries from the Requests tab by clicking the X on the right side of the entry.