
Accessing and configuring Online Scheduling
Settings for Online Scheduling can be accessed in the Preferences tab, under the Portal Configs sub-tab.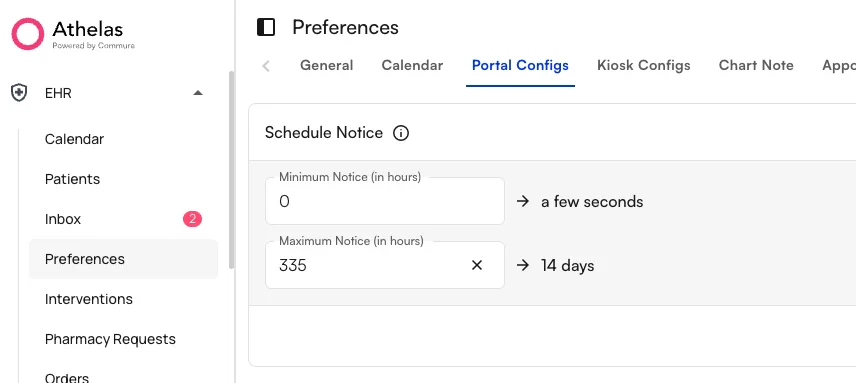
Turning on Online Scheduling
From the Portal Configs tab, practices can enable Online Scheduling by clicking the toggle in the Online Patient Scheduling section.
Configuring Online Scheduling
Once turned on, several settings are available to adjust the behavior:-
Site Slug — changes the URL patients use to access online scheduling for the practice. For example, with the slug
yourpractice, patients go to: - New Patient Signup Destination — determines the behavior when a patient indicates they are a new patient. Practices can either allow access to the scheduling functionality directly, or redirect new patients to the Landing Page to generate a lead.
- New Patient Appointment Scheduling — when toggled on, appointments from new patients are sent as Appointment Requests rather than booking directly to the calendar. This is similar to the general Require approval on appointment requests setting, but applies only to patients who select New Patient.

Using Online Scheduling as a patient
When patients click on the site-specific link, they are taken to a sign-in page where they indicate whether they are a new or existing patient.New patients
If New Patient is selected and the New Patient Signup Destination is set to Lead Tracker, the patient is redirected to the Lead Tracker Landing Page where they can input their information to generate a new lead.
Note: After a user selects New Patient, inputs name, DOB, and phone, and completes 2FA, a new patient record is created automatically with this information. Users who do not complete scheduling or provide information such as insurance will still have a patient record created.
Existing patients
If Existing Patient is selected, the patient inputs their information into the sign-in page and accesses scheduling.Scheduling
Once patients have accessed the scheduling page, they select the following information to view available times:- Provider
- Location
- Appointment Type — only External Appointment Types are shown (see Reserve Blocks for mapping details)
- Insurance Type
- For existing patients, this list populates with their insurance options on file.
- For new patients, this list populates with Self Pay automatically. They can search for their payer name based on the available payers for the practice.
-
A Patient Update screen, where they add information like email address, home address, and confirm their personal details.
-
An Insurance Update screen, where they provide the specific details about their insurance and can upload pictures of their insurance card.
Security and privacy
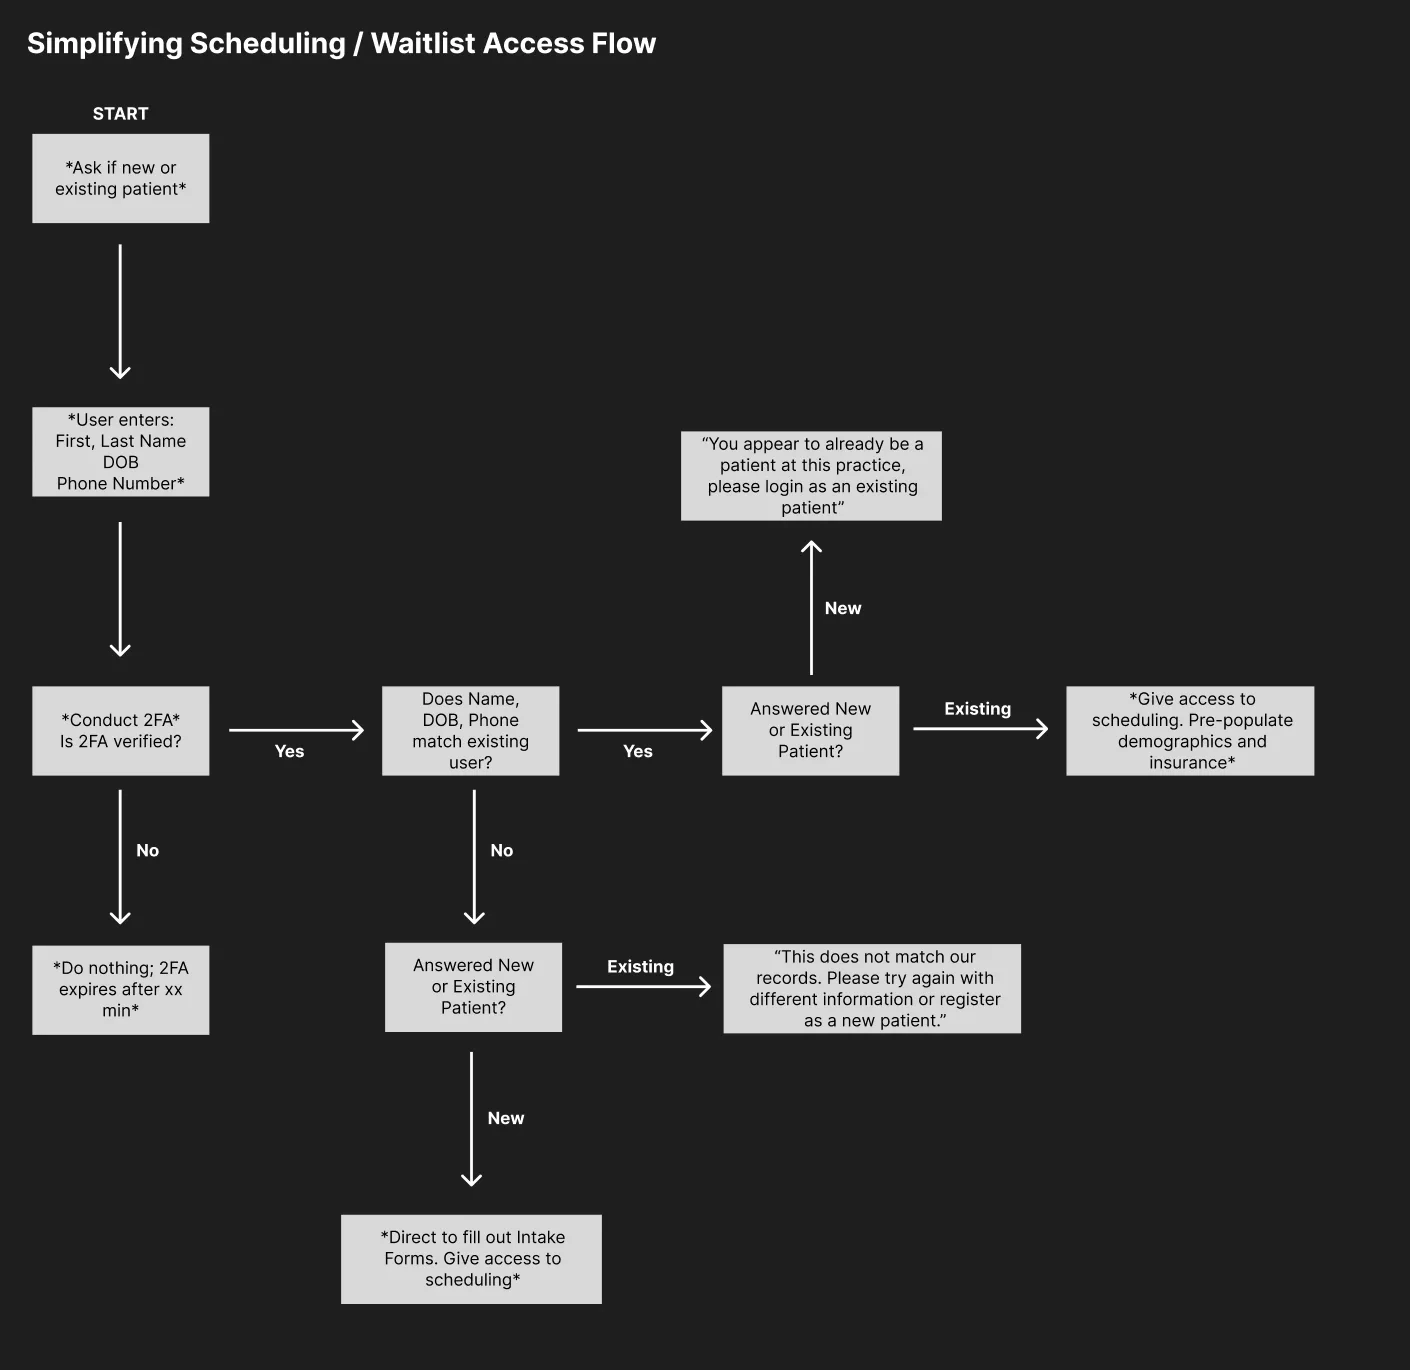
Because the online scheduling link can be accessed online by any party, specific controls and security settings have been built in with privacy in mind. The following exceptions and blocks are handled:Existing patient mistyping information
If an existing patient mistypes a name or date of birth, a neutral message asks them to try again or register as a new patient.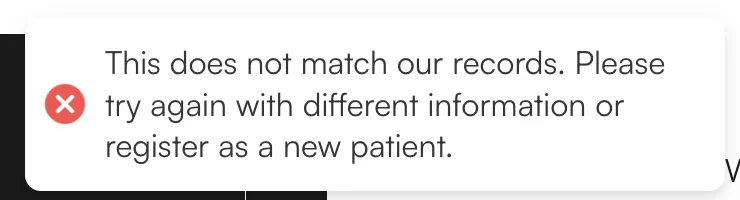
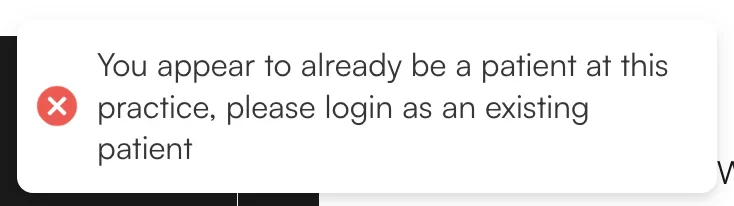
Existing patient trying to use the New Patient flow
If a user attempts to log in as a New Patient with information matching an existing patient (name, DOB, and phone), a message tells them to proceed as an existing patient.Note: This happens after they have completed their 2FA, to prevent a non-patient with someone else’s information from determining whether that person is a patient of the practice.
New patient trying to use the Existing Patient flow
If a new patient attempts to log in as an Existing Patient with information that does not match any patient at the practice, the same neutral “does not match any records” message is shown. They can retry with correct information or switch to the New Patient flow.Non-patient attempting to access existing patient information
If a non-patient attempts to log in with existing patient information, one of the following happens:- As an Existing Patient, entering the actual patient’s phone number — a 2FA is sent to the actual patient before any error or success messages are revealed. This prevents the non-patient from determining whether the individual is a patient at the practice.
- As an Existing Patient, entering a different phone number — a 2FA is sent to that number. After confirming, the user is shown a neutral “does not match any patient” message. This obscures whether the information was incorrect because of the mismatched phone number, or because the individual is not a patient at all.
- As a New Patient, entering the actual patient’s phone number — same protection as above: a 2FA is sent to the actual patient first.
- As a New Patient, entering a different phone number — after confirming 2FA, the user is allowed to create a new patient profile. This does not expose whether that person is already an existing patient or not.
FAQ
What URL do patients use to reach Online Scheduling?
What URL do patients use to reach Online Scheduling?
Patients go to
portal.athelas.com/site/{site_slug}, where {site_slug} is the Site Slug you set in Portal Configs → Online Patient Scheduling. Share this link on your website, in SMS/email campaigns, or via QR code.How do I prevent patients from booking directly without staff review?
How do I prevent patients from booking directly without staff review?
Turn on New Patient Appointment Scheduling to route new-patient bookings to the Requests tab for approval. For existing patients, use the broader Require approval on appointment requests setting under Portal Configs.
Can new patients choose any payer?
Can new patients choose any payer?
Yes. New patients see Self Pay by default, but can search for their payer from the list of payers configured for your practice. The insurance details they provide populate their newly-created patient profile.
What stops someone from probing the system to learn who's a patient?
What stops someone from probing the system to learn who's a patient?
Multiple safeguards: 2FA is always sent to the phone number the user enters (not a stored number); neutral error messages are used across all mismatch scenarios; the “you should proceed as existing patient” prompt only appears after 2FA completes. See the flowchart above for the complete set of branches.
Why would I route New Patients to Lead Tracker instead of Online Scheduling?
Why would I route New Patients to Lead Tracker instead of Online Scheduling?
Routing to Lead Tracker is useful when you want to triage new patients before confirming an appointment — for example, to verify insurance eligibility, apply intake rules, or assign a specific provider. Routing to Online Scheduling is faster for practices that accept any new patient who meets their appointment criteria.