
At a Glance
When you open a claim, everything you need to decide what to do next lives on a single scrollable page — the claim’s data, the actions you can take, the full history of submissions and payments, and a running activity feed. This guide explains how a claim is laid out and how to read its context so you can answer “what happened to this claim, and what do I do now?” without leaving the page. To submit or resubmit once you’ve reviewed a claim, see Getting Started with the Claims Page.The Claim Lifecycle
Understanding where a claim sits in its lifecycle makes the rest of the page easier to read.- A note is signed. A provider signs a chart note in your EHR (Air or an external system).
- The claim is created. The encounter is transformed into a claim and appears on the Claims Page.
- Billing rules run. When you preview a submission, the claim runs through the billing rules engine, which cleans it up for the payer.
- The claim is submitted to the payer through the clearinghouse.
- Status is tracked. Submission errors, rejections, denials, and remittances all surface back on the claim.
The Claims Page is designed to be your single source of truth. Everything about a claim — its status, its submissions, how it paid, and what to do next — lives on the claim itself.
How a Claim Is Laid Out
Opening a claim shows one scrollable page (no clicking through section after section). It has four areas:- Controls — jump to any section of the claim, even when the panel is minimized, and Review claim to dry-run it through billing rules before submitting.
- Claim details — the same content as the classic encounter details, all on one page: patient, insurance, provider, diagnoses, and procedures. This is where you add or edit claim data.
- Actions — the primary Submit action sits prominently in blue; the Actions menu beside it holds the rest, such as Adjust, Push to PR, Push to Next Payer, and Mark as Deferred. Some actions appear only when they apply: Request Appeal after a denial, and Upload an EOB when the claim is in Decision Pending or Decision Inconclusive.
- Claim context — the panel alongside the claim that brings together everything that has happened to the claim.
Reading Claim Context
The Claim Context panel is where you diagnose a claim. It gathers what you would otherwise collect from several pages, so you can read the claim’s history on one side and work the claim on the other. Each section shows a count, and a section with nothing in it is grayed out.- Status Reason — explains why a claim is in its current status. What it shows depends on the status: for a denial, the CARC and RARC codes with plain-language descriptions, the dollar amount, and the denied procedures; for a rejection, the clearinghouse’s rejection reason; for a submission error, the errors blocking the claim. It updates automatically as the claim’s situation changes. For what each status, stage, and payer status itself means, see Claim Status, Stage & Payer Status.
- Patient Attachments — the patient’s documents, grouped by type and searchable. Open an insurance card to check a member ID before you rerun eligibility, or an authorization letter to confirm you’re attaching the right auth. On Air EHR sites, these are the patient’s chart attachments; for select other EHR integrations, they include medical records Athelas extracts from your EHR.
- Submissions — the full history of every submission on the claim. Click one to see its method, form type, and submission ID beside the claim, with buttons to show the billing rules that ran and the CMS-1500 (or UB-04) PDF. To see what changed between two submissions, check both and click Compare.
- Remittances — remittance data with its source and deposit-verification status. You can download the raw 835 (ERA) file or a PDF.
- Payments — every payment on the claim, per payer or per procedure. The icon at the start of each row is its payment status, such as Payment Due or Paid, Balance Remaining; see Payment Status for what each one means. Group and sort by posted date, check number, submission ID, or procedure, and use Display Settings to control which columns appear (including a denied-reasons column). Click any payment for full detail.
Arranging Claim Context
Put the sections you use most at the top. Drag a section by its handle to move it, and it stays in that position as you move from claim to claim. Someone working A/R might move Payments to the top, while someone working initial charge capture keeps Status Reason first.- Click a section’s header to expand or collapse it, or Shift-click to expand or collapse every section.
- Click Expand to full width at the top of the panel to read payment and posting details across the whole screen, and Collapse to split view to go back.
- Press
Ito open Claim Context from anywhere on the claim.
Common Events You’ll See
As a claim moves through its lifecycle, these are the events you’ll encounter in its history:The Activity Feed
The Activity Feed tracks the full chronological story of a claim, from creation to finalization. System-captured events (like “procedure added”) and user comments appear together in time order, so you don’t need to narrate your own actions — the system already records what you did. Add a comment only when it adds context the system can’t capture, such as a payer reference number or the next step you’re waiting on. Responsibility changes, assignments, and deferrals all appear in the feed with their reasons — click view more to read the note. Reach the feed quickly using its icon in the claim panel, which scrolls you straight to it. The feed shows the oldest event first. Click the sort button next to Feed to show the newest first; Insights keeps your choice for the next claim you open.Responsibility and Assignment
Every claim is either your site’s responsibility or Athelas’ responsibility.- When a claim is Athelas’ responsibility, site users simply see the Athelas logo as the assignee — all you need to know is that Athelas is handling it.
- Filter by responsible party to see whether a claim belongs to your site or to Athelas.
- Reassigning responsibility in either direction requires a note, which is logged to the Activity Feed so the reason is always captured.
Previewing Billing Rules Before You Submit
Before submitting, use Review claim (or Preview Submission) to dry-run the claim through billing rules. The left side shows your input; the right side shows the output after rules run — for example, an updated zip code, referring provider, or NPI.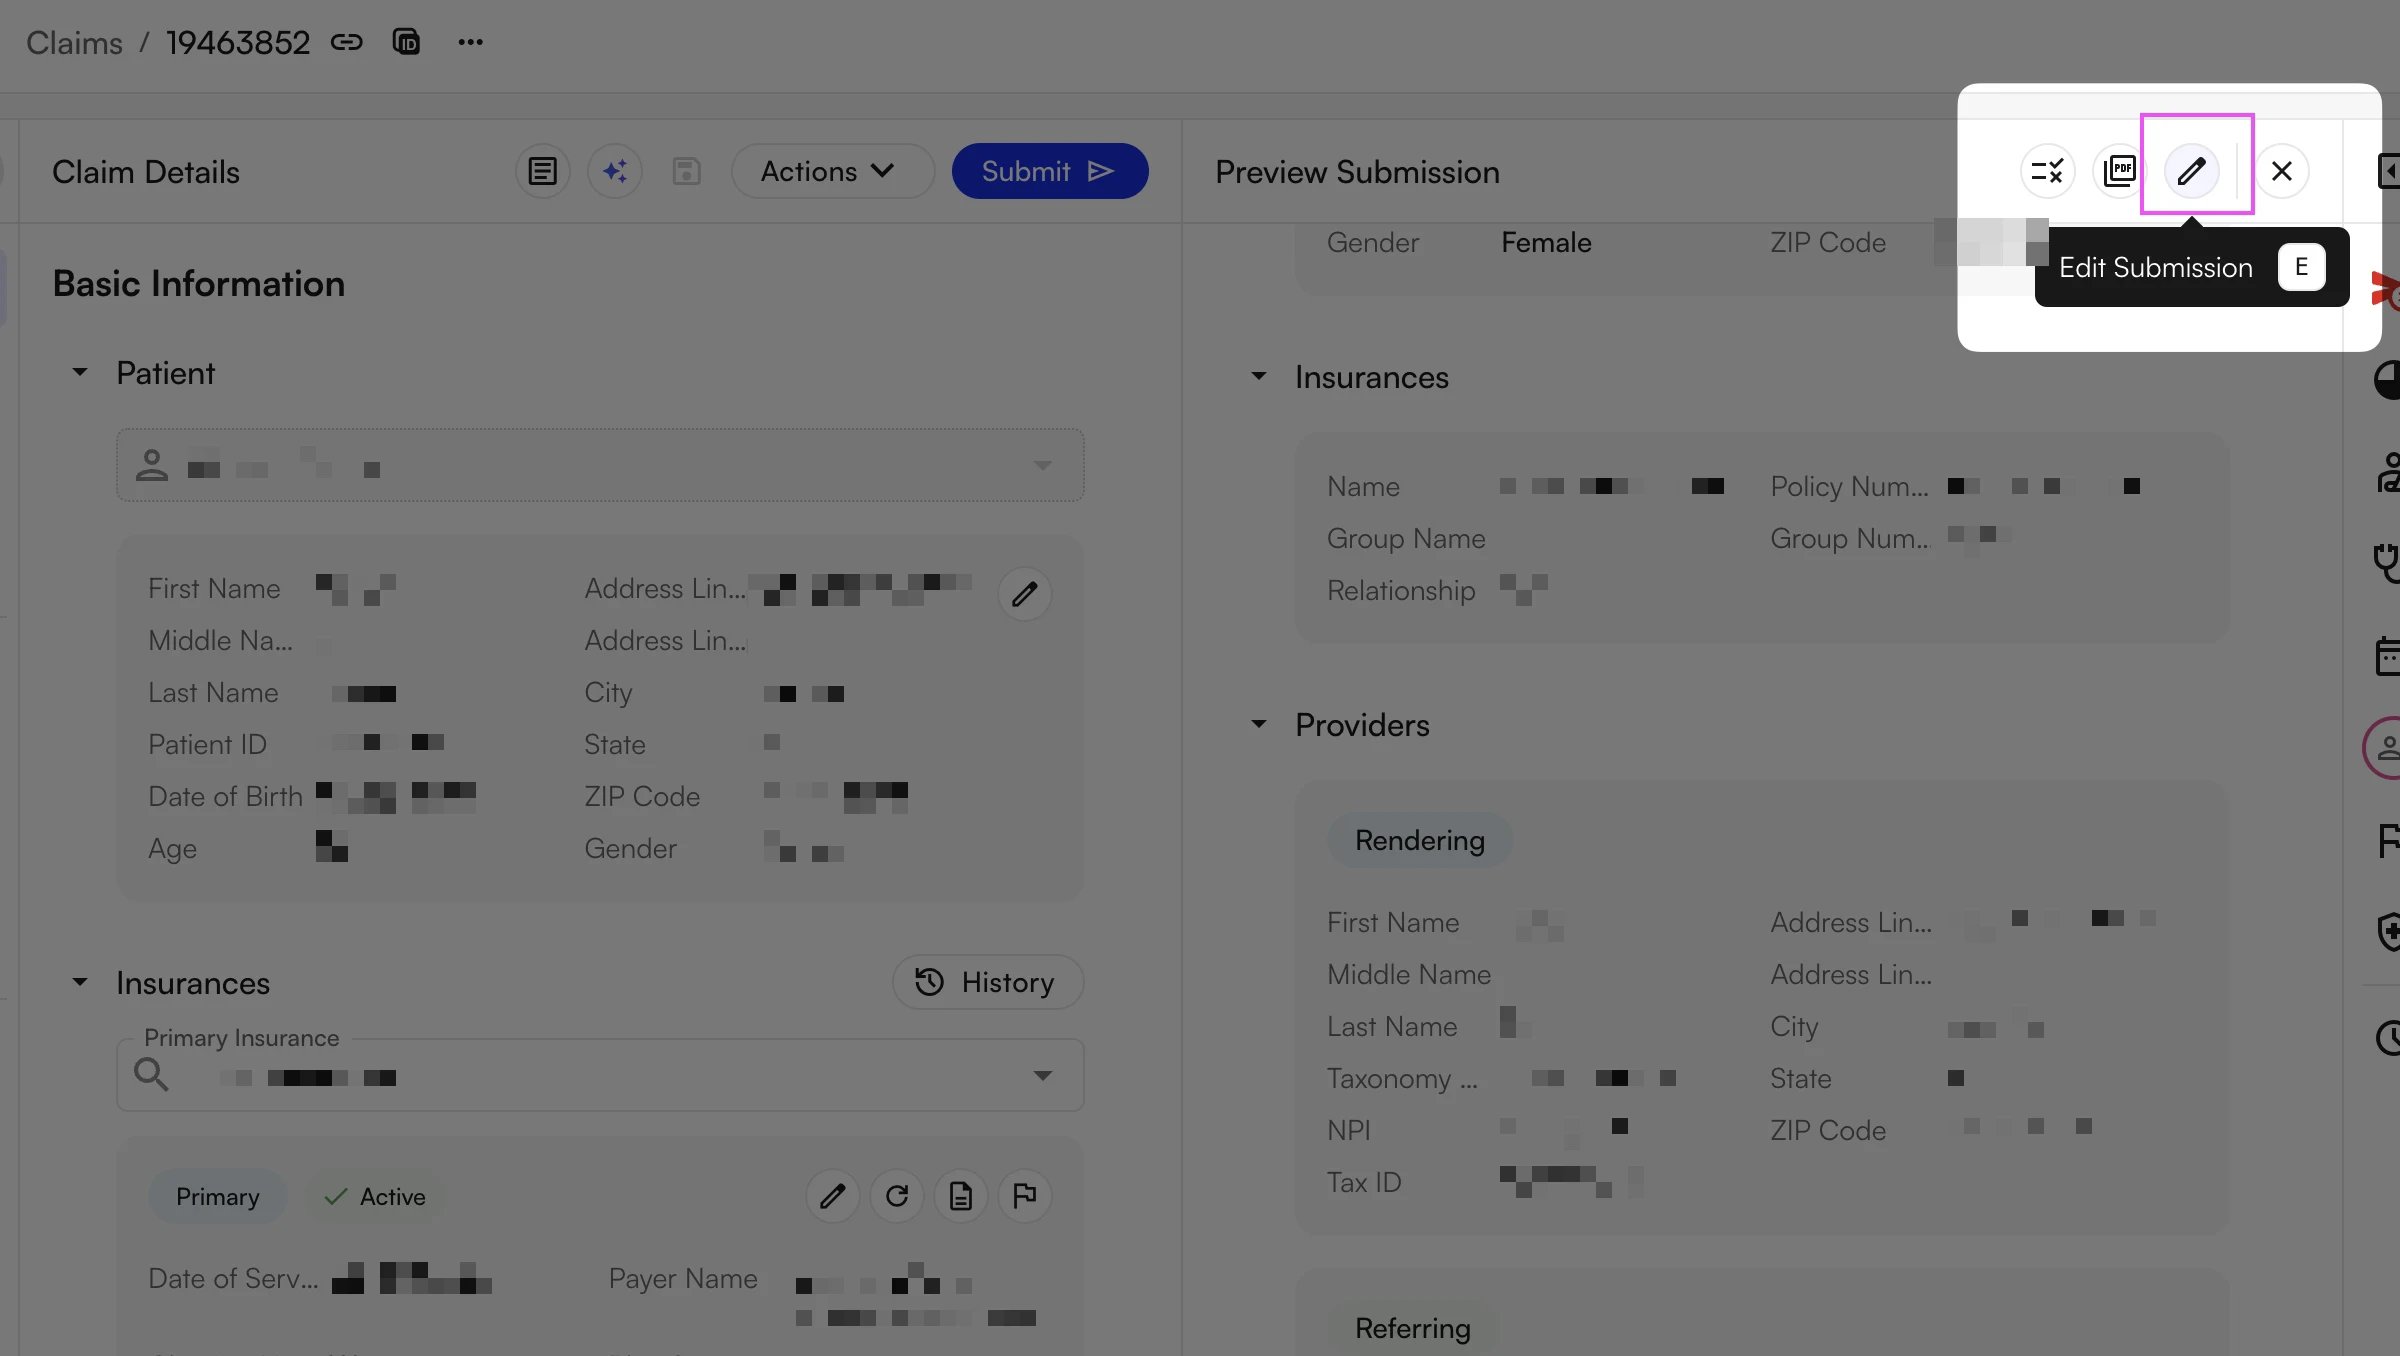
- A star indicator next to a field means a rule applied and modified that field.
- View Rules shows which billing rules fired; you can search within them for a specific field.
- View PDF renders the CMS-1500 or UB-04 form. Remove the background to print directly on RED-certified CMS-1500 paper.
FAQ
Where did the old Encounter Timeline go?
Where did the old Encounter Timeline go?
It’s now the Activity Feed inside the claim, combined with the Submissions history in Claim Context. Together they show the full chronological life of the claim — submissions sent, payments received, and changes made — in one place, without a separate timeline tab.
Can I change the order of the Claim Context sections?
Can I change the order of the Claim Context sections?
Yes. Drag a section by its handle to move it up or down. The new order applies to every claim you open, so put the sections you check first — for example, Payments if you work A/R — at the top.
Is there a separate Remittances page?
Is there a separate Remittances page?
No — and that’s intentional. When a payer posts a payment, the remittance lives inside Claim Context on the claim itself. Open the Remittances section to see the ERA/EOB detail, CARC/RARC codes, adjustments, and paid-vs-billed amounts without leaving the claim.
What does the star next to a field mean?
What does the star next to a field mean?
A star means a billing rule applied and changed that field during the dry run — for example, correcting a Place of Service code or adding a modifier. Use View Rules to see exactly which rule fired and why.
A site user sees the Athelas logo on a claim — who's working it?
A site user sees the Athelas logo on a claim — who's working it?
That claim is Athelas’ responsibility, and the Athelas team is handling it. There’s no action needed on your side. Use the responsible-party filter to separate Athelas-owned claims from your site’s own worklist.