> ## Documentation Index
> Fetch the complete documentation index at: https://docs.athelas.com/llms.txt
> Use this file to discover all available pages before exploring further.
# How to Apply an Air Scribe
> Preview an Air Scribe output, choose which sections to apply, and regenerate or rerecord a note.
The Scribe Application Page allows you to preview and select which generated outputs to apply to the patient chart note.
**Prerequisite:** Generate an Air Scribe for an appointment before you apply its output.
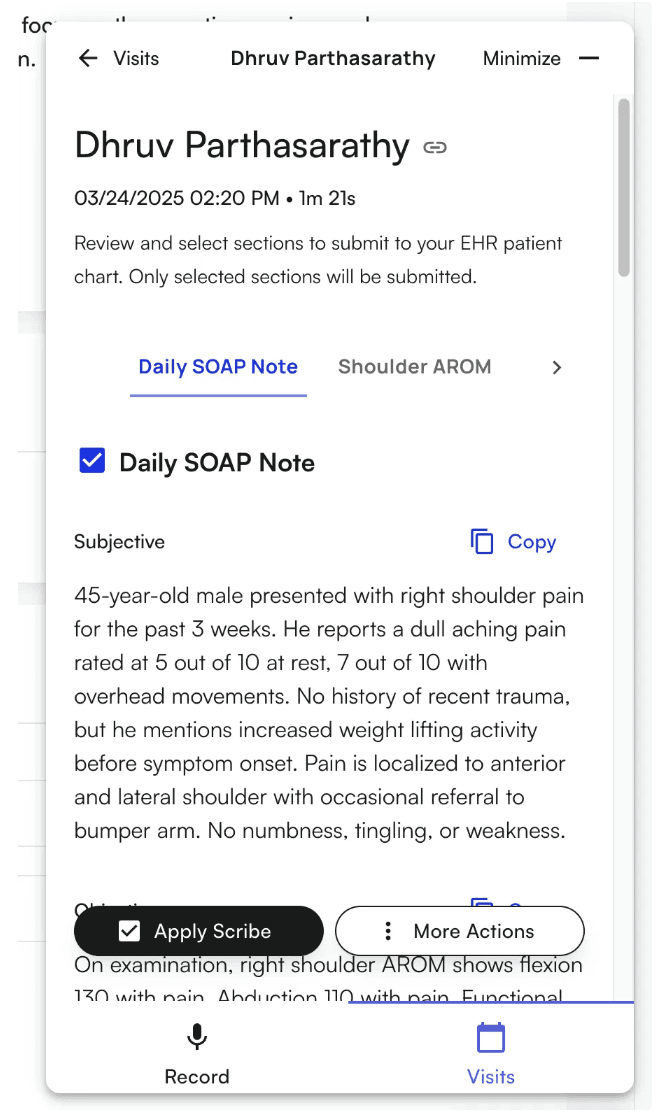 Here’s a breakdown of this page:
* Clicking the Patient Name at the top will redirect you to the appointment details page for that patient. If you’re already on the appointment detail page, this link will not do anything.
Here’s a breakdown of this page:
* Clicking the Patient Name at the top will redirect you to the appointment details page for that patient. If you’re already on the appointment detail page, this link will not do anything.
 * The tab menu allows you to easily scroll to a specific section that was generated by Air Scribe
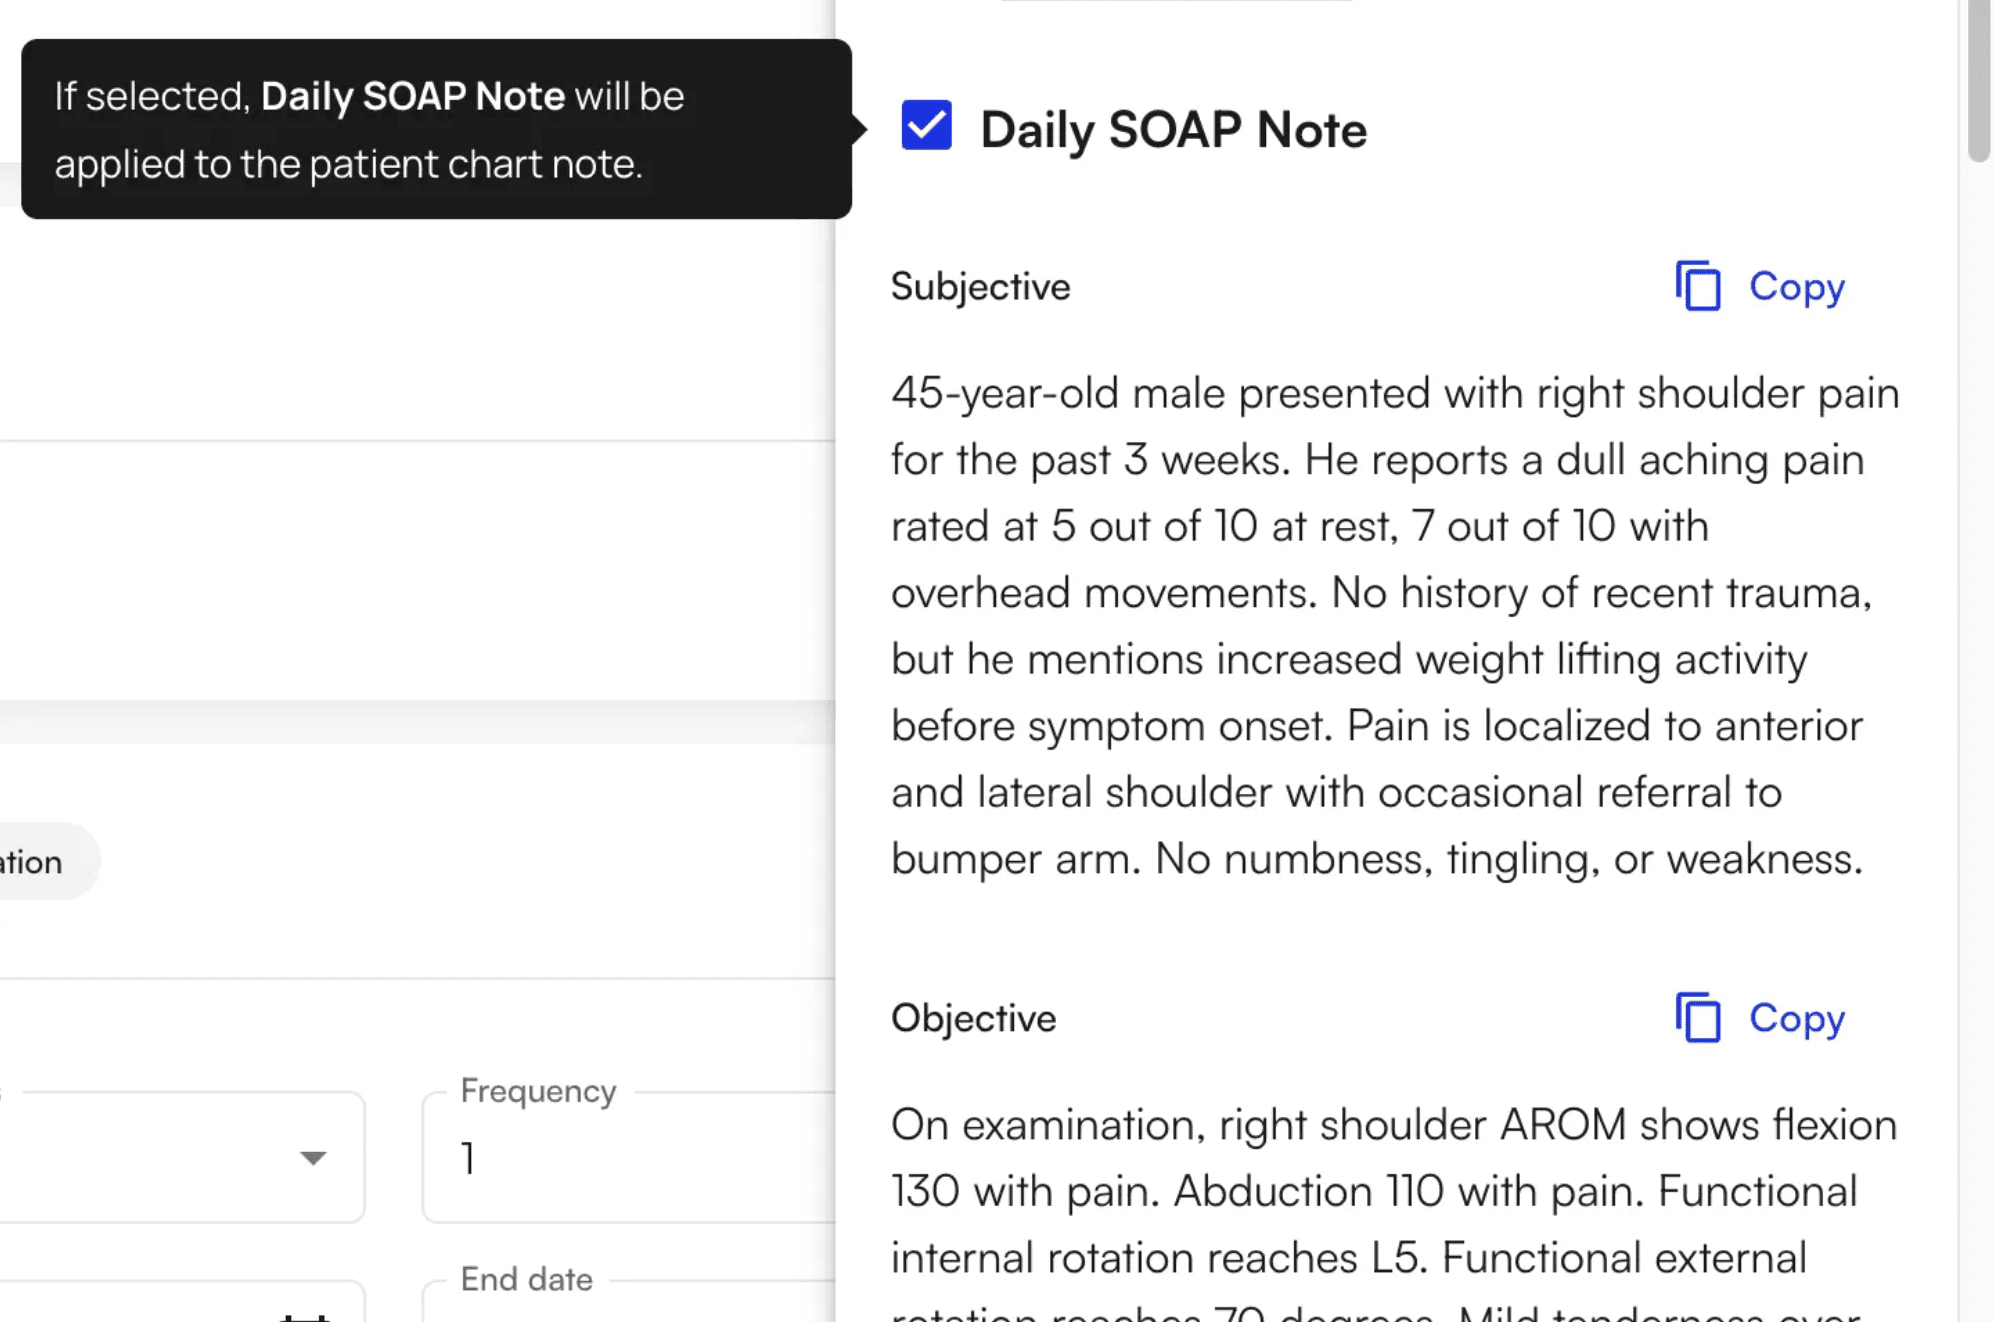
 * Each section generated by Air Scribe has a checkbox that allows you to select whether or not to apply that section’s outputs to the patient chart note. For **Flowsheet**, **Services**, or **Treatments**, the initial selections follow the appointment type's **Is Checked for Scribe** setting. When this setting is on, all available service codes are selected. When it is off or not configured, no service codes are selected. Use the section checkbox to select or clear all service codes, and review every section before applying the Scribe.
Most sections allow you preview their outputs, such as in the Daily SOAP Note example below. Most simple text outputs can be copied to clipboard using the “Copy” button.
* Each section generated by Air Scribe has a checkbox that allows you to select whether or not to apply that section’s outputs to the patient chart note. For **Flowsheet**, **Services**, or **Treatments**, the initial selections follow the appointment type's **Is Checked for Scribe** setting. When this setting is on, all available service codes are selected. When it is off or not configured, no service codes are selected. Use the section checkbox to select or clear all service codes, and review every section before applying the Scribe.
Most sections allow you preview their outputs, such as in the Daily SOAP Note example below. Most simple text outputs can be copied to clipboard using the “Copy” button.
 * After you have unchecked all the sections you do not want to apply, click “Apply Scribe” to apply all checked sections to the patient’s chart note. The application process should be quick, but it may take some time to refresh the page. If you notice it taking too long to refresh, you can manually refresh by clicking the refresh button in your web browser.
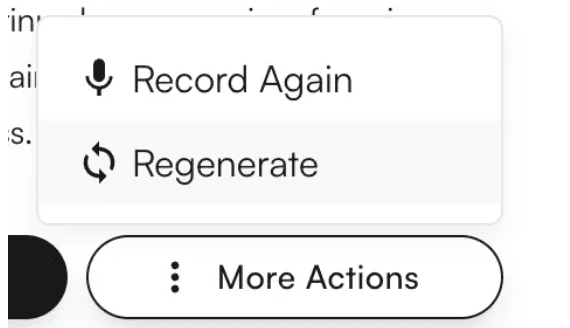
* Additional actions are available in the “More Actions” button menu:
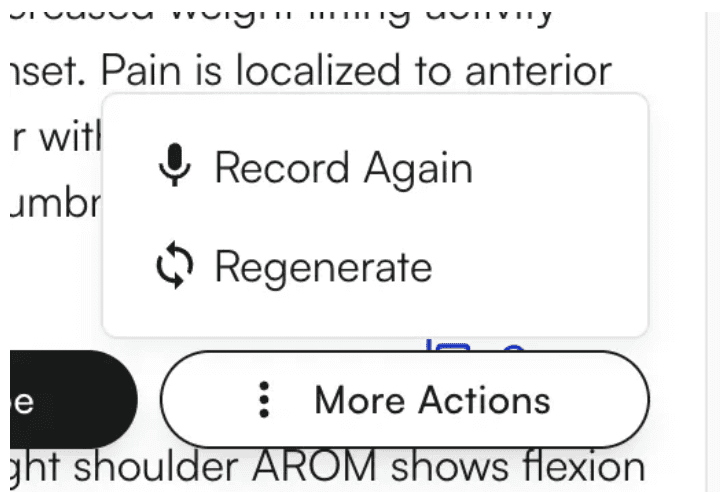
* **Record Again** - Allows you to start a new recording for the same appointment. NOTE: The previous scribe will be lost when a new recording is uploaded for the same appointment.
* **Regenerate** - Allows you to regenerate the scribe using the same audio recording and the latest sections in the patient chart.
#### Re-Record a Scribe
If you would like record again for an appointment that already has a scribe, follow the steps below:
* When the widget opens, you should see the scribe outputs from the previous recording. At the bottom, click “More Actions”:
* After you have unchecked all the sections you do not want to apply, click “Apply Scribe” to apply all checked sections to the patient’s chart note. The application process should be quick, but it may take some time to refresh the page. If you notice it taking too long to refresh, you can manually refresh by clicking the refresh button in your web browser.
* Additional actions are available in the “More Actions” button menu:
* **Record Again** - Allows you to start a new recording for the same appointment. NOTE: The previous scribe will be lost when a new recording is uploaded for the same appointment.
* **Regenerate** - Allows you to regenerate the scribe using the same audio recording and the latest sections in the patient chart.
#### Re-Record a Scribe
If you would like record again for an appointment that already has a scribe, follow the steps below:
* When the widget opens, you should see the scribe outputs from the previous recording. At the bottom, click “More Actions”:
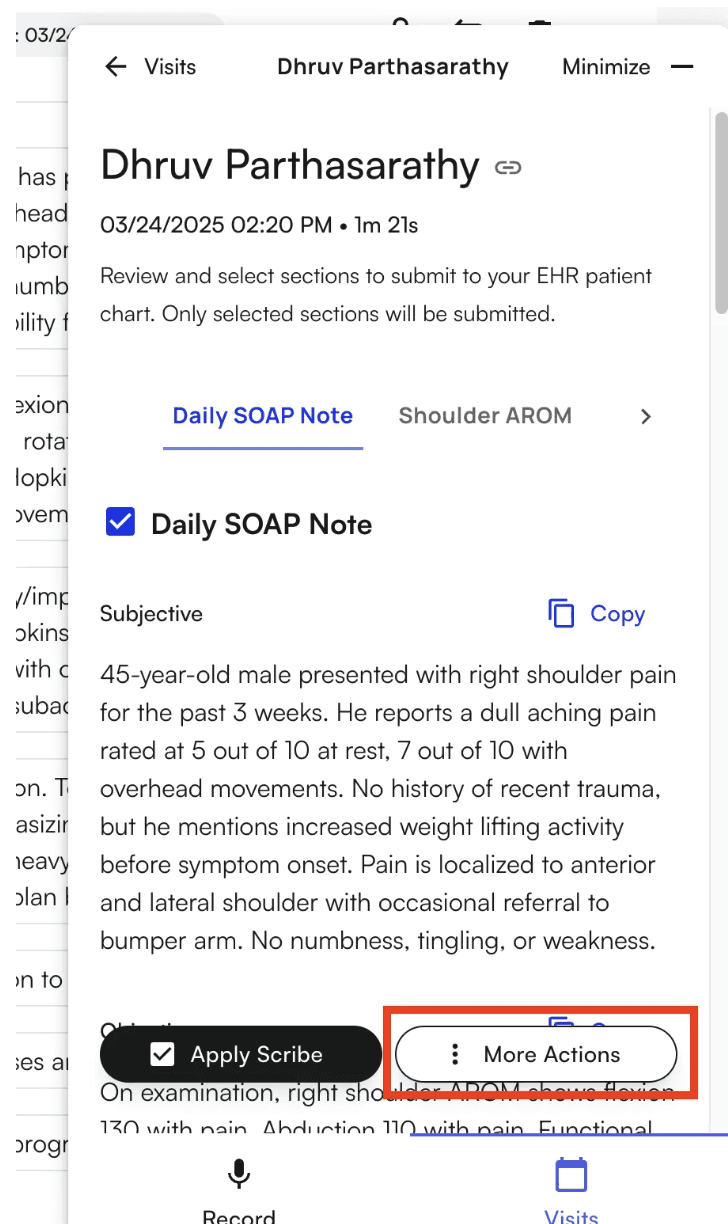 * Click “Record Again” and can now start recording again
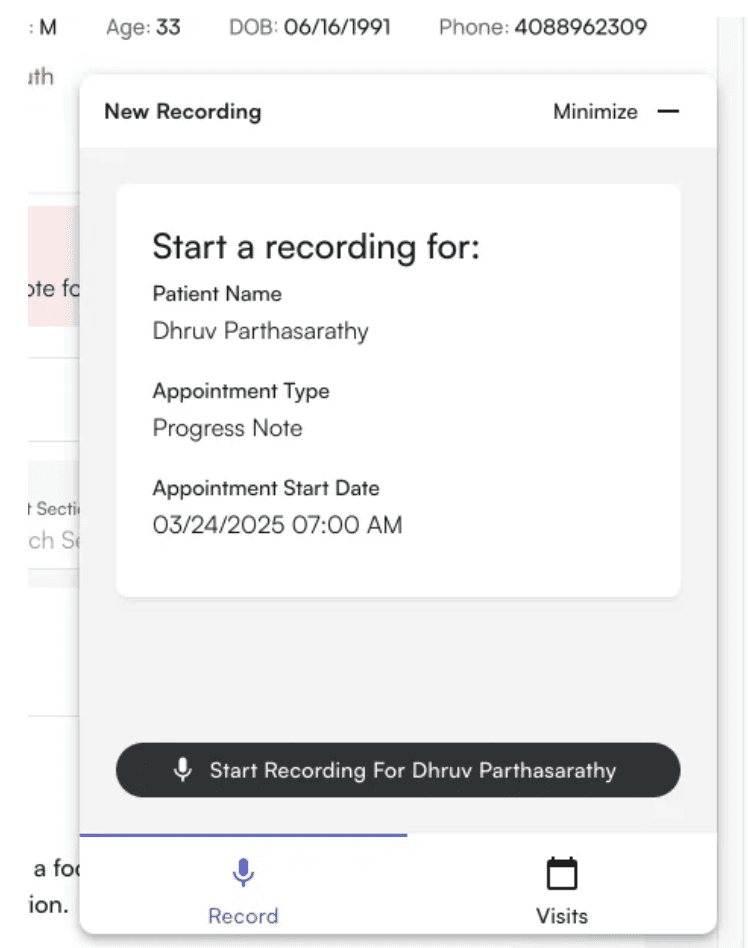 #### Regenerate a Scribe
If you add sections to a patient chart note after a recording is already uploaded, you will need to regenerate the scribe for those newly added sections. Regeneration is only available after the initial scribe for that appointment has been generated.
* Click the blue button in the bottom-right corner of the screen to show the new Air Scribe widget
* When the widget opens, you should see the scribe outputs from the previous recording. At the bottom, click “More Actions”:
#### Regenerate a Scribe
If you add sections to a patient chart note after a recording is already uploaded, you will need to regenerate the scribe for those newly added sections. Regeneration is only available after the initial scribe for that appointment has been generated.
* Click the blue button in the bottom-right corner of the screen to show the new Air Scribe widget
* When the widget opens, you should see the scribe outputs from the previous recording. At the bottom, click “More Actions”:
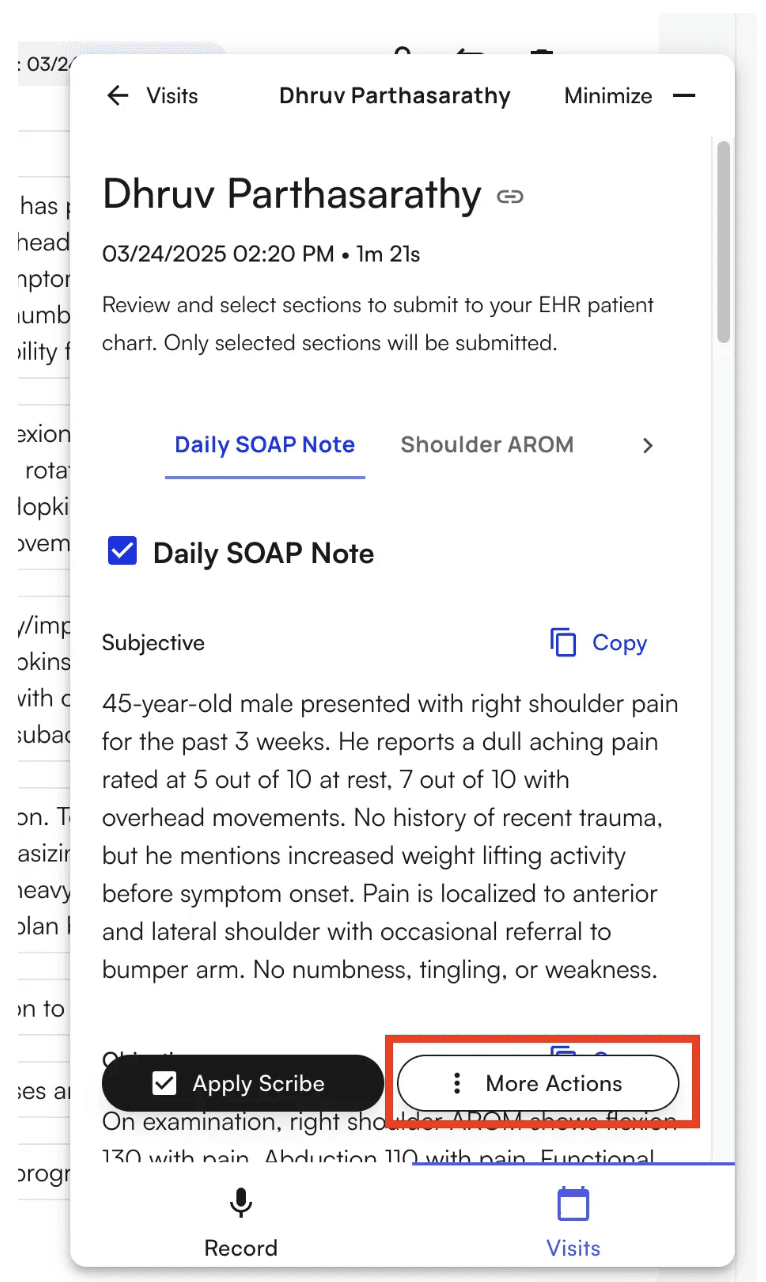 * Click “Regenerate”